Hey Mark!
Progress finally!
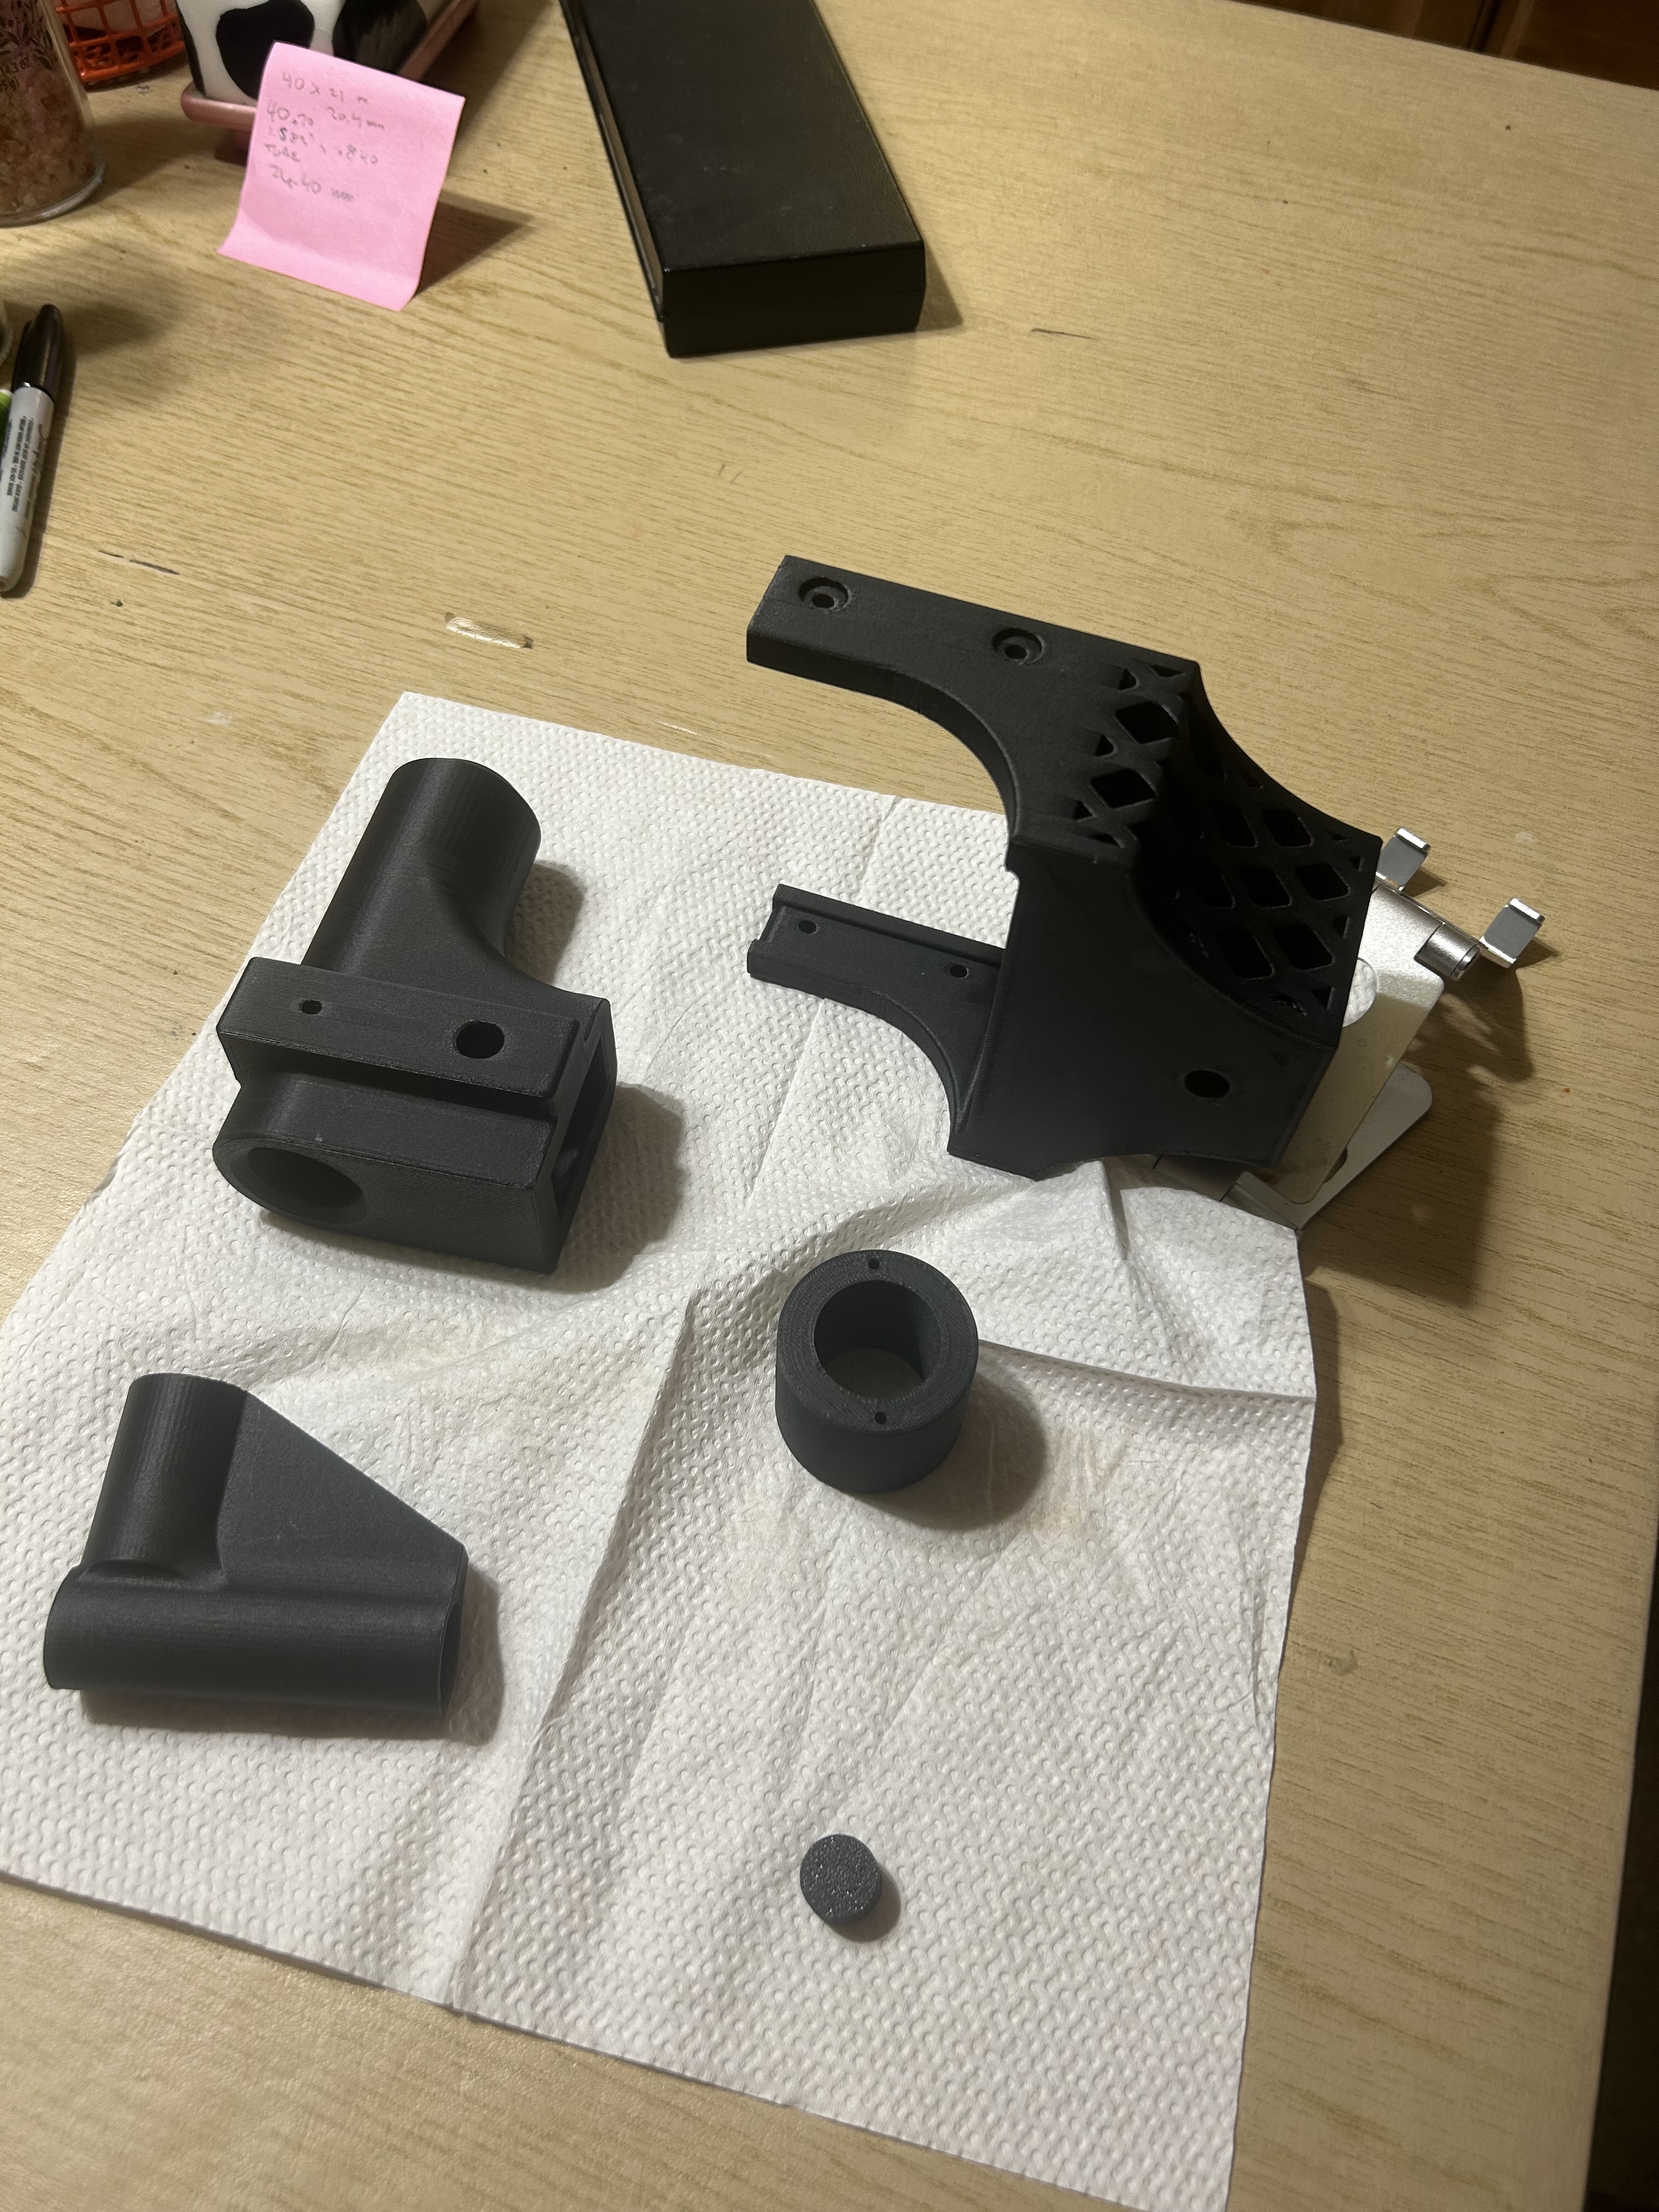
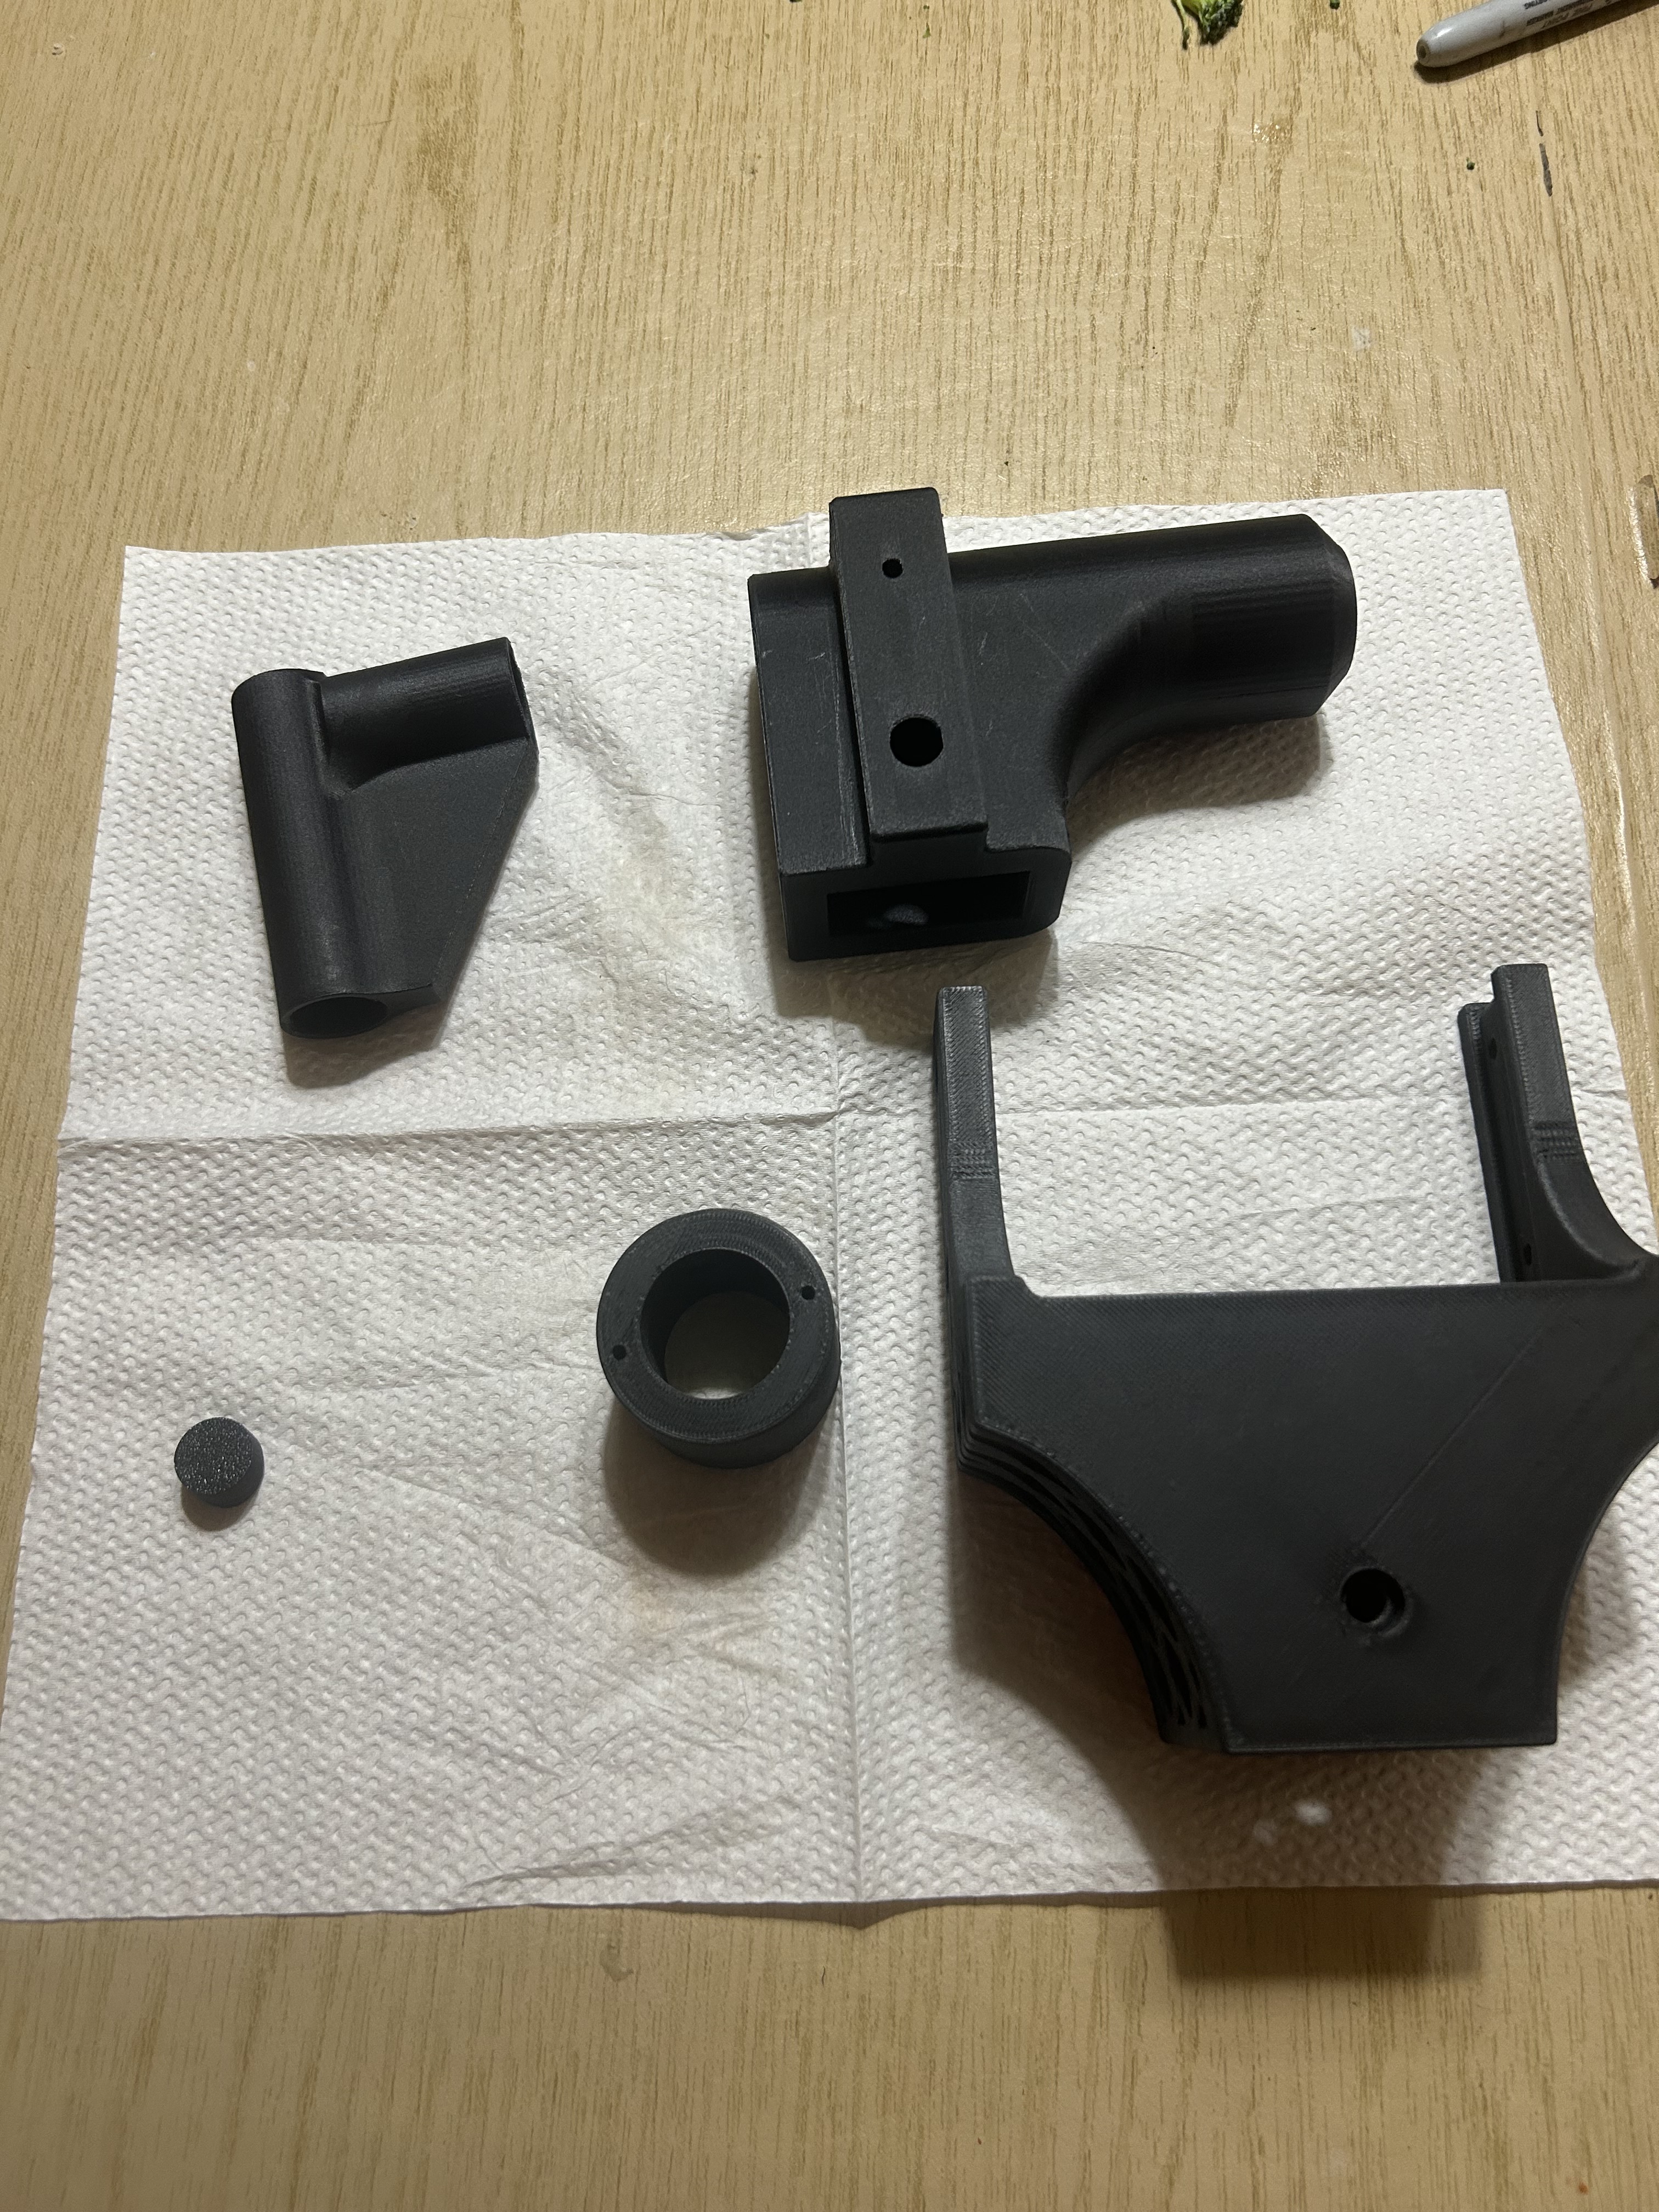
Print from carbon fiber material.
Where did you source the 40-20 from?

That’s it. It’s just standard extruded aluminum. Same material used for 3D printers and CNC.
You will want to cut it on a compound miter saw to get a straight edge. Otherwise you will have some wobble/shaking when spot locked in strong current
Also make sure it’s long enough so that the head of your TM doesn’t hit the shower rod when turning.
Done!!
Thanks to Mark for the design, video, and advice.
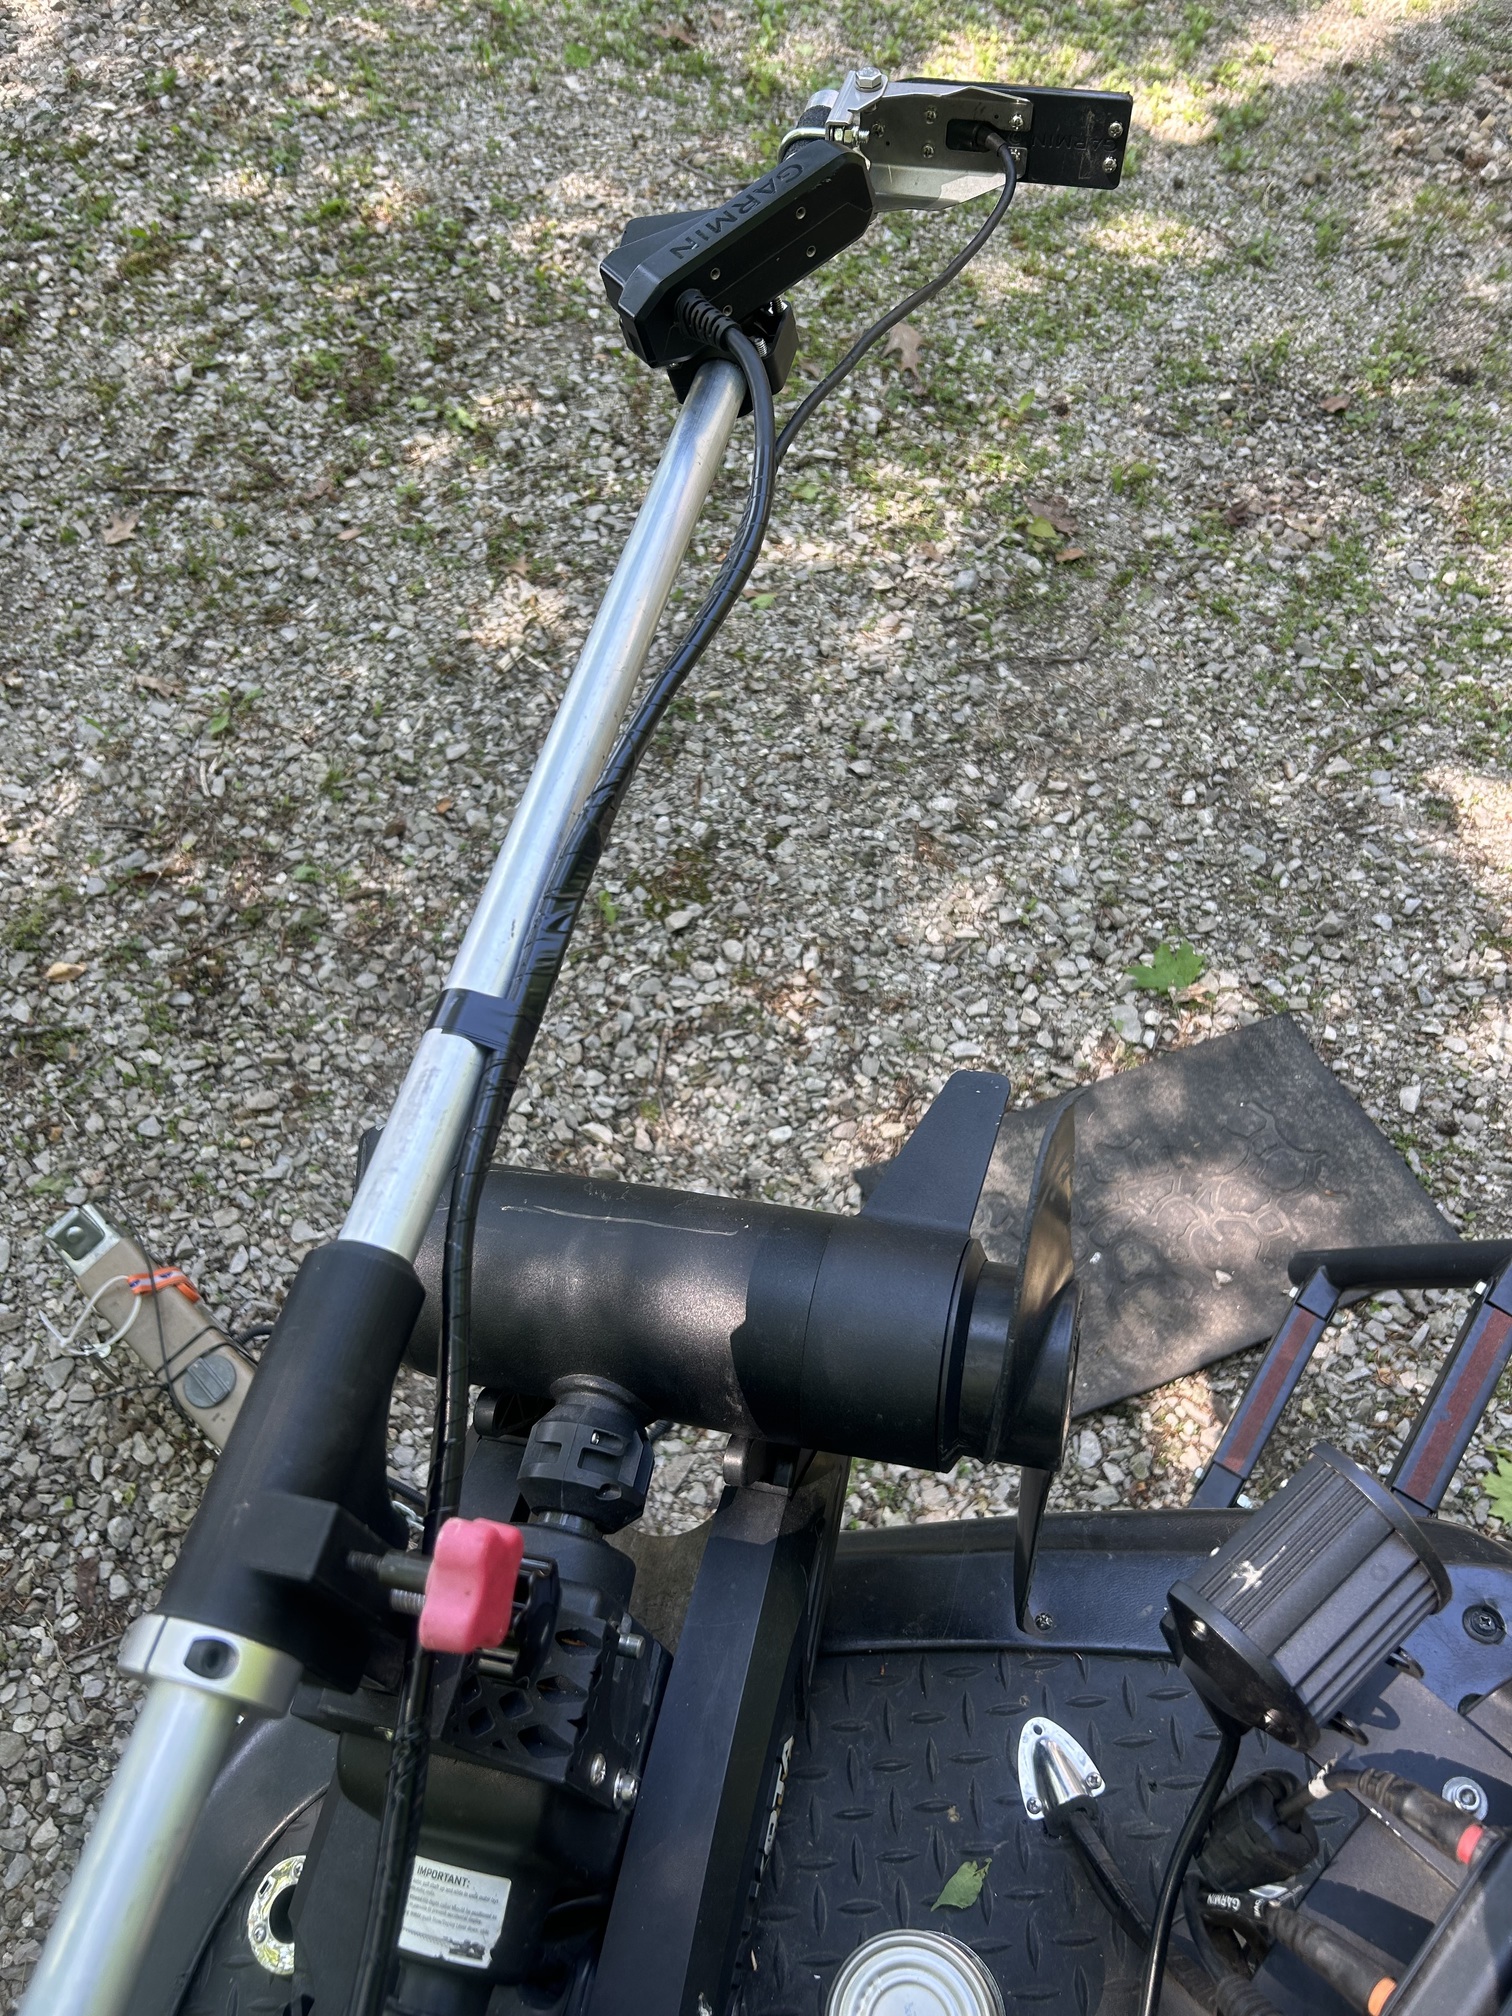
Garmin’s new release for there new Livescope
Mount sure looks a lot like Marks work.
Should have filed a patent!

Looks great! Thanks for sharing the pictures! Let me know if you have any ideas for improvement…especially for wire management.
I think the thing I like most about the design is the easy removal and re-attachment. Let me know your opinion as you put it to use.
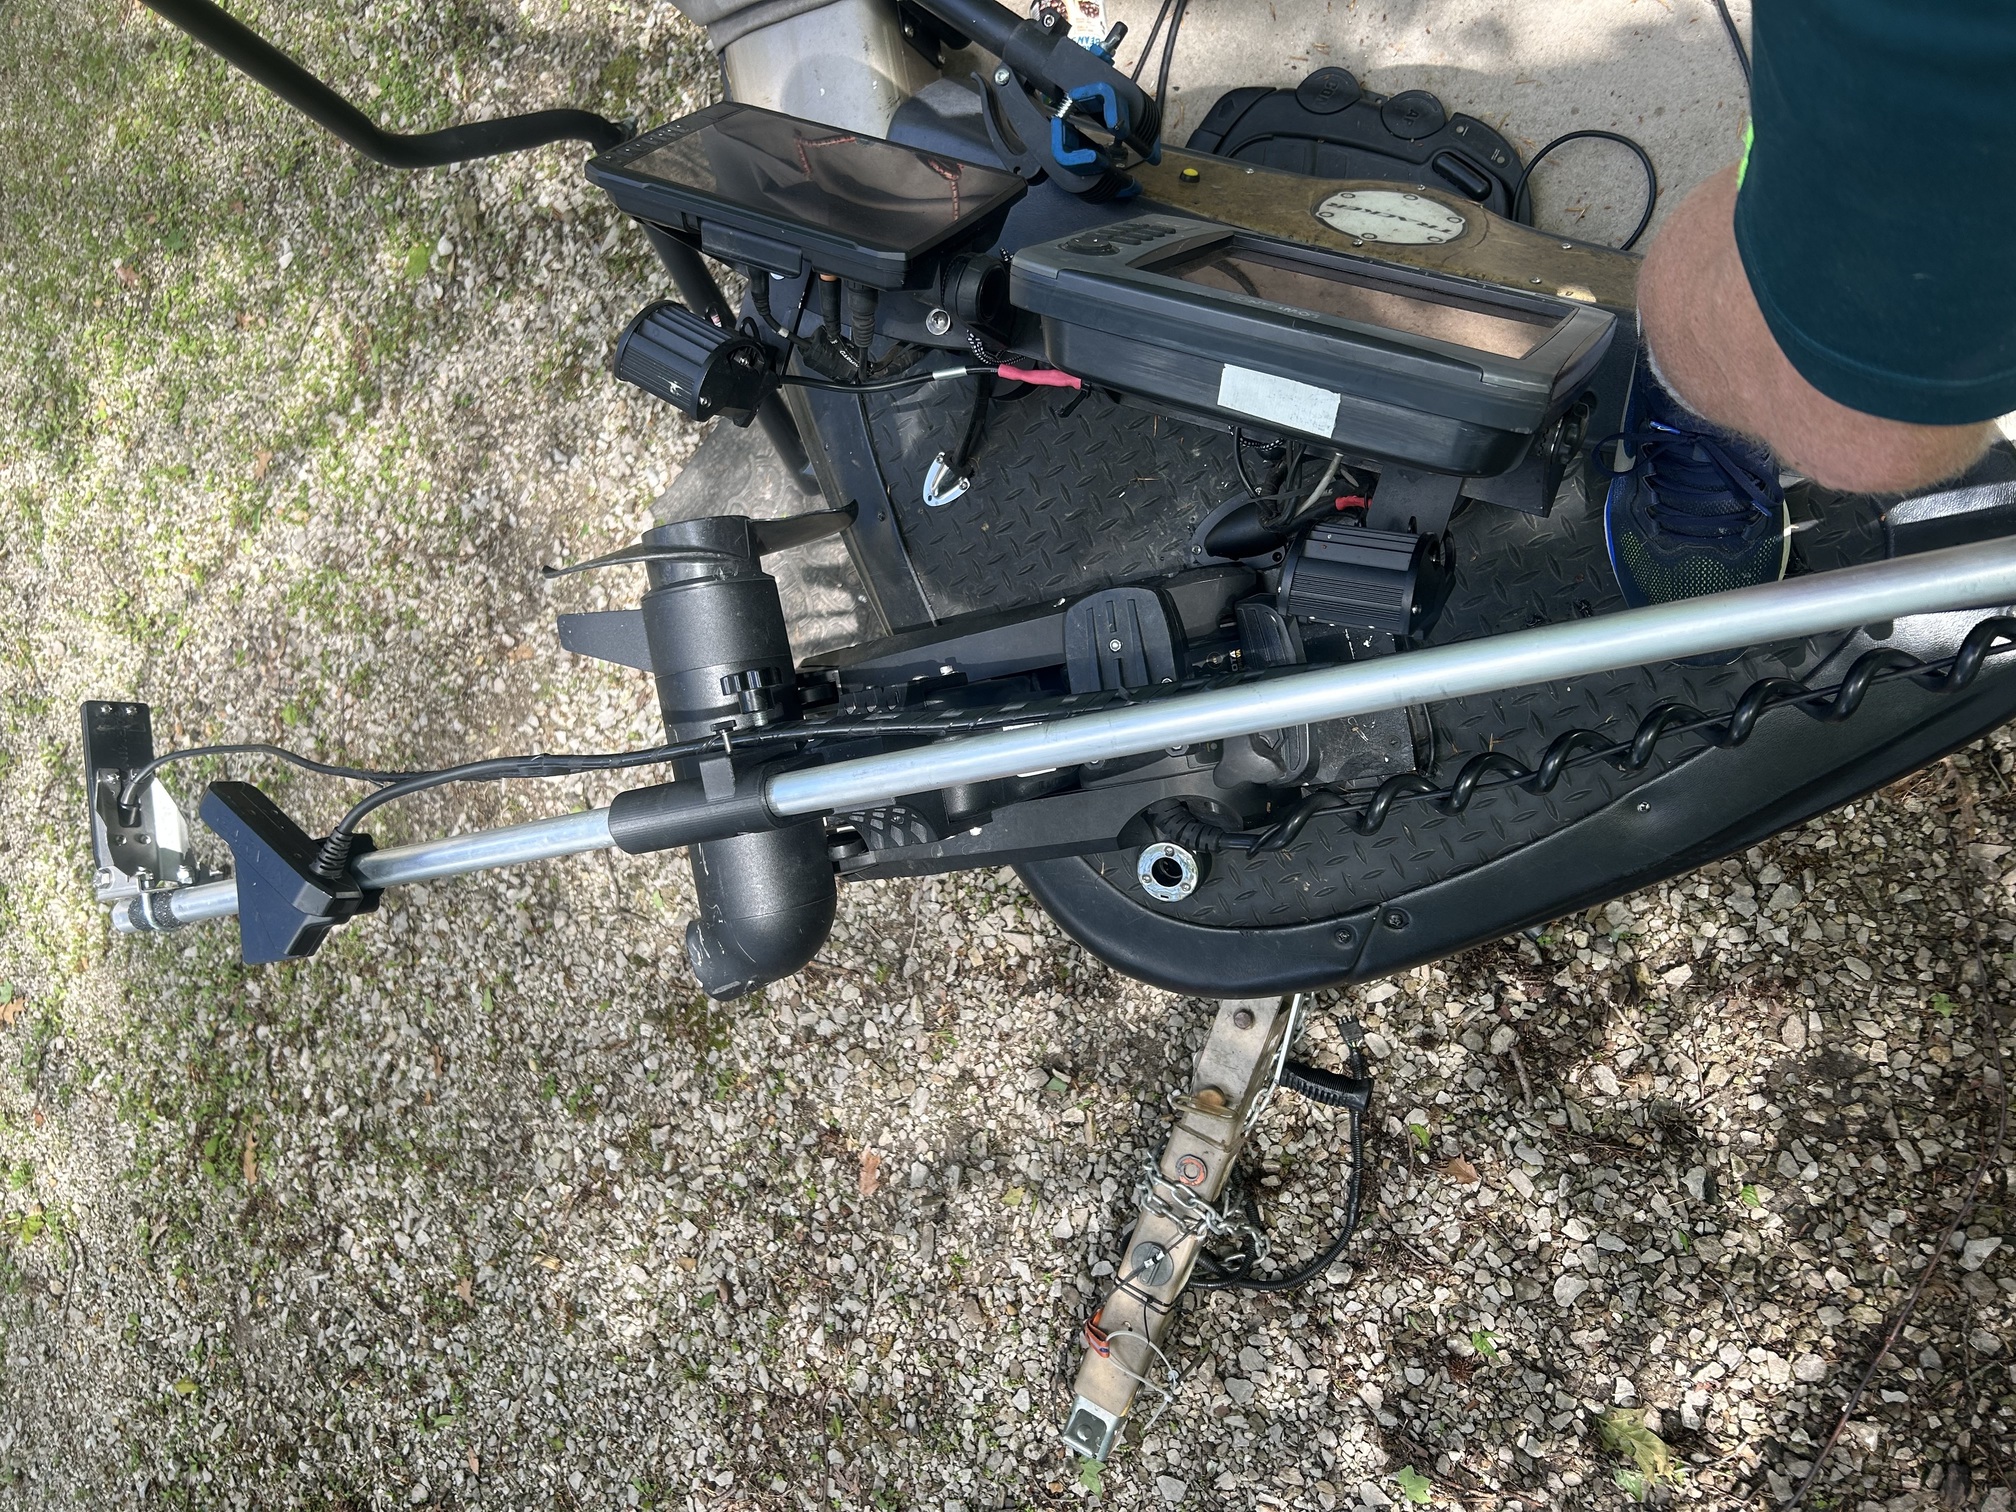
PIP1 is complete (prod. Improvement program)
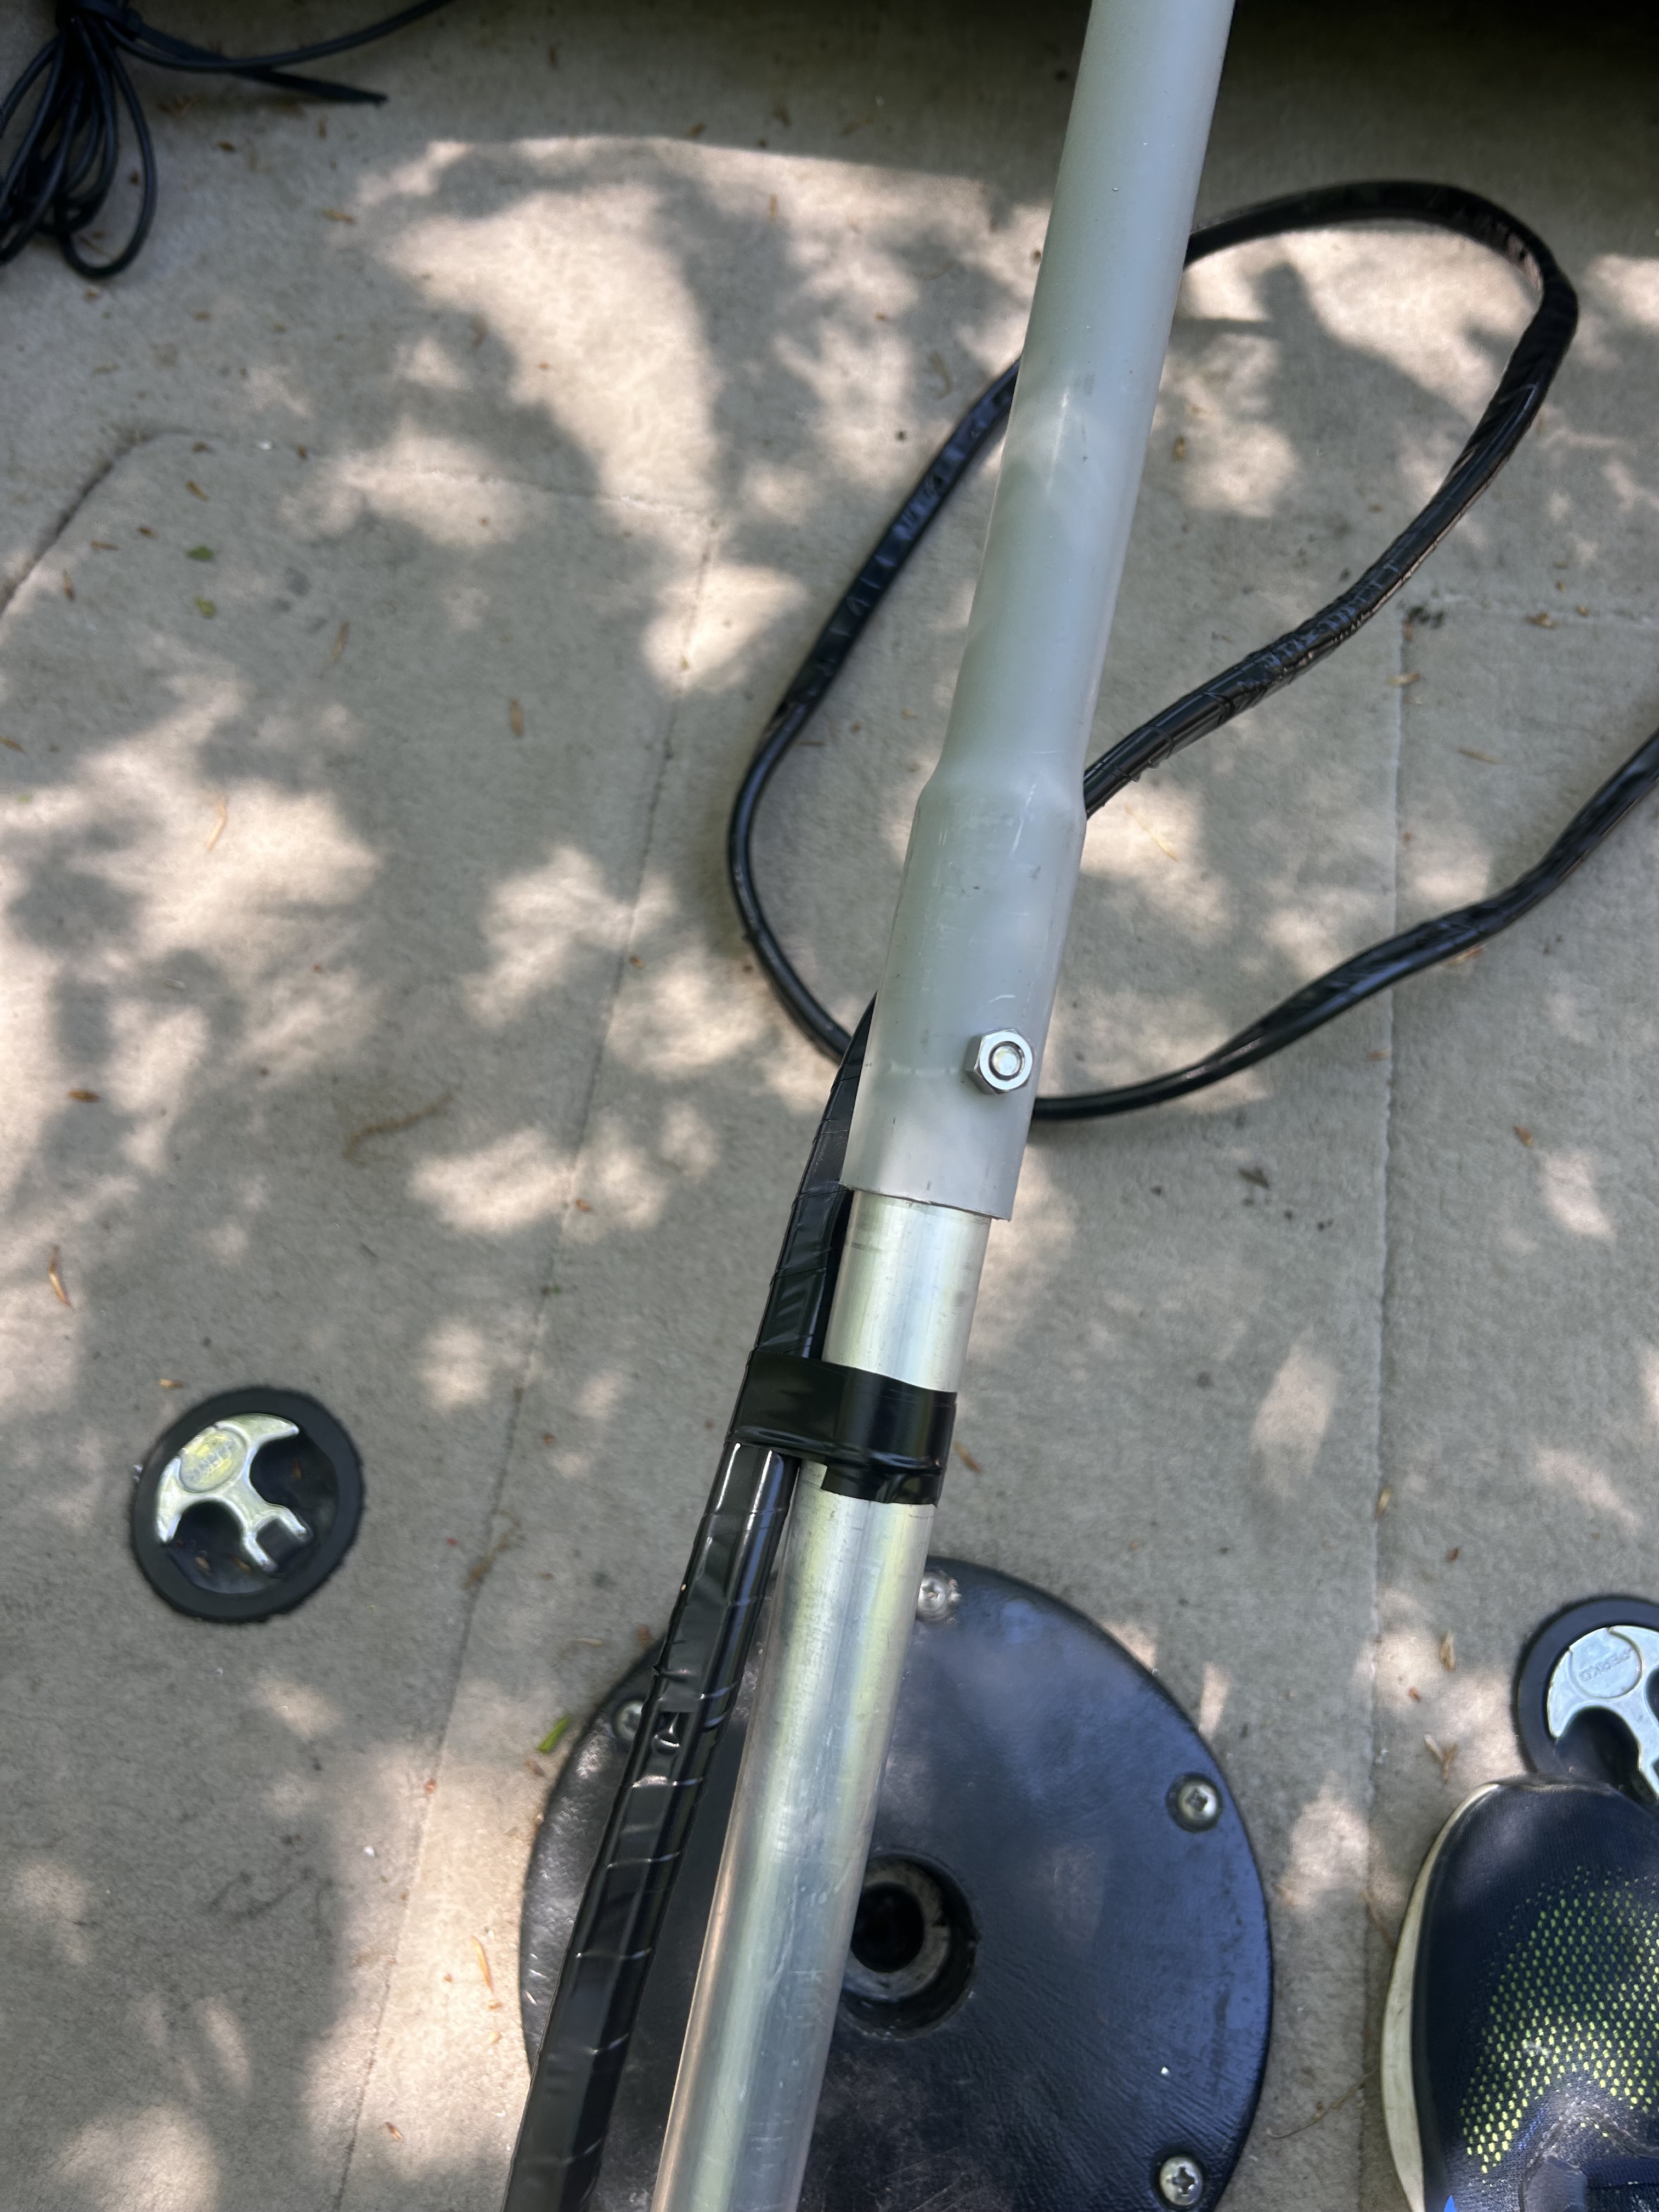
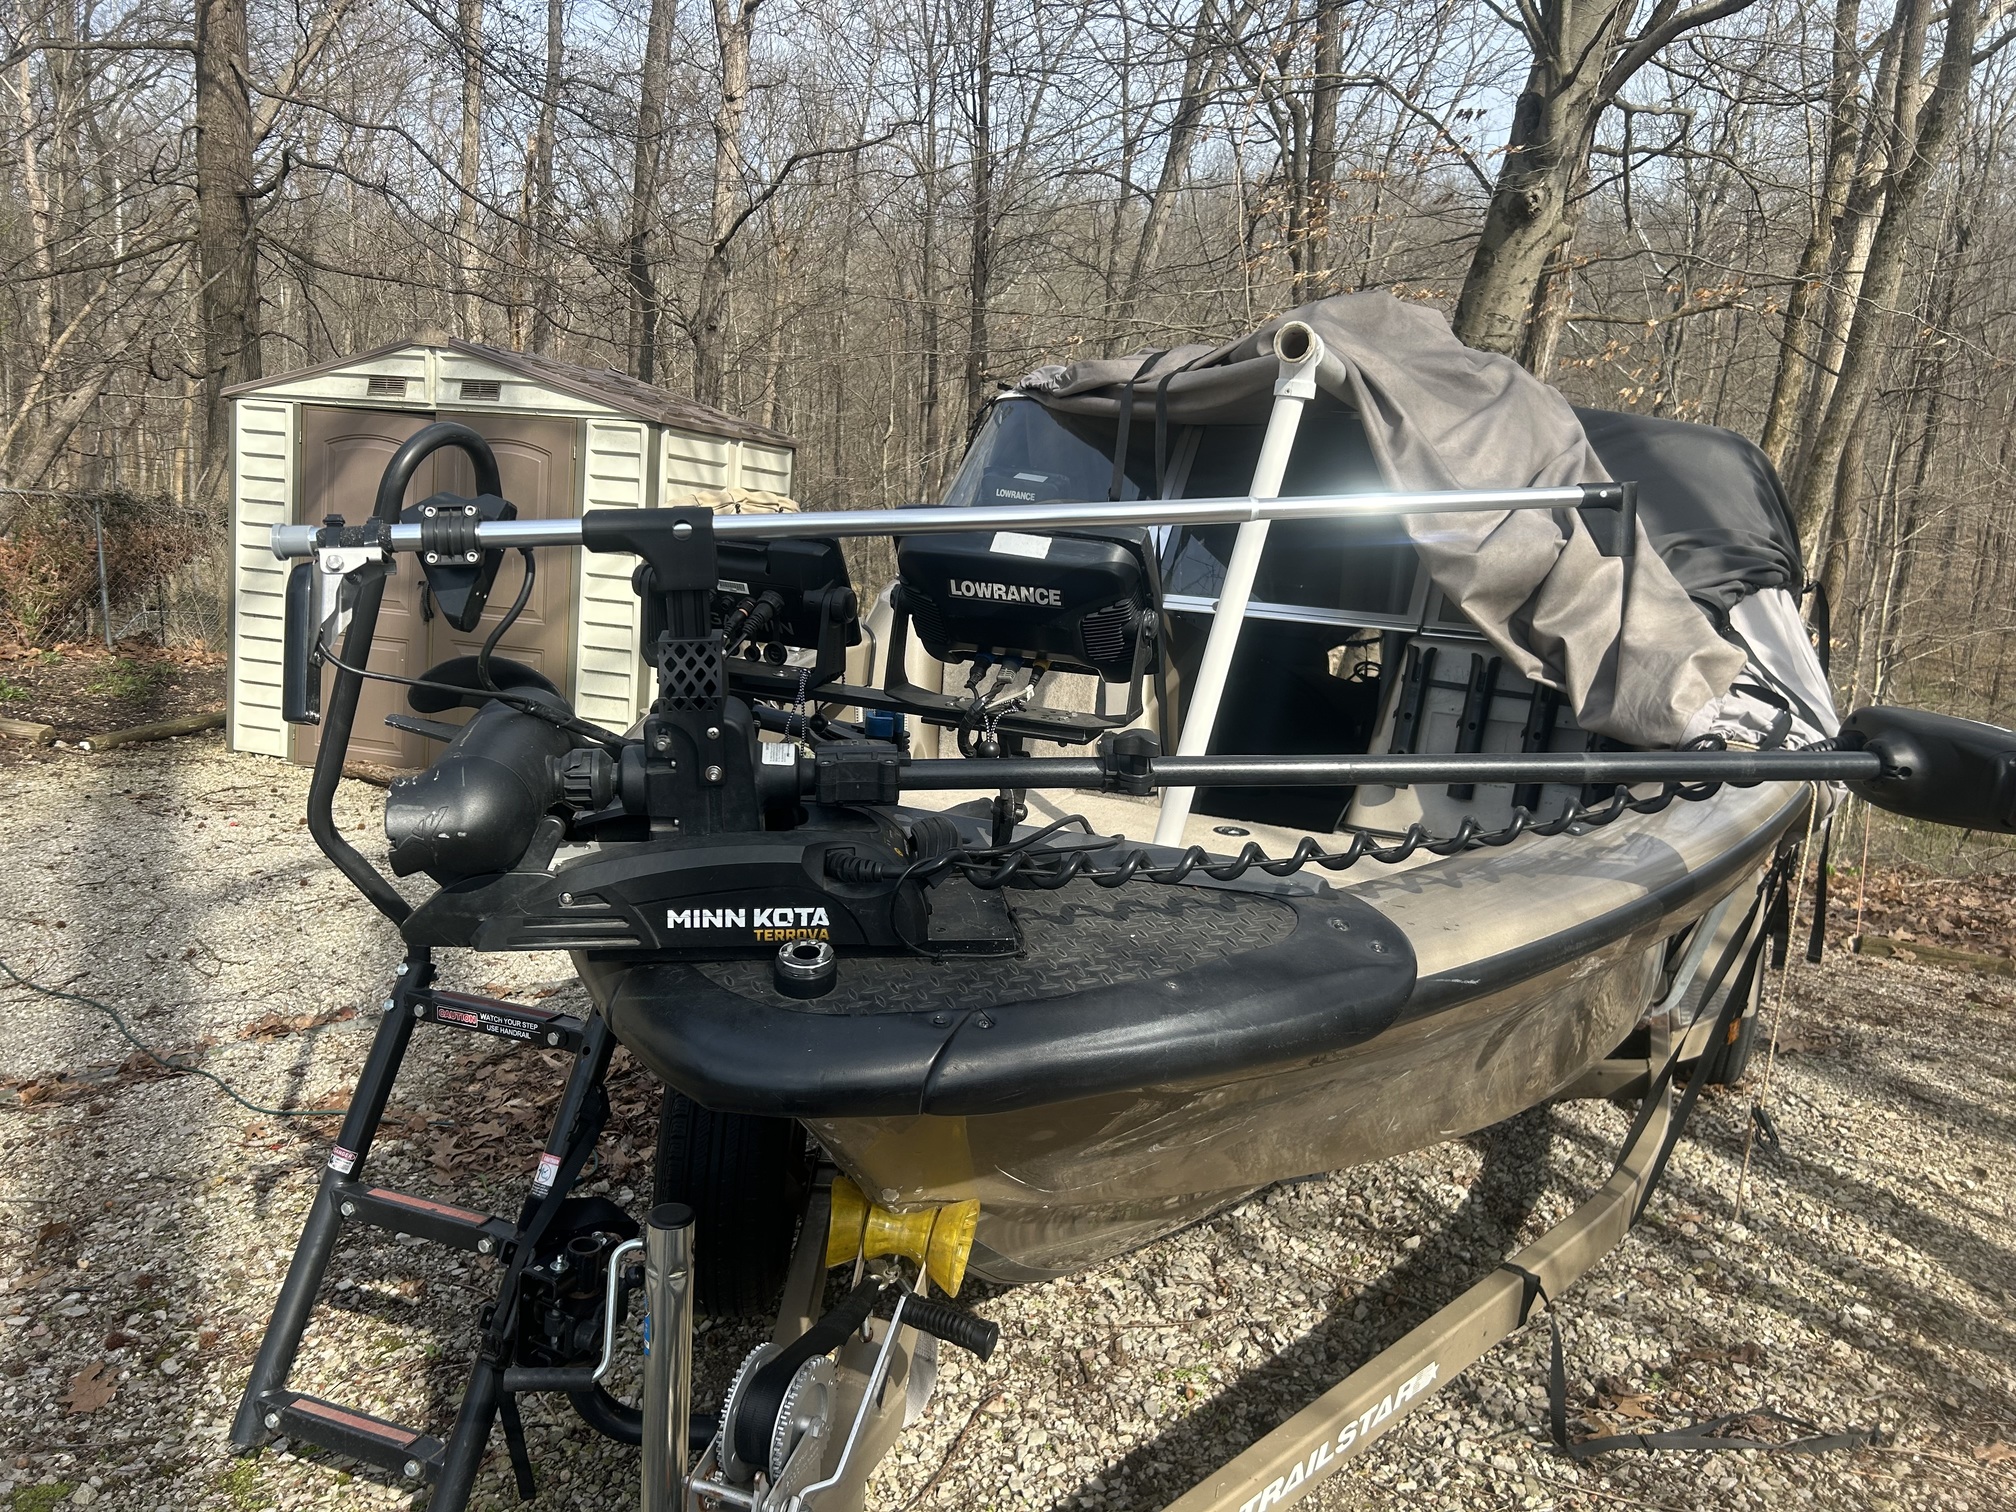
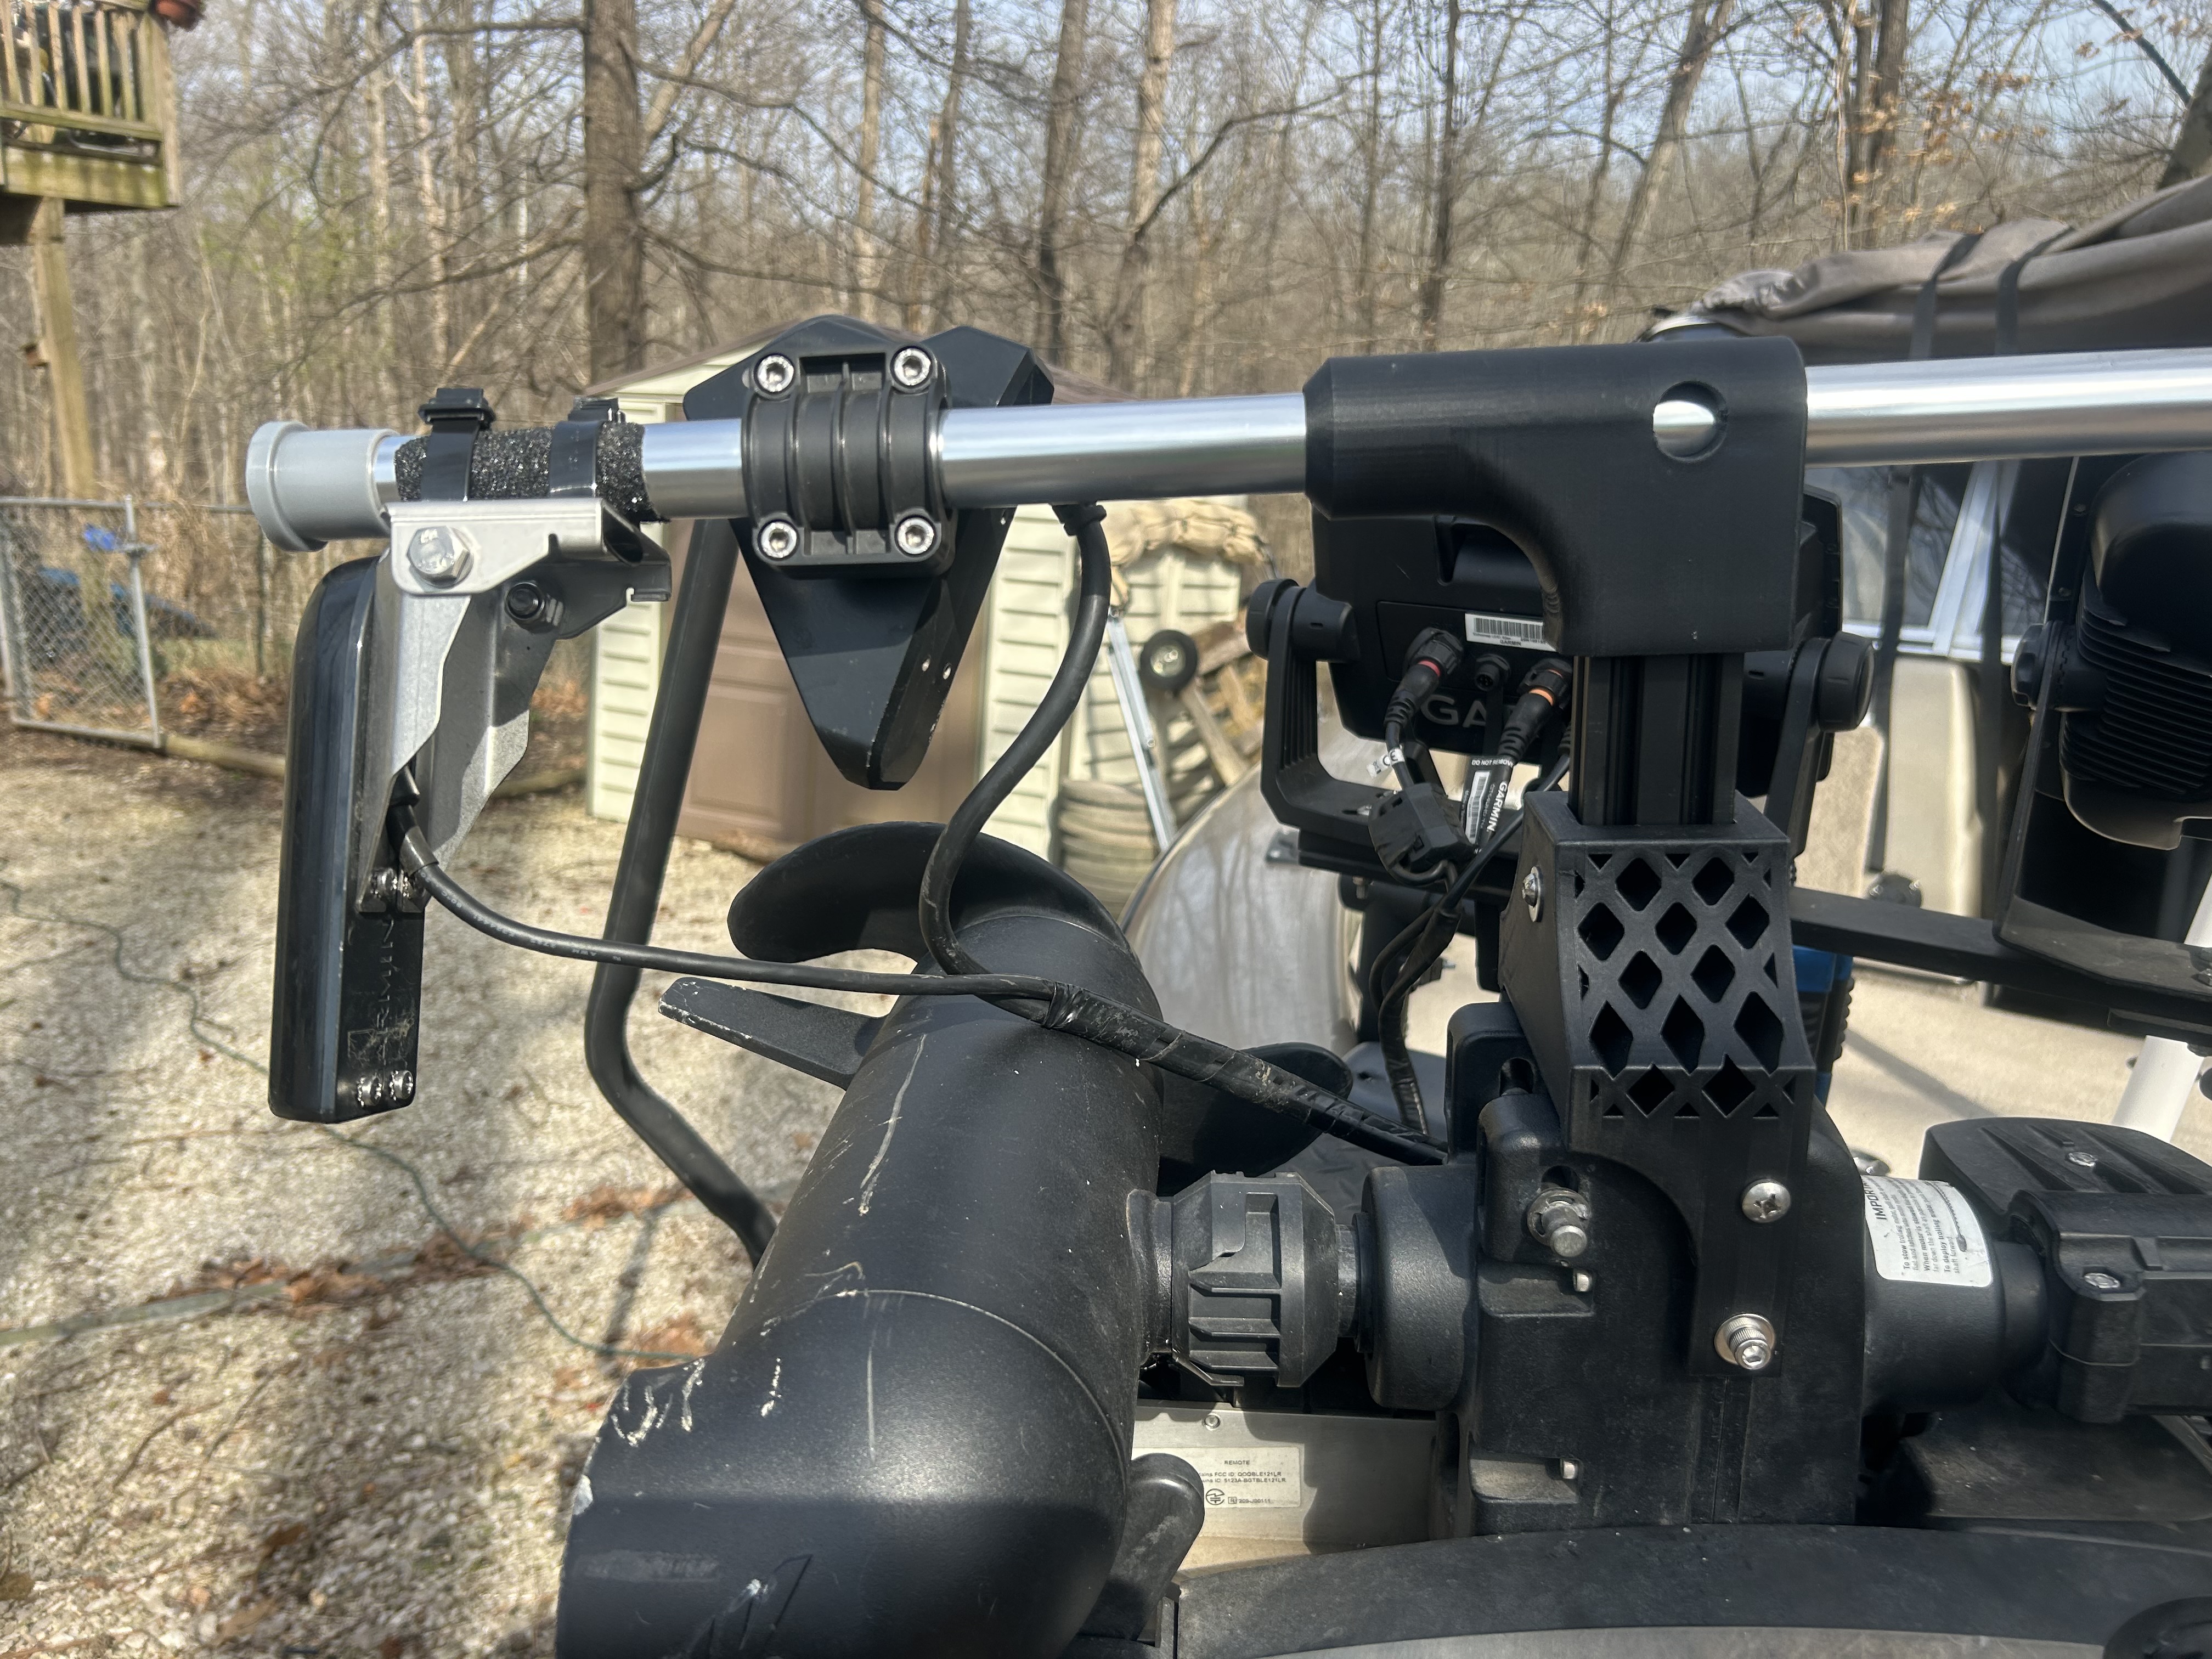
Item 1. 2 piece shower rod has been replaced with 1 piece aluminum acquired at Rural King, of all places. It is stiffer and corrosion free.
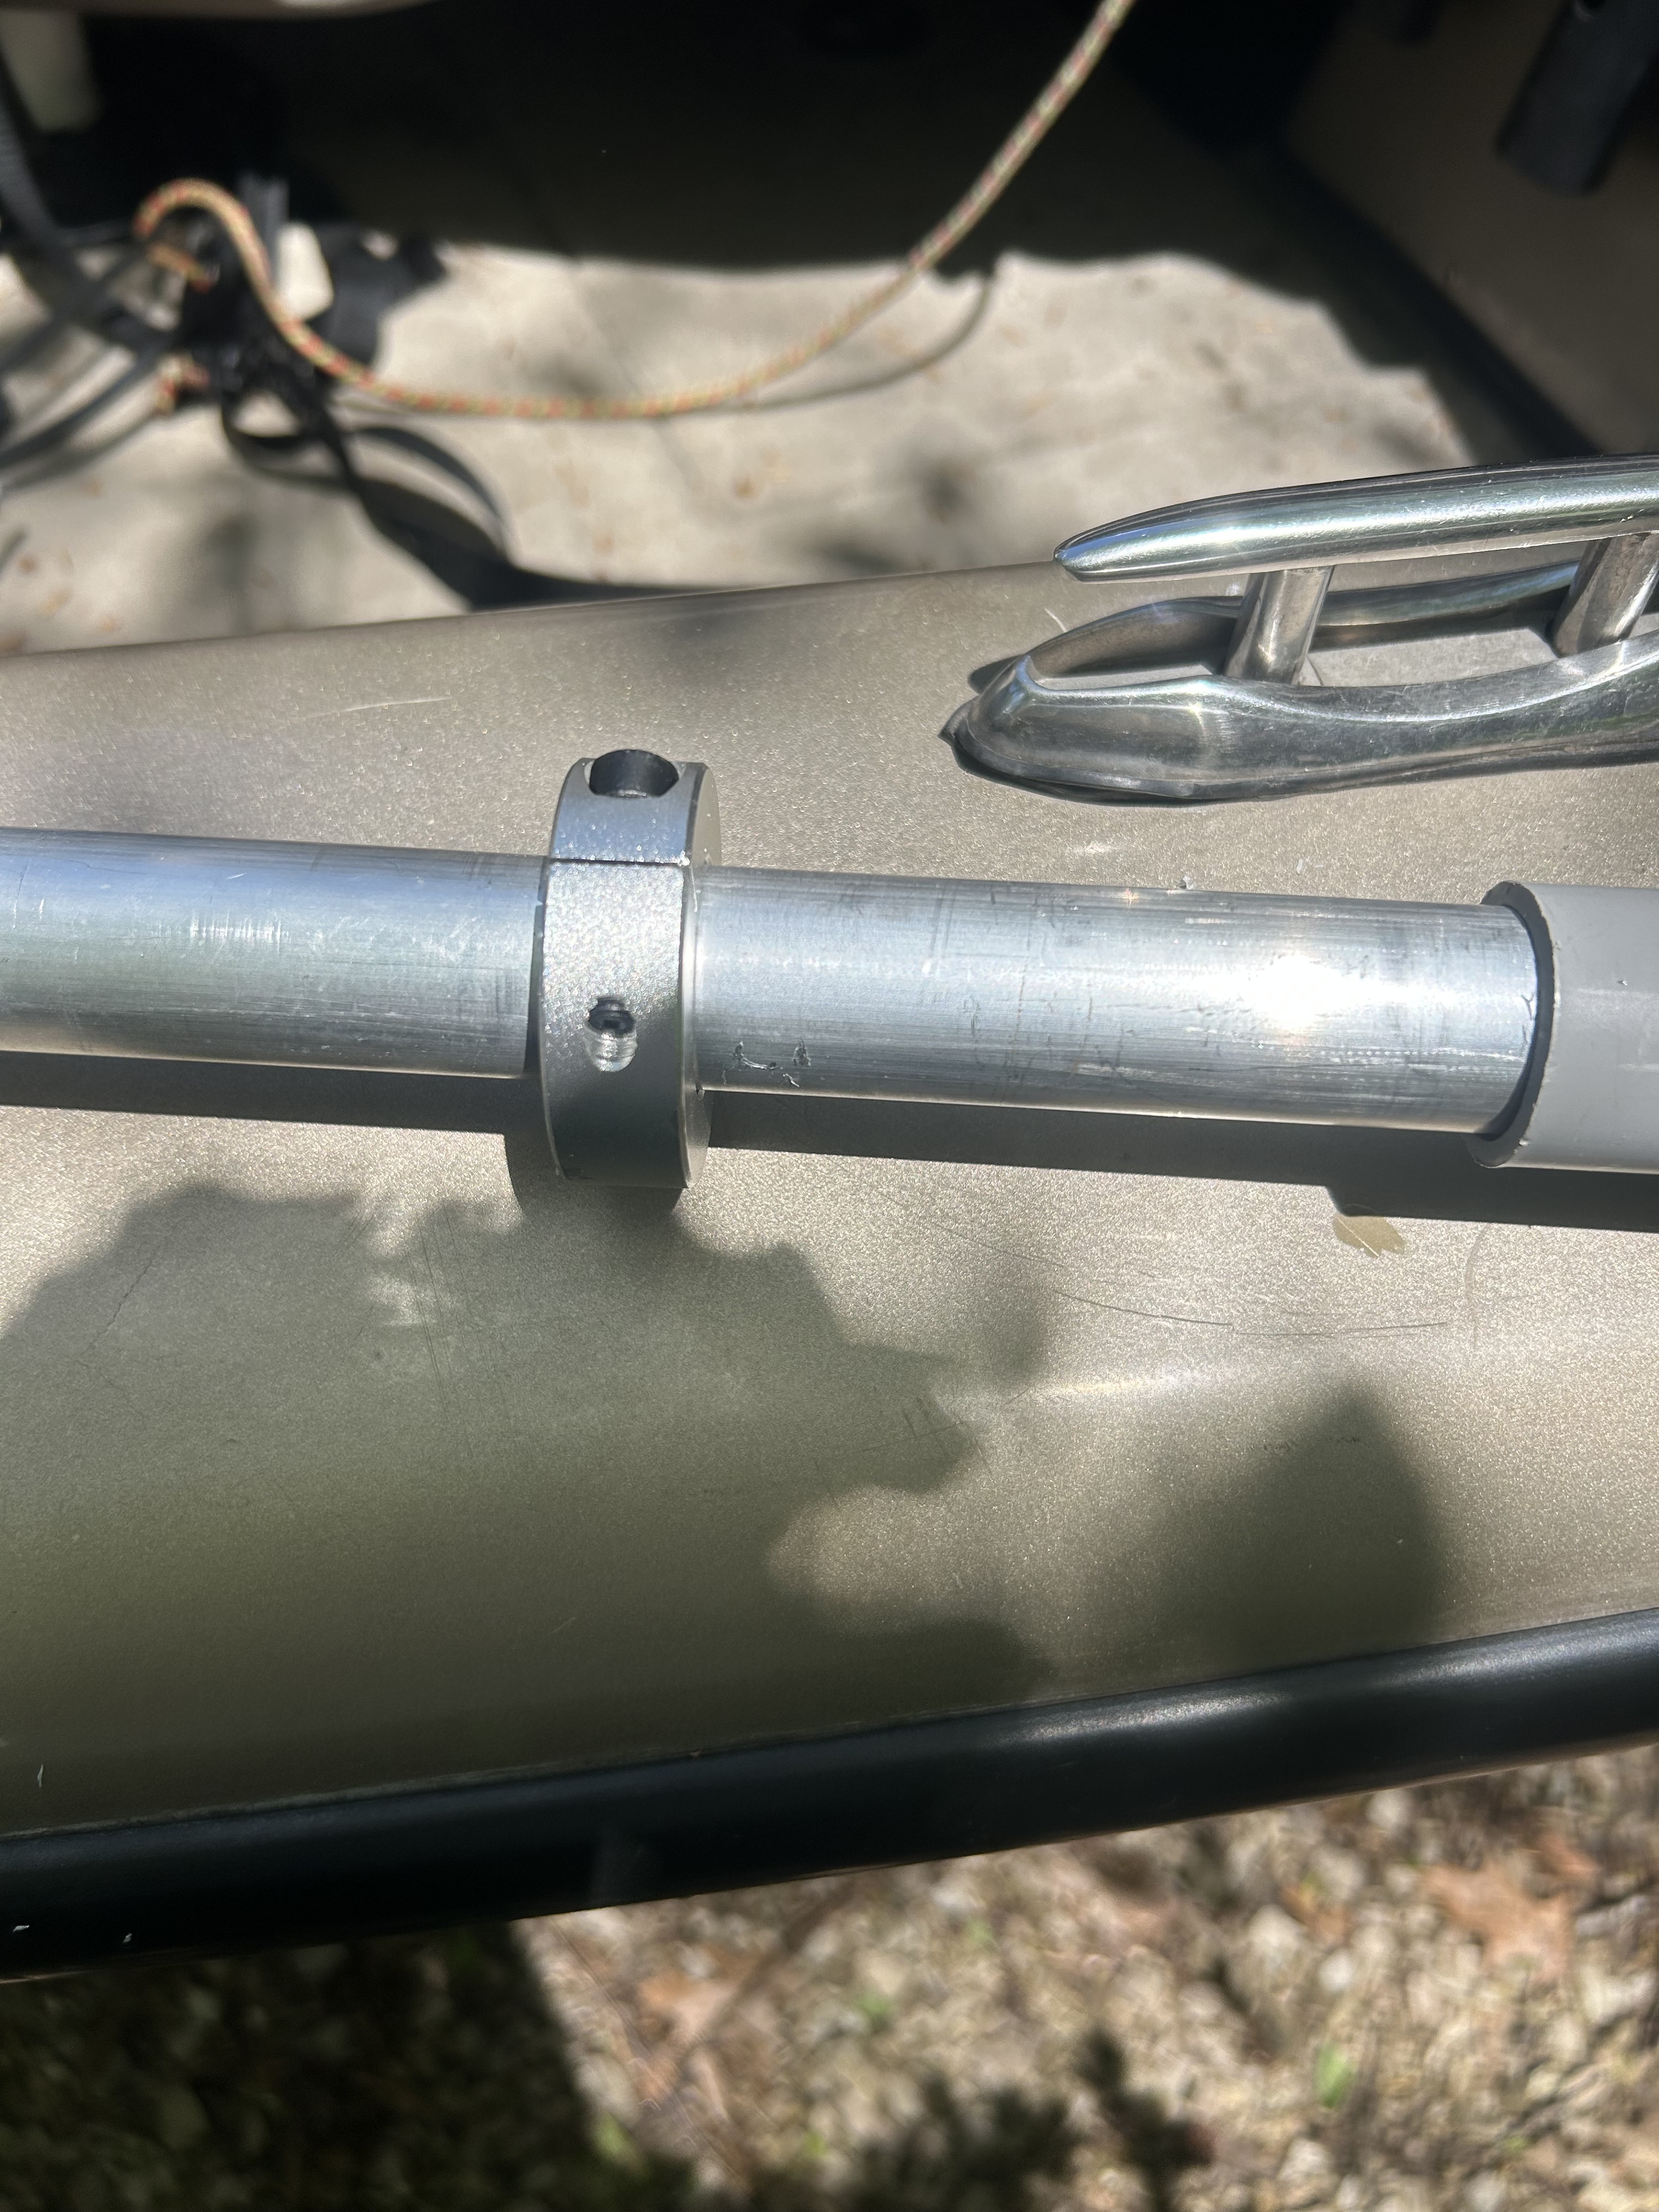
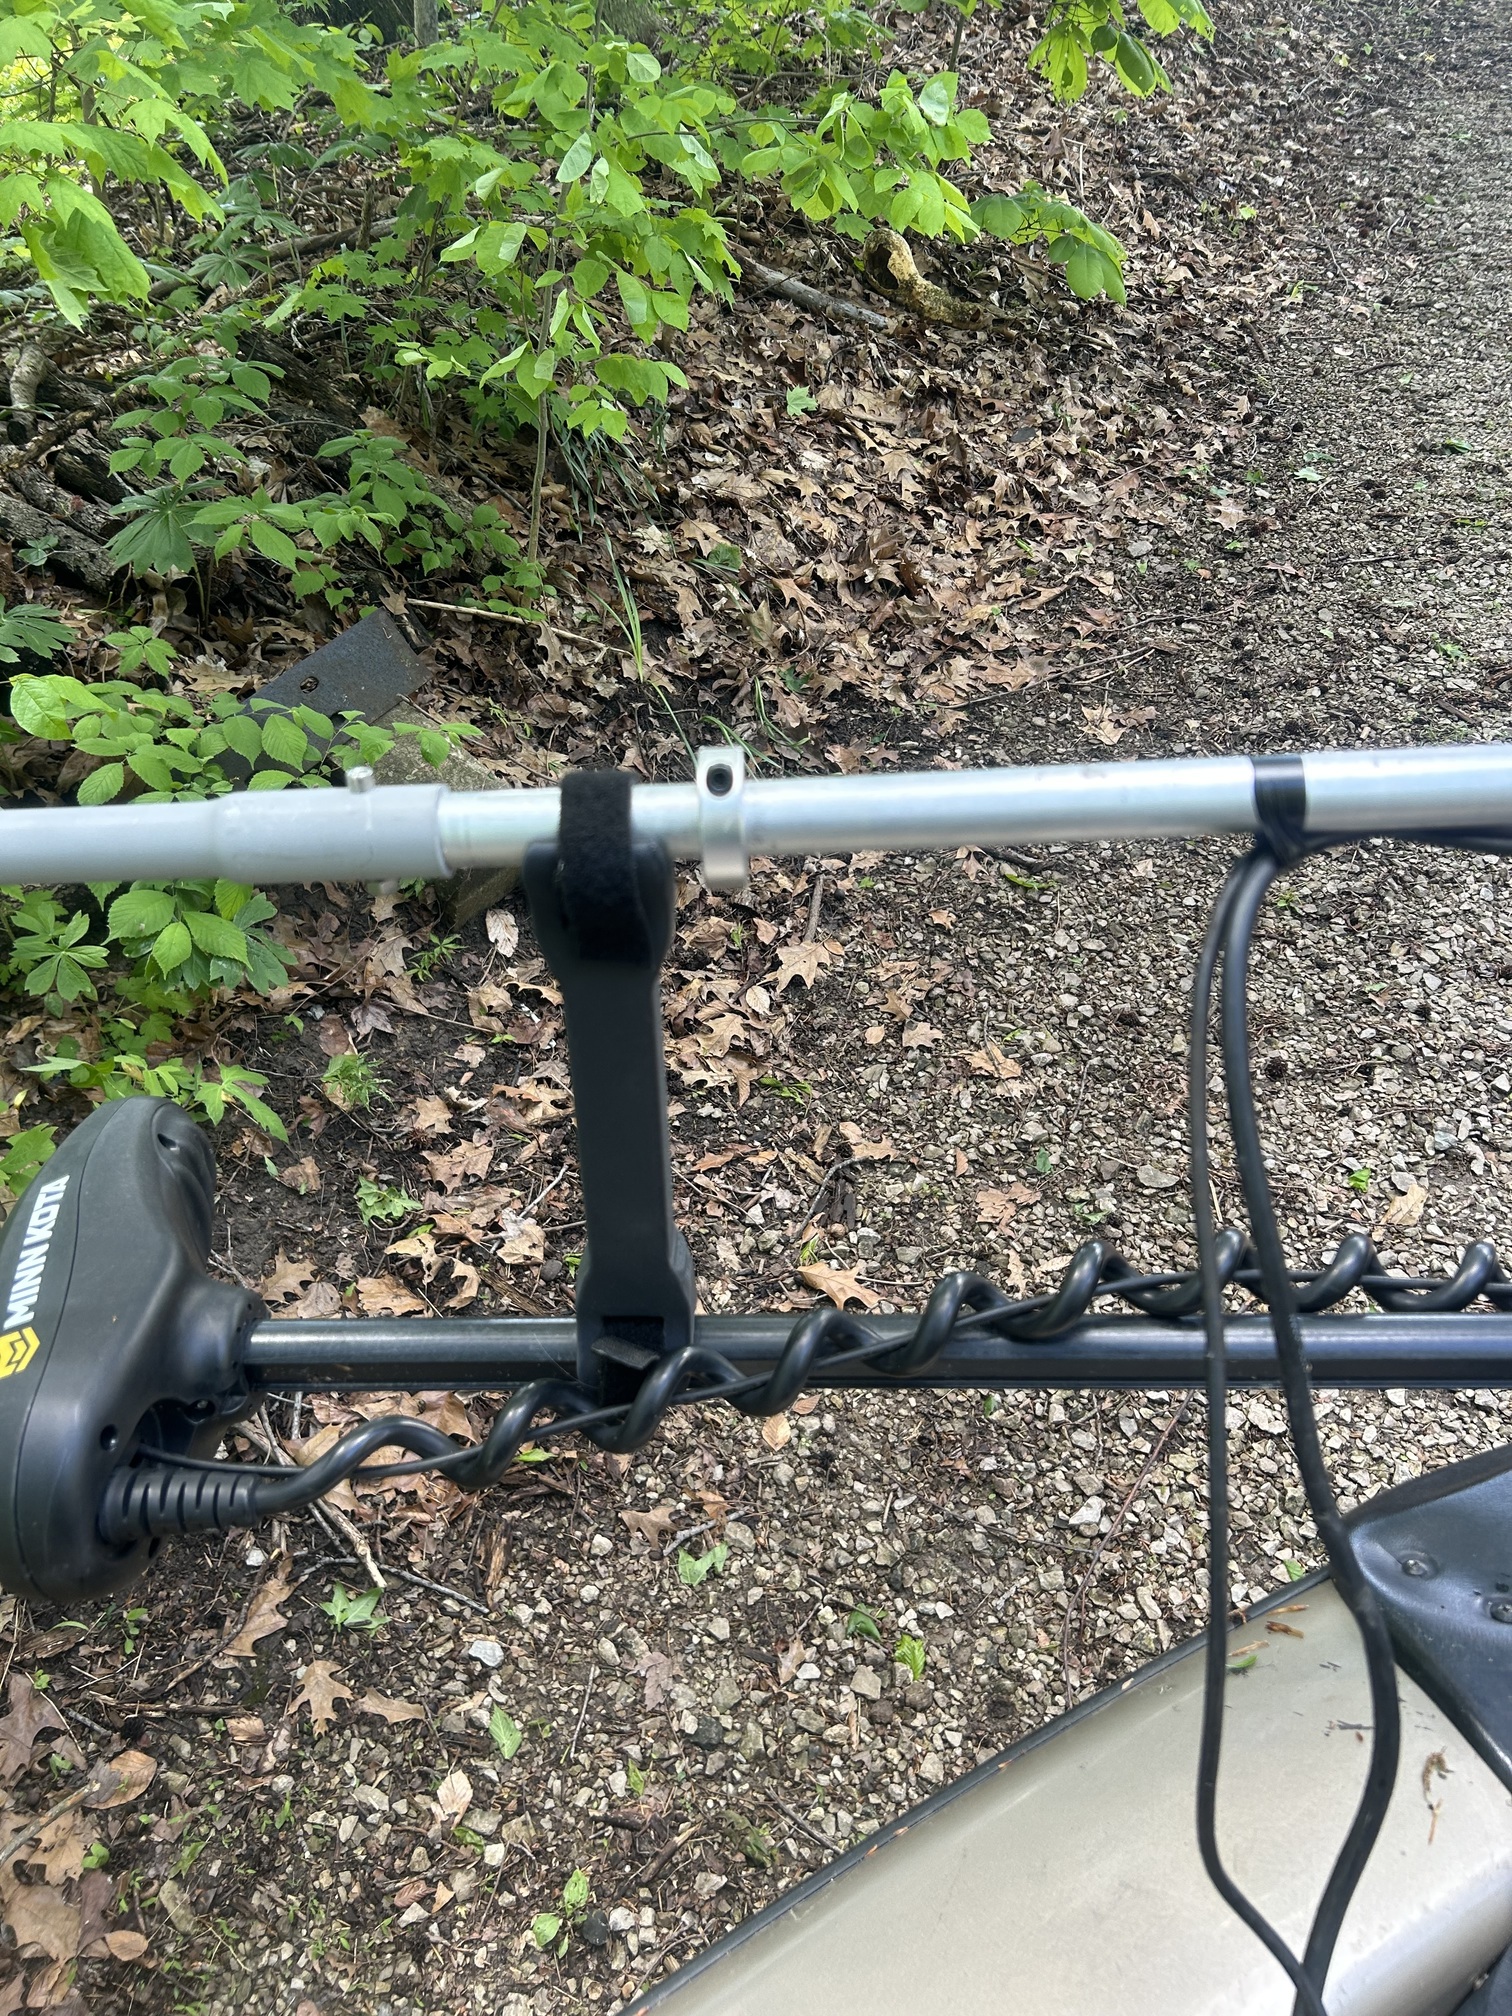
Item 2: The depth control collar has been upgraded to an aluminum shaft collar. (Amazon). The inner diameter is slightly over sized so I smeared some JBweld and polished to fit. This resolves the known issue with th durability of the printed piece.
Item 3: T- handle is replaced with the flange end of 3/4” electrical PVC tube. The original was sized for the shower rod and was too small for the 1”’dia tube
Item 3. Ensure that the T-slot is long enough to allow for 360° trolling Motor head revolutions. I went with 8.5”
Item 4: Dog bone developed and printed to support the shaft during running down the lake.
Feel free to ask question!
Hows the reel* world application as it sits?
Does it work?
I’m on the edge of springing for the Active Target since I’m Simrad, so 3D might be an option I need to look at
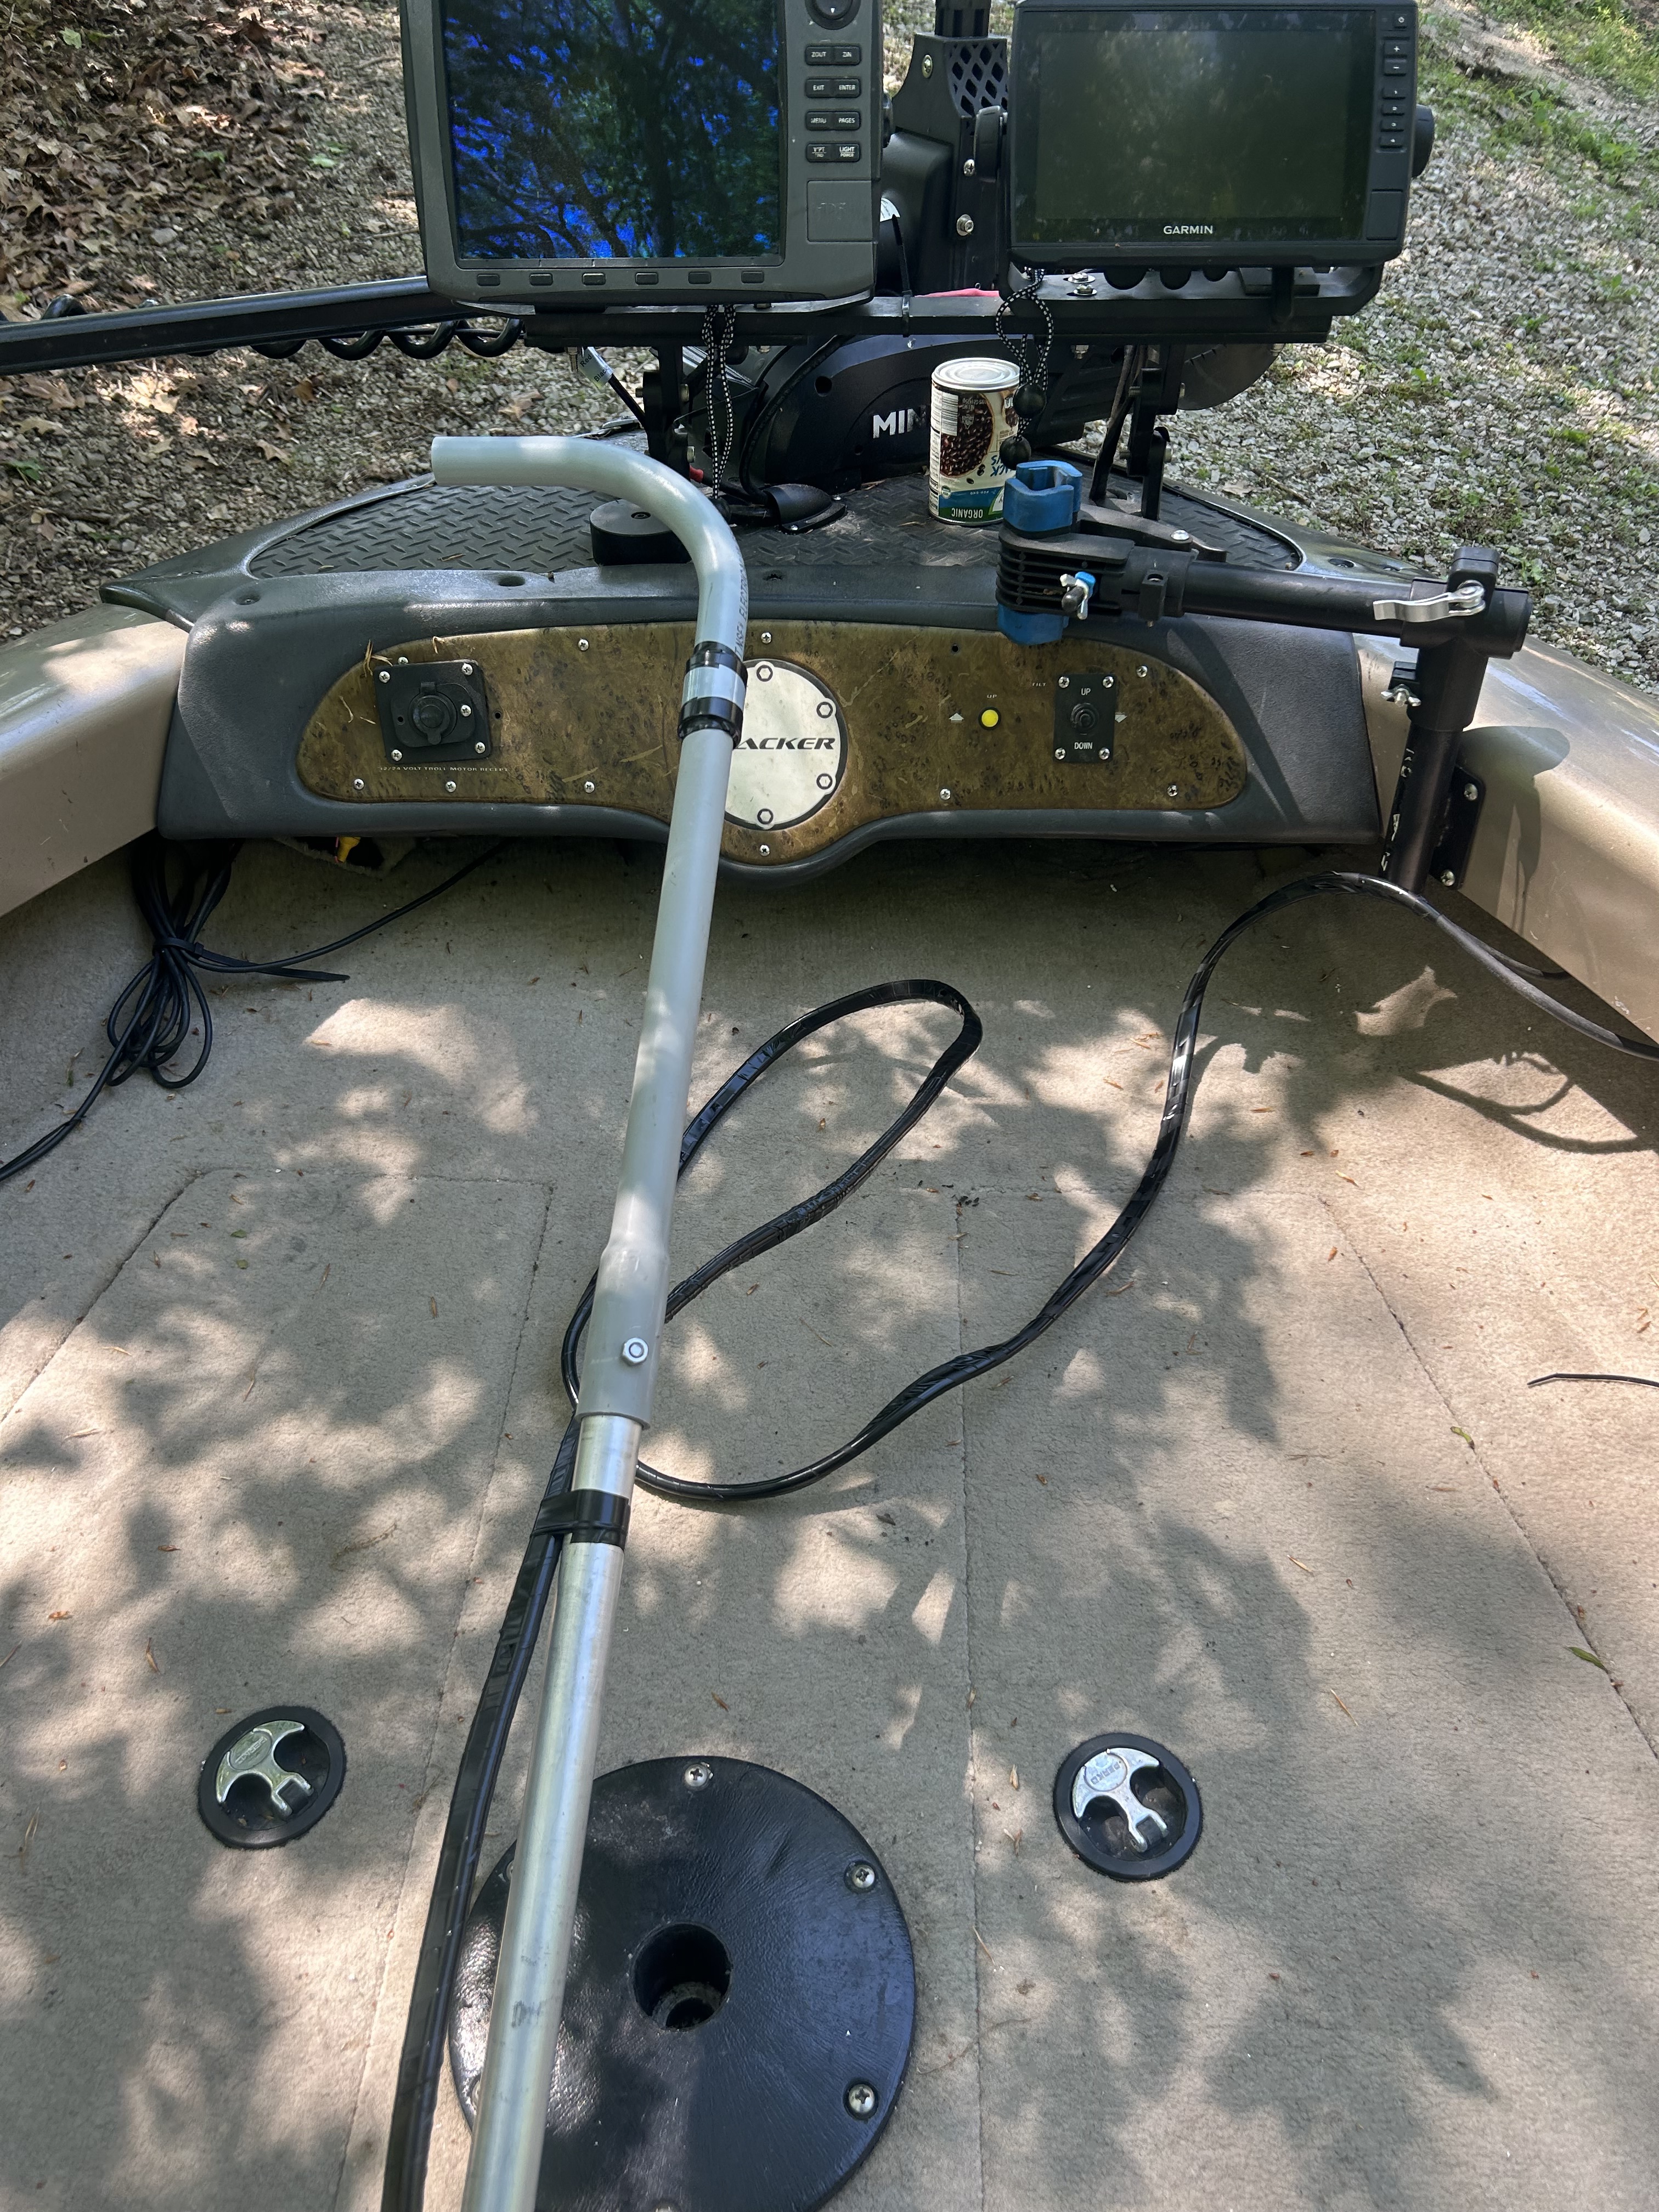
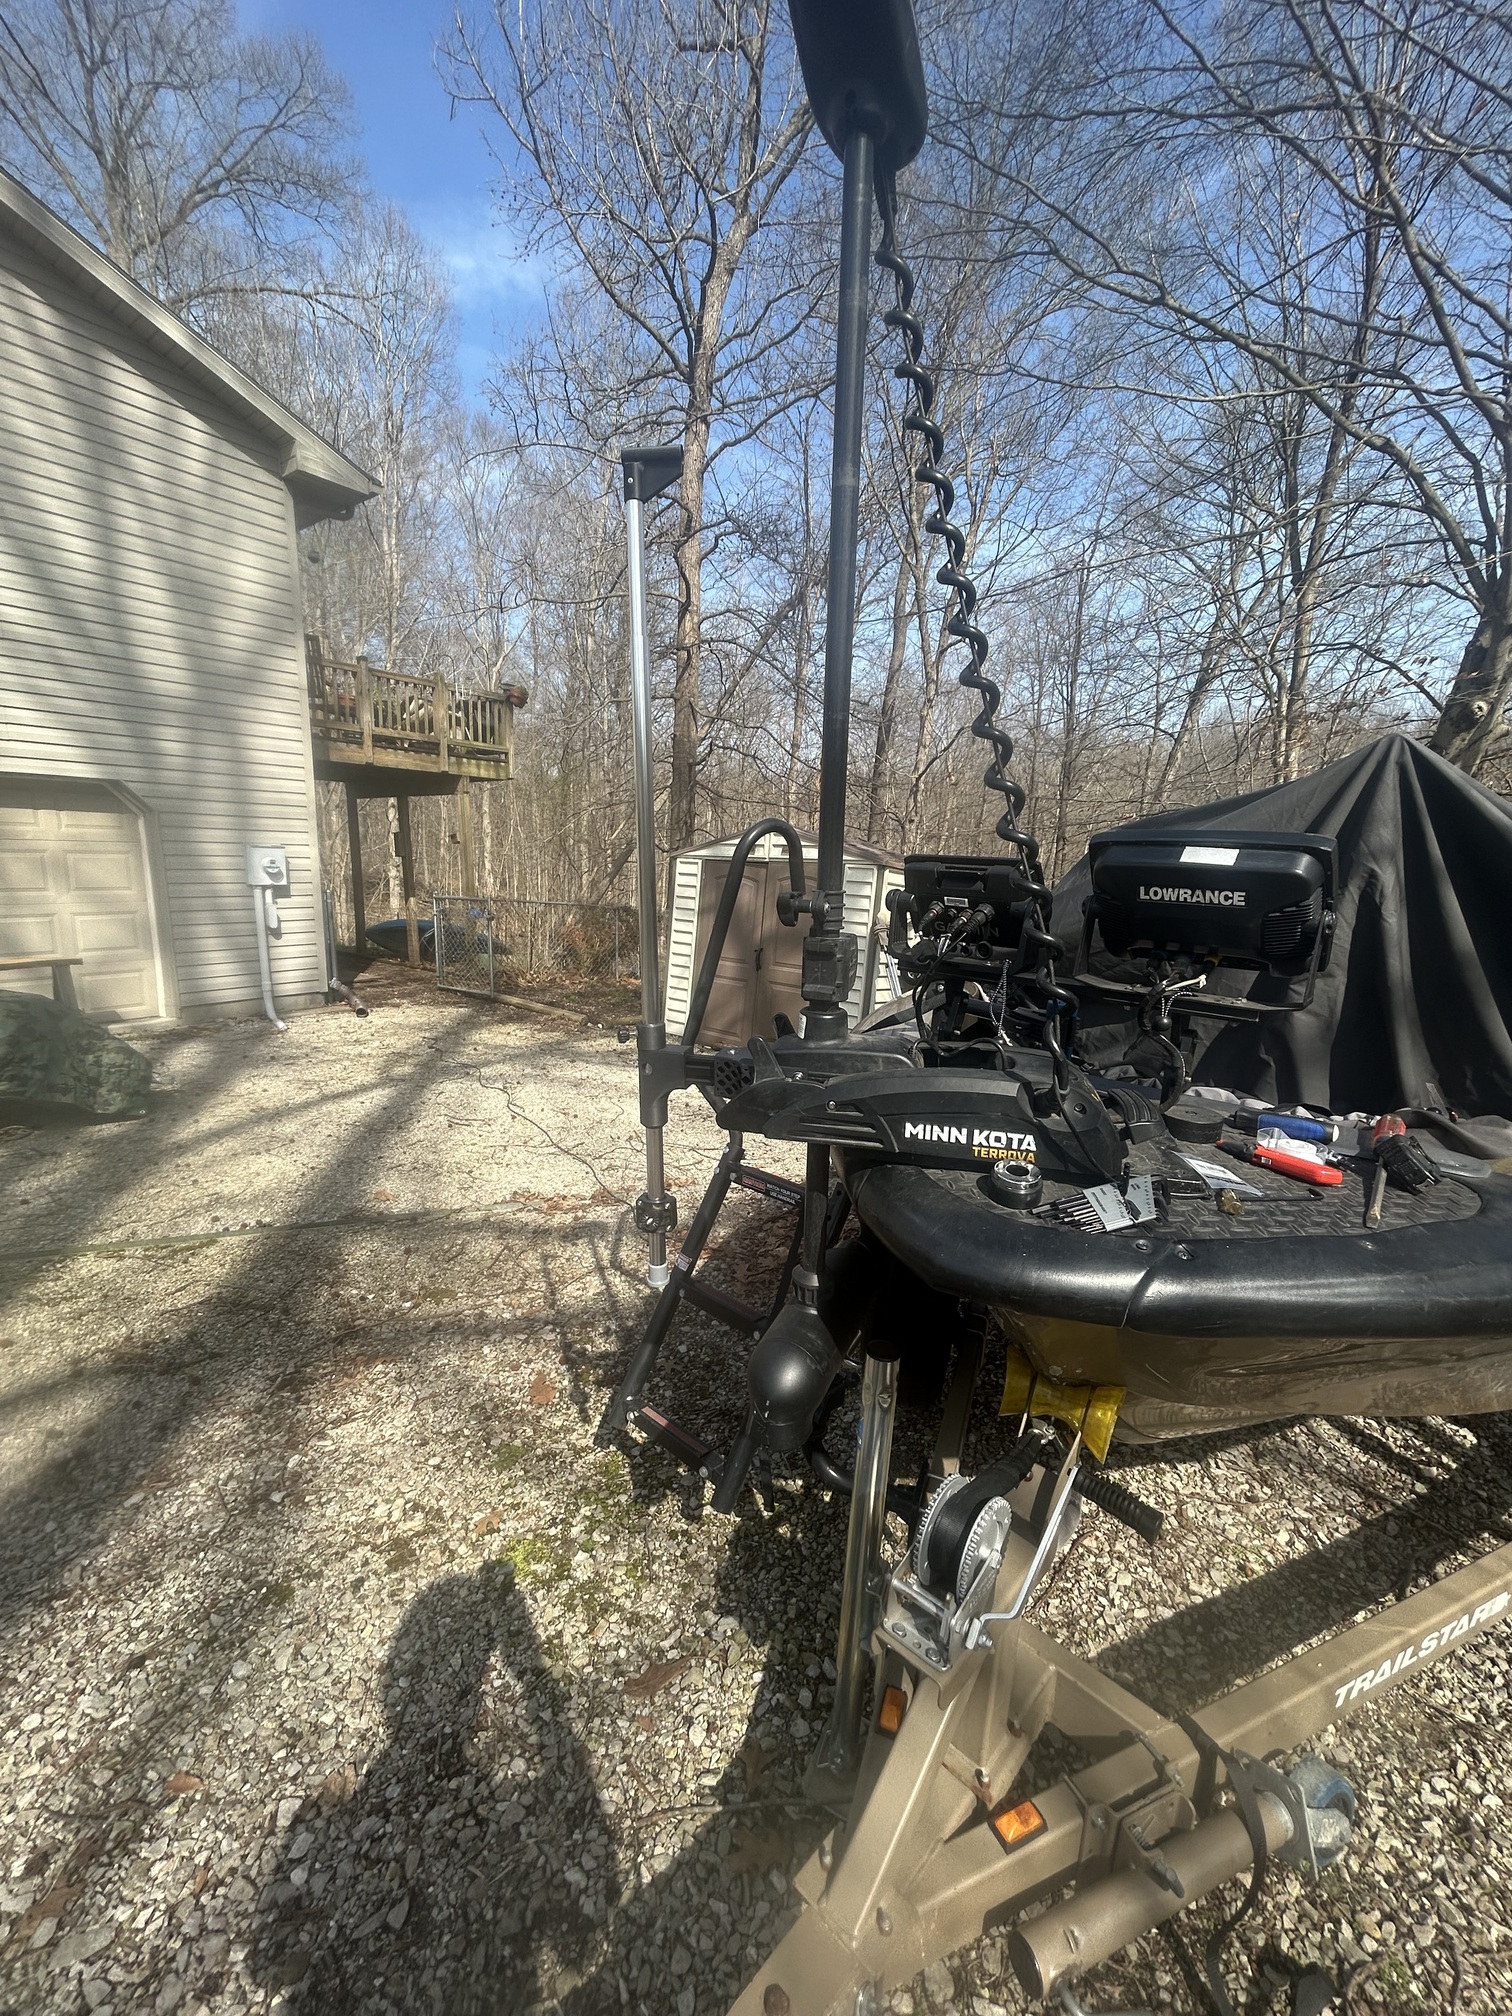
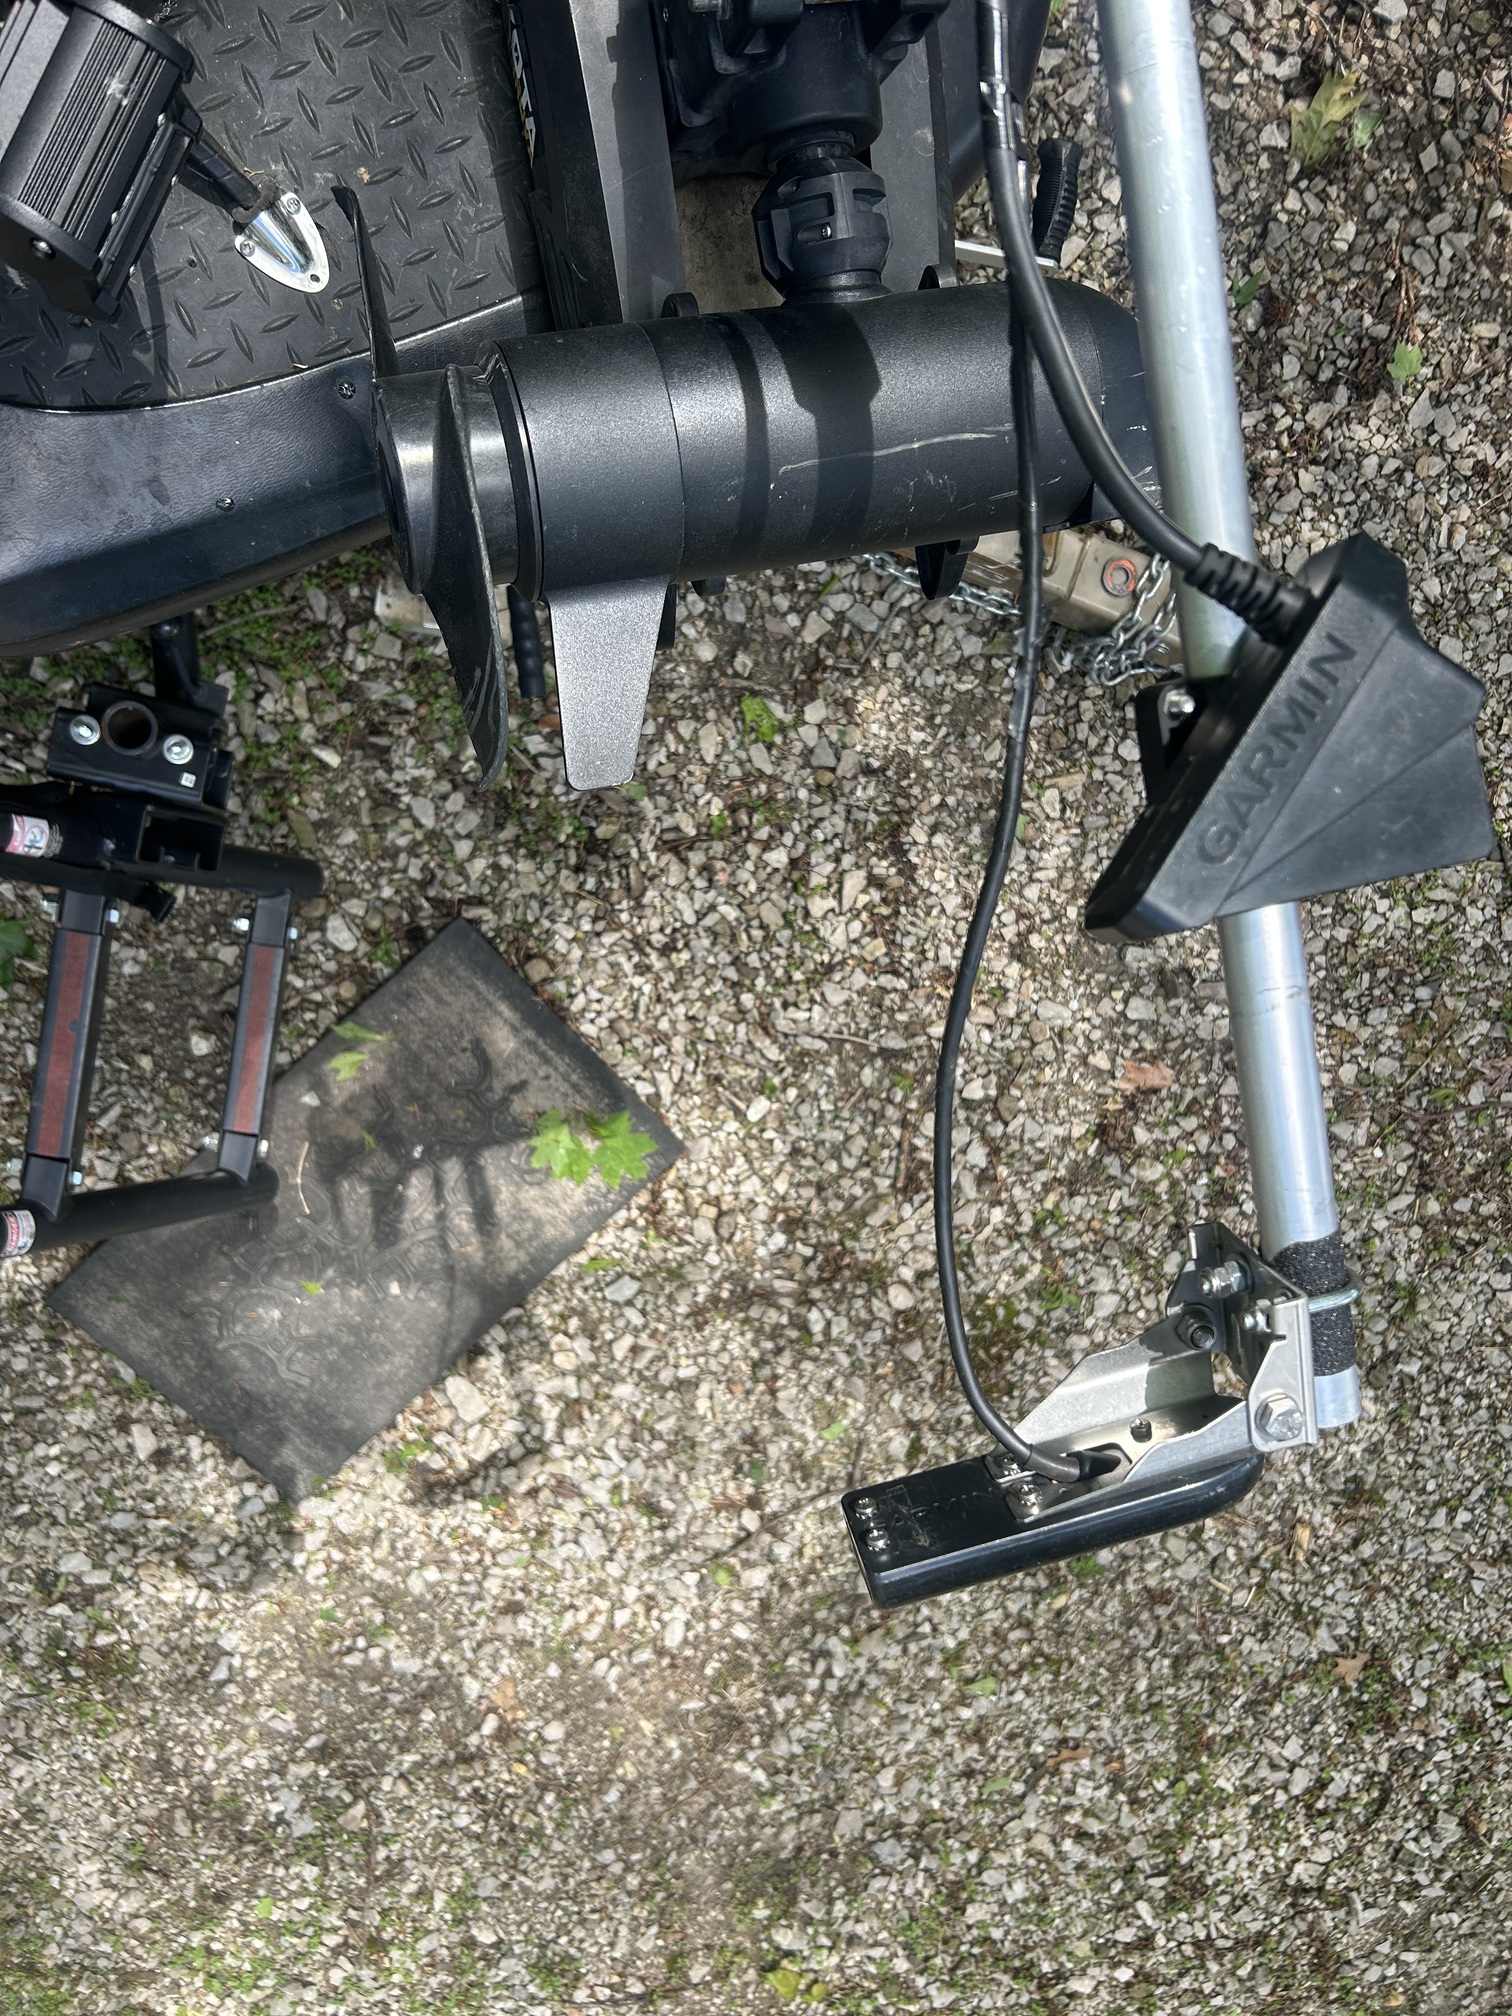
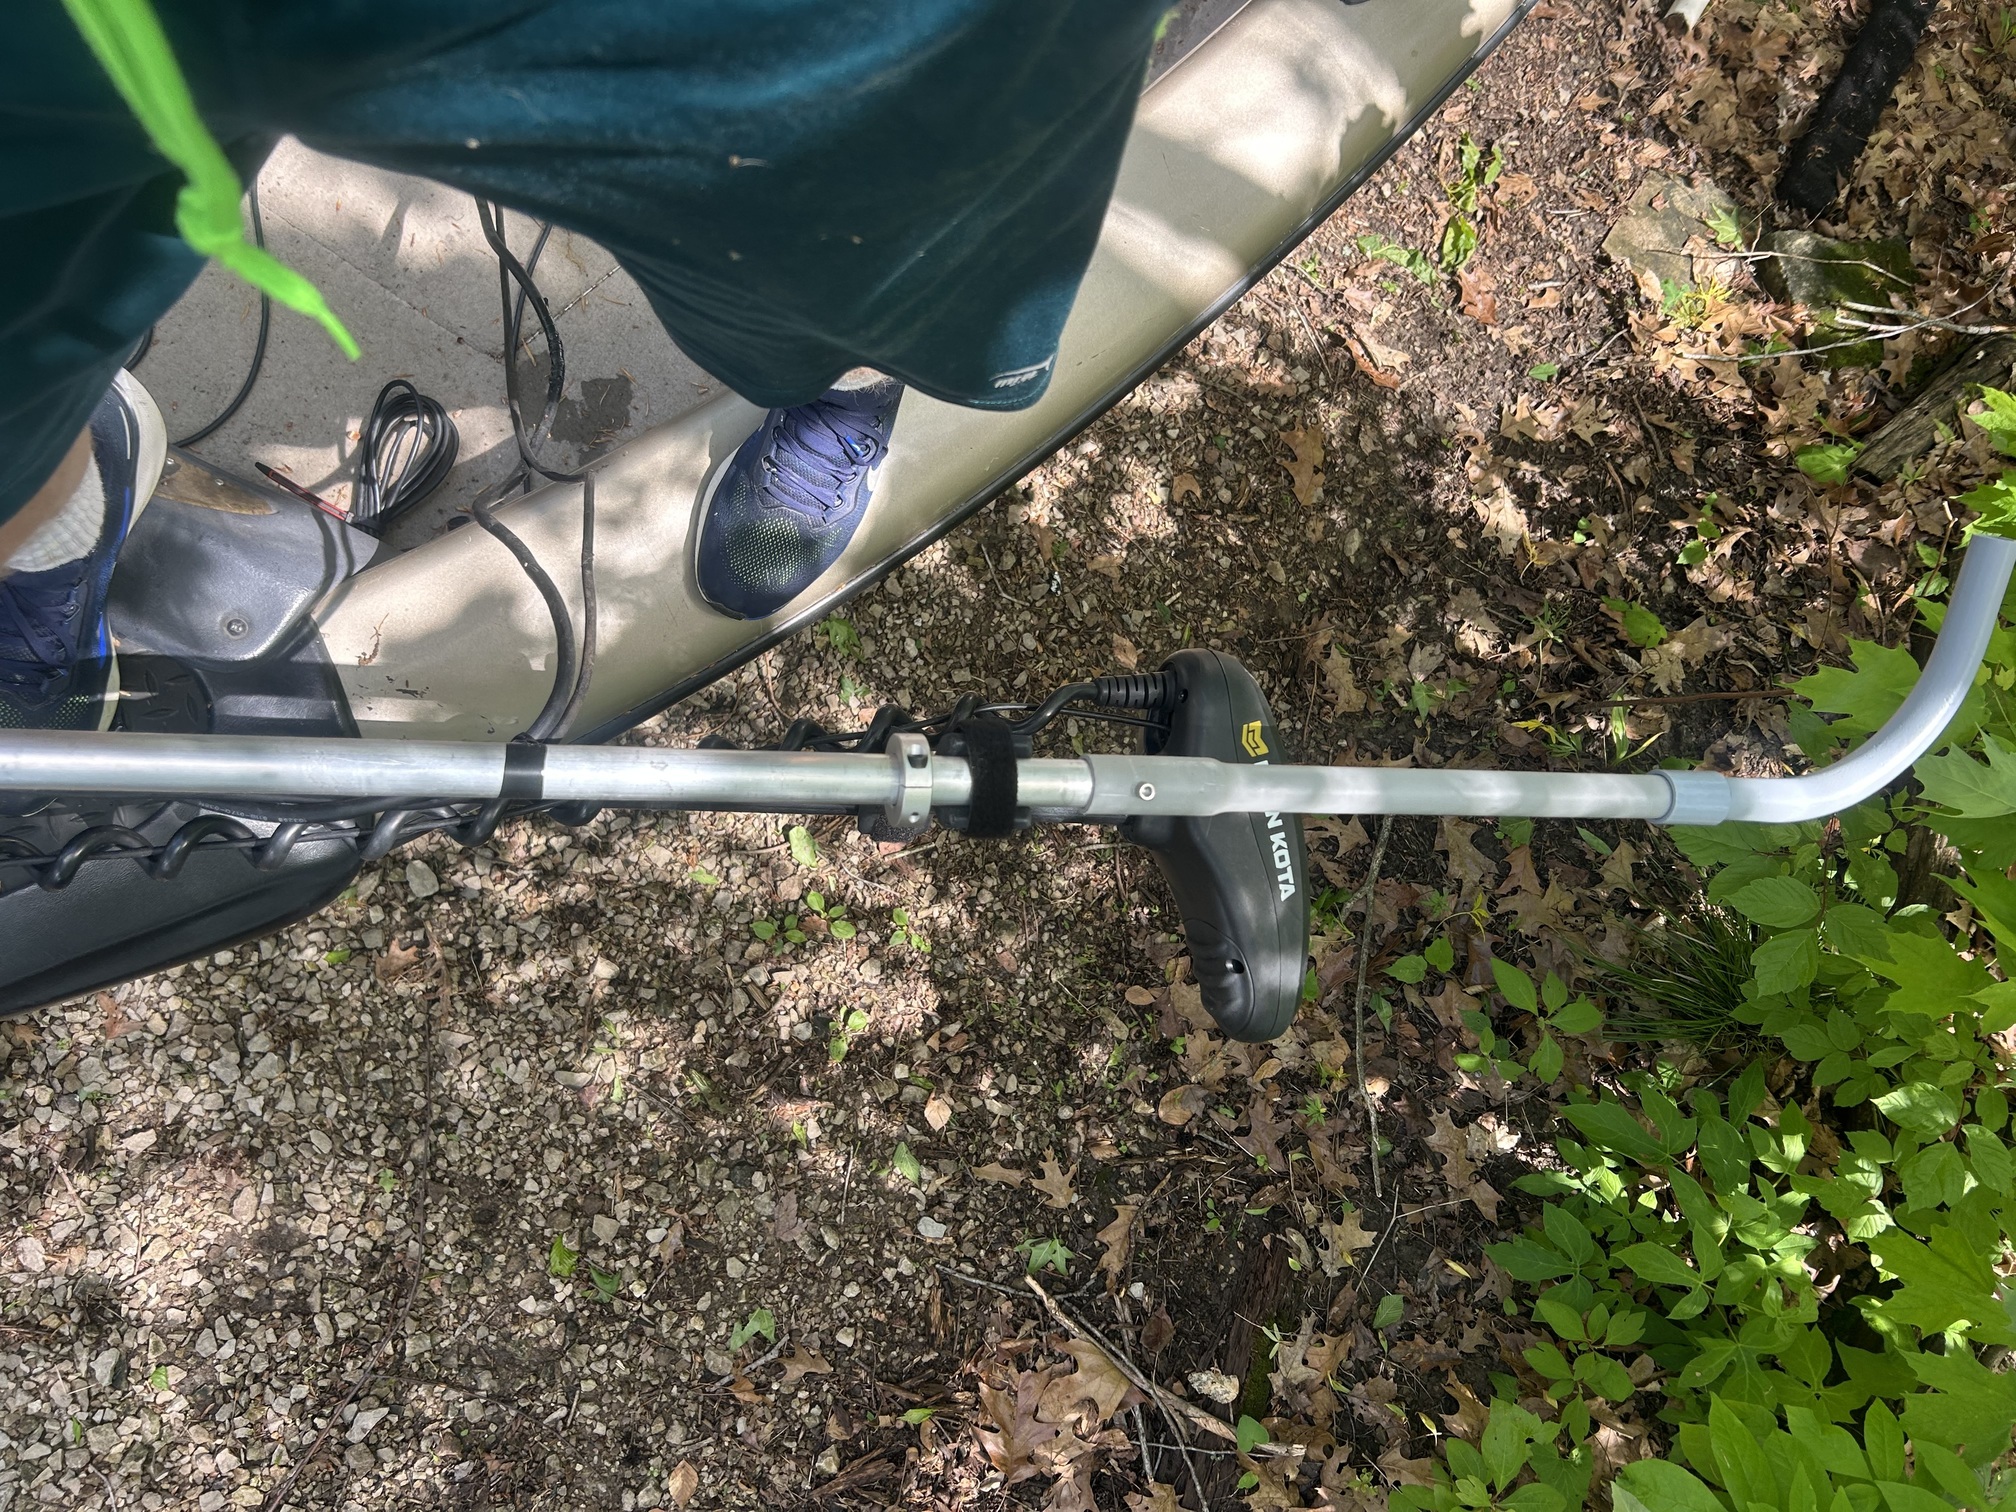
I’m happy with the application. I had a PVC DYI pole previously and this is much better. The convenience of attachment to the TM makes deployment a snap. You can see that I both the live scope and the base transducers mounted on the pole. I did put nonskid sticky paper to help the base transducer u-bolt stay in place.
Once again, KUDOs to Mark for all the development and design effort.
Thanks for the input, so all in what do you think it cost if you don’t mind sharing.
Also, you should check out some of the lures Mark has designed and makes himself. Good stuff
He’s a renaissance man, lol
check 'em out, ,.,
Top Twitch Baits for Spotted Seatrout and Red Fish Top Twitch Baits for Spotted Seatrout and Red Fish
The 3D printing was $80. This is with carbon fiber filament.
Not including the dog one support. That was $40. In hindsight I should have made that from a 2x4 and saved $$🤣
$7 for the PVC for handle bits
$16 for the aluminum 1-piece shaft
$15 for the aluminum shaft collar. Had to by pack of 4 Amazon. So really $3.
$15 Initial shower rod. Now repurposed to the bathroom🤣
$4 for the knobs.
$18 for t-slot bar and nuts. Had to buy 100 nuts to get 2!![]()
![]()
So call it $200-ish.
I saw his baits. Very nice. I paint a bit too


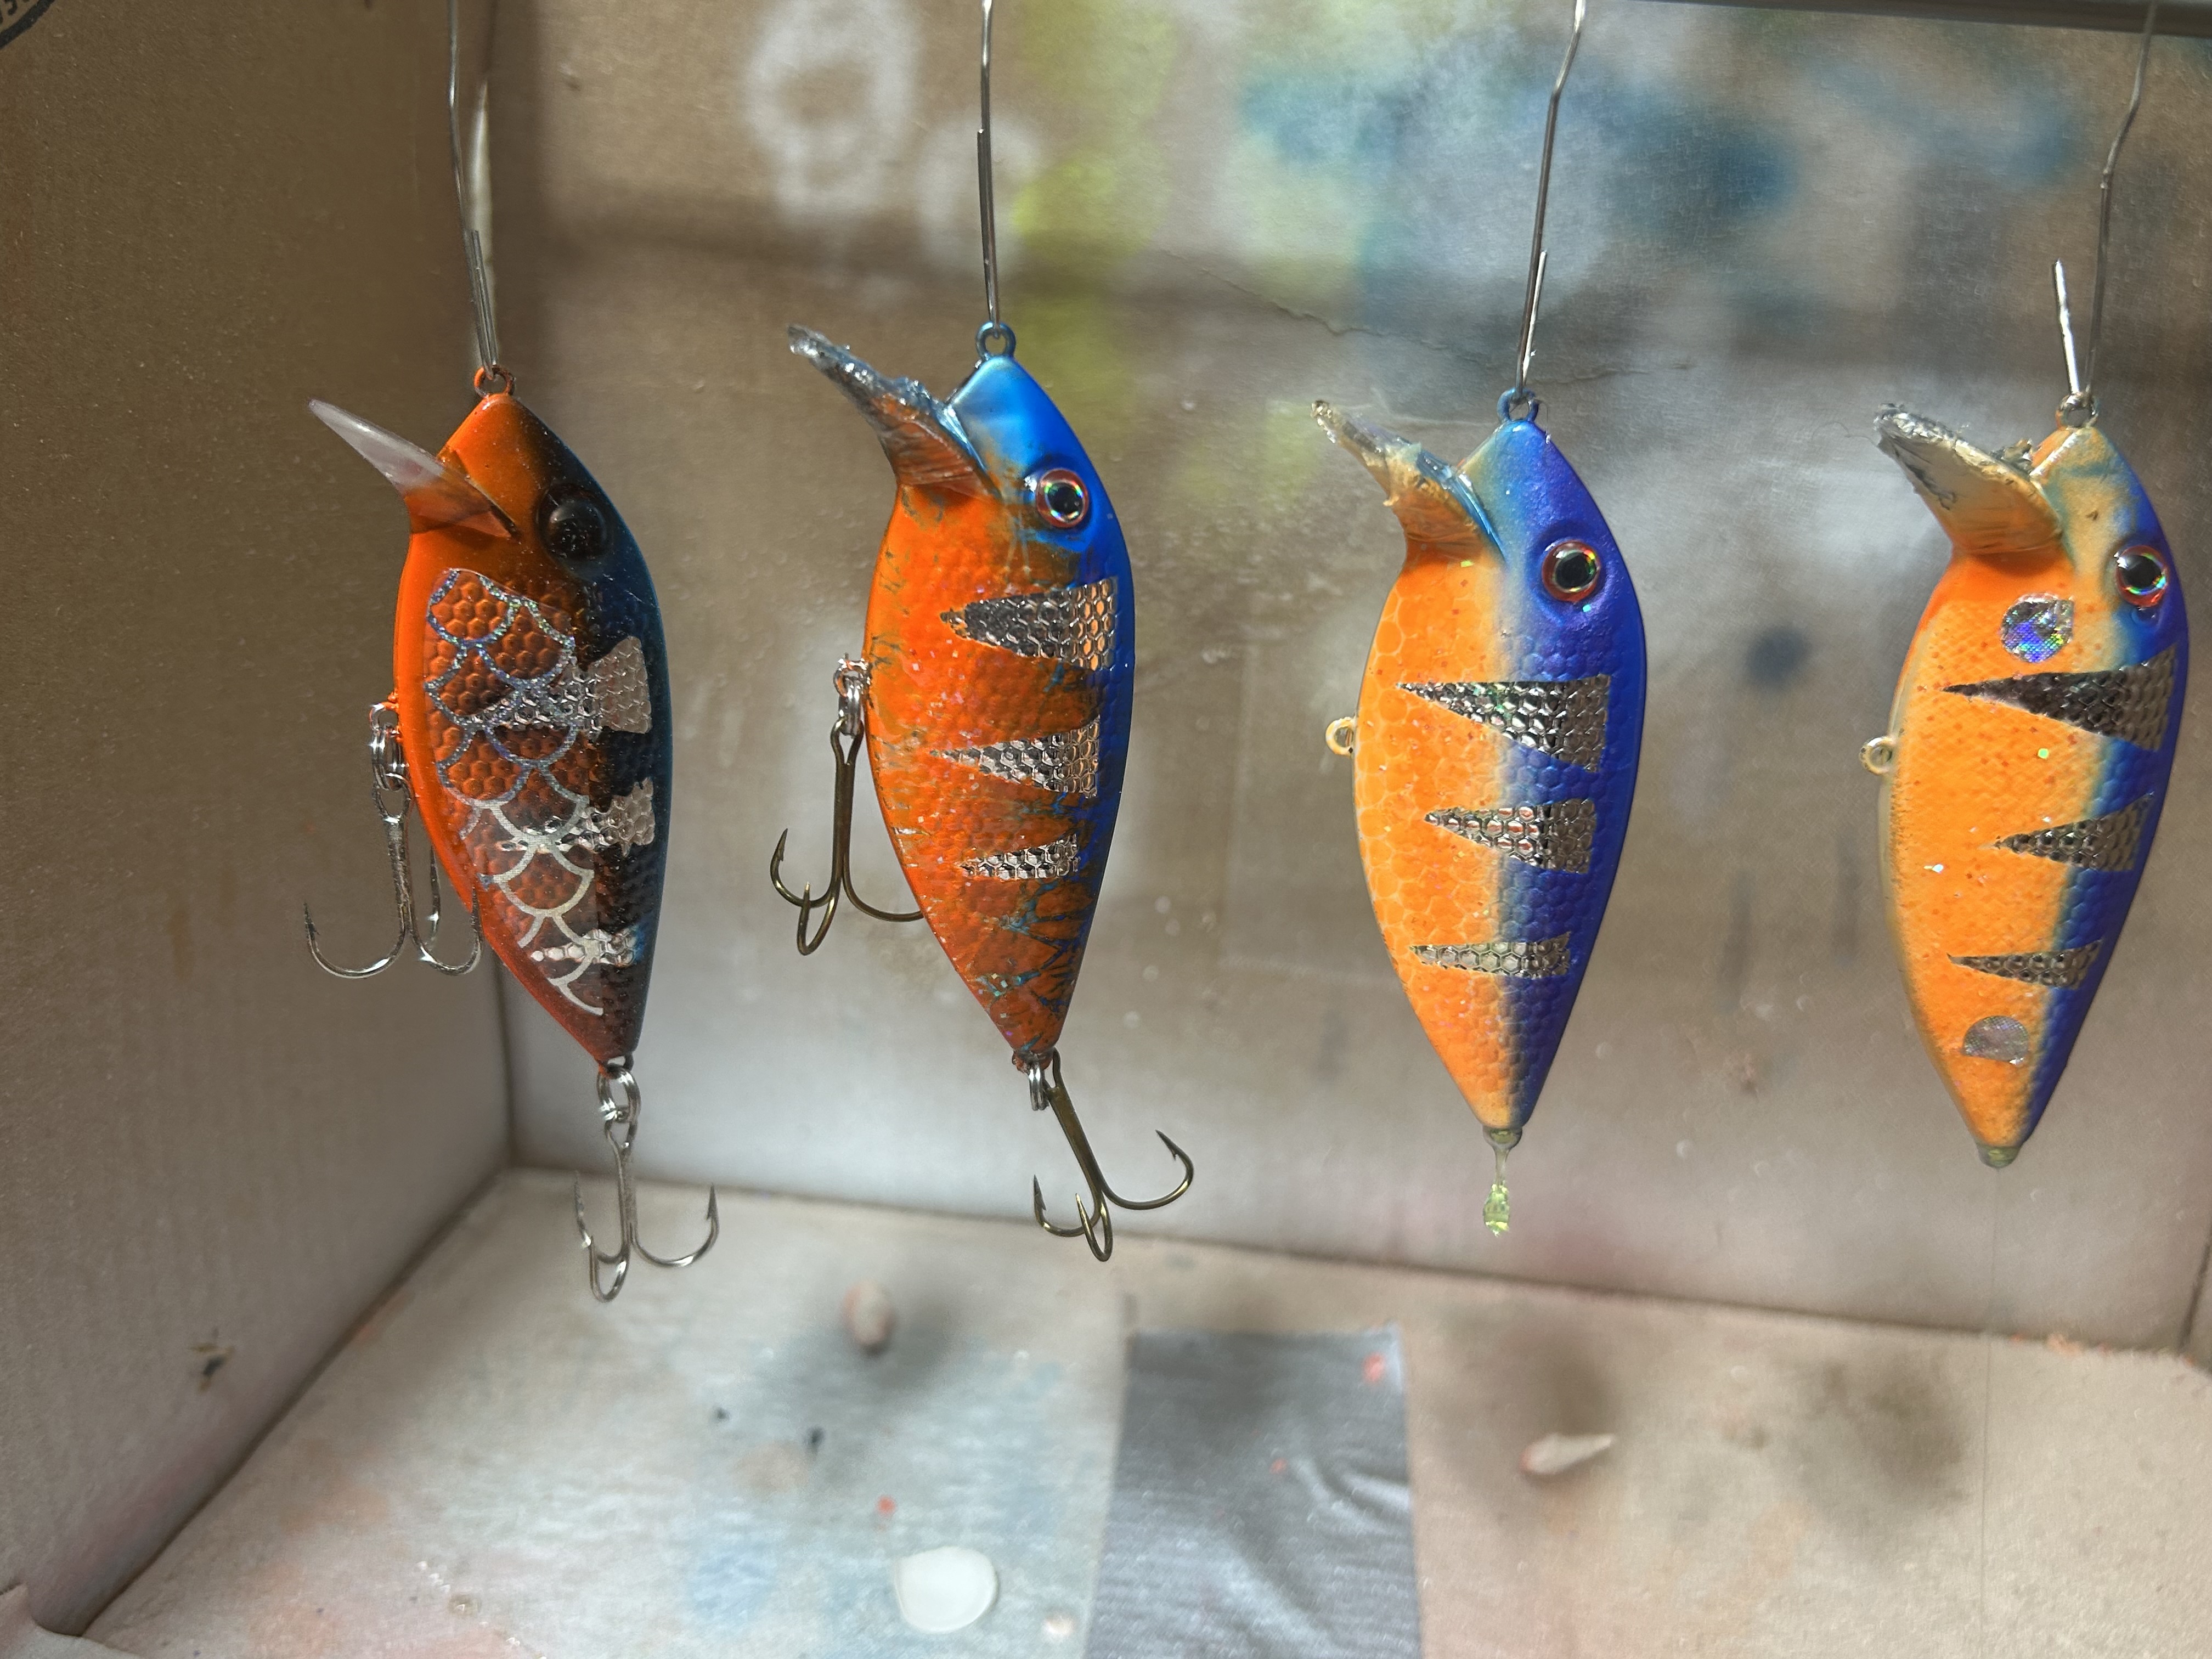
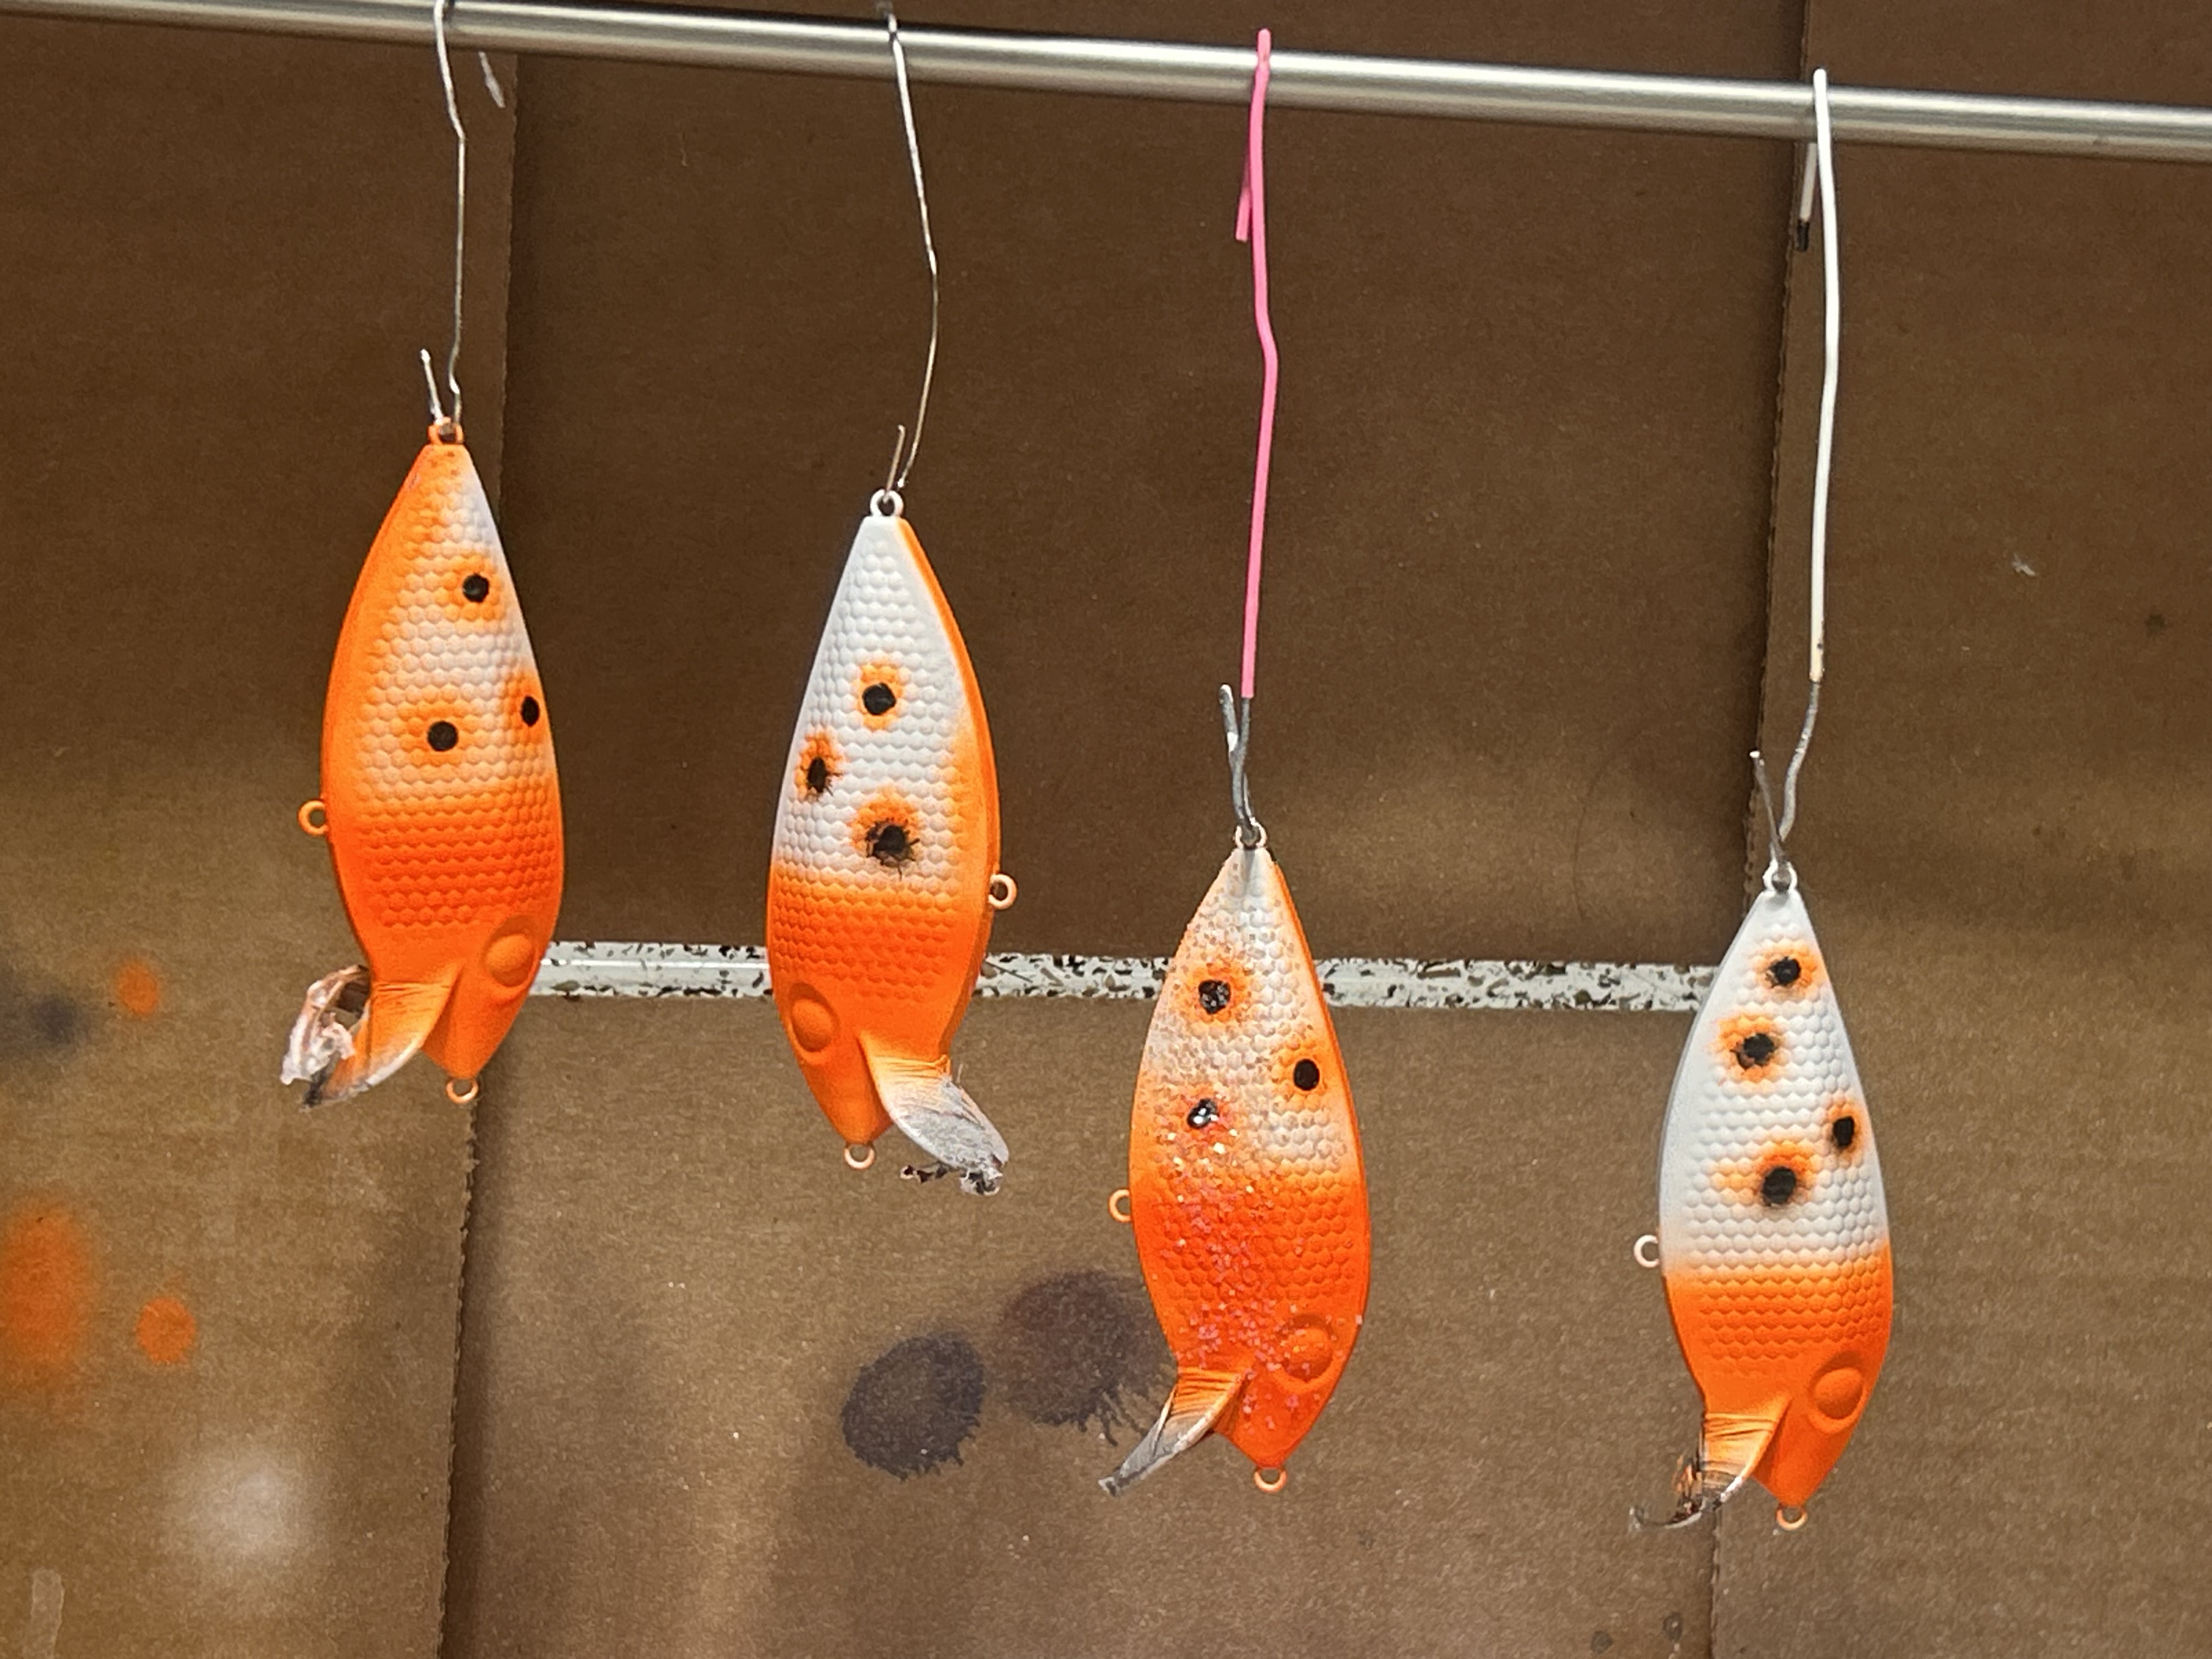
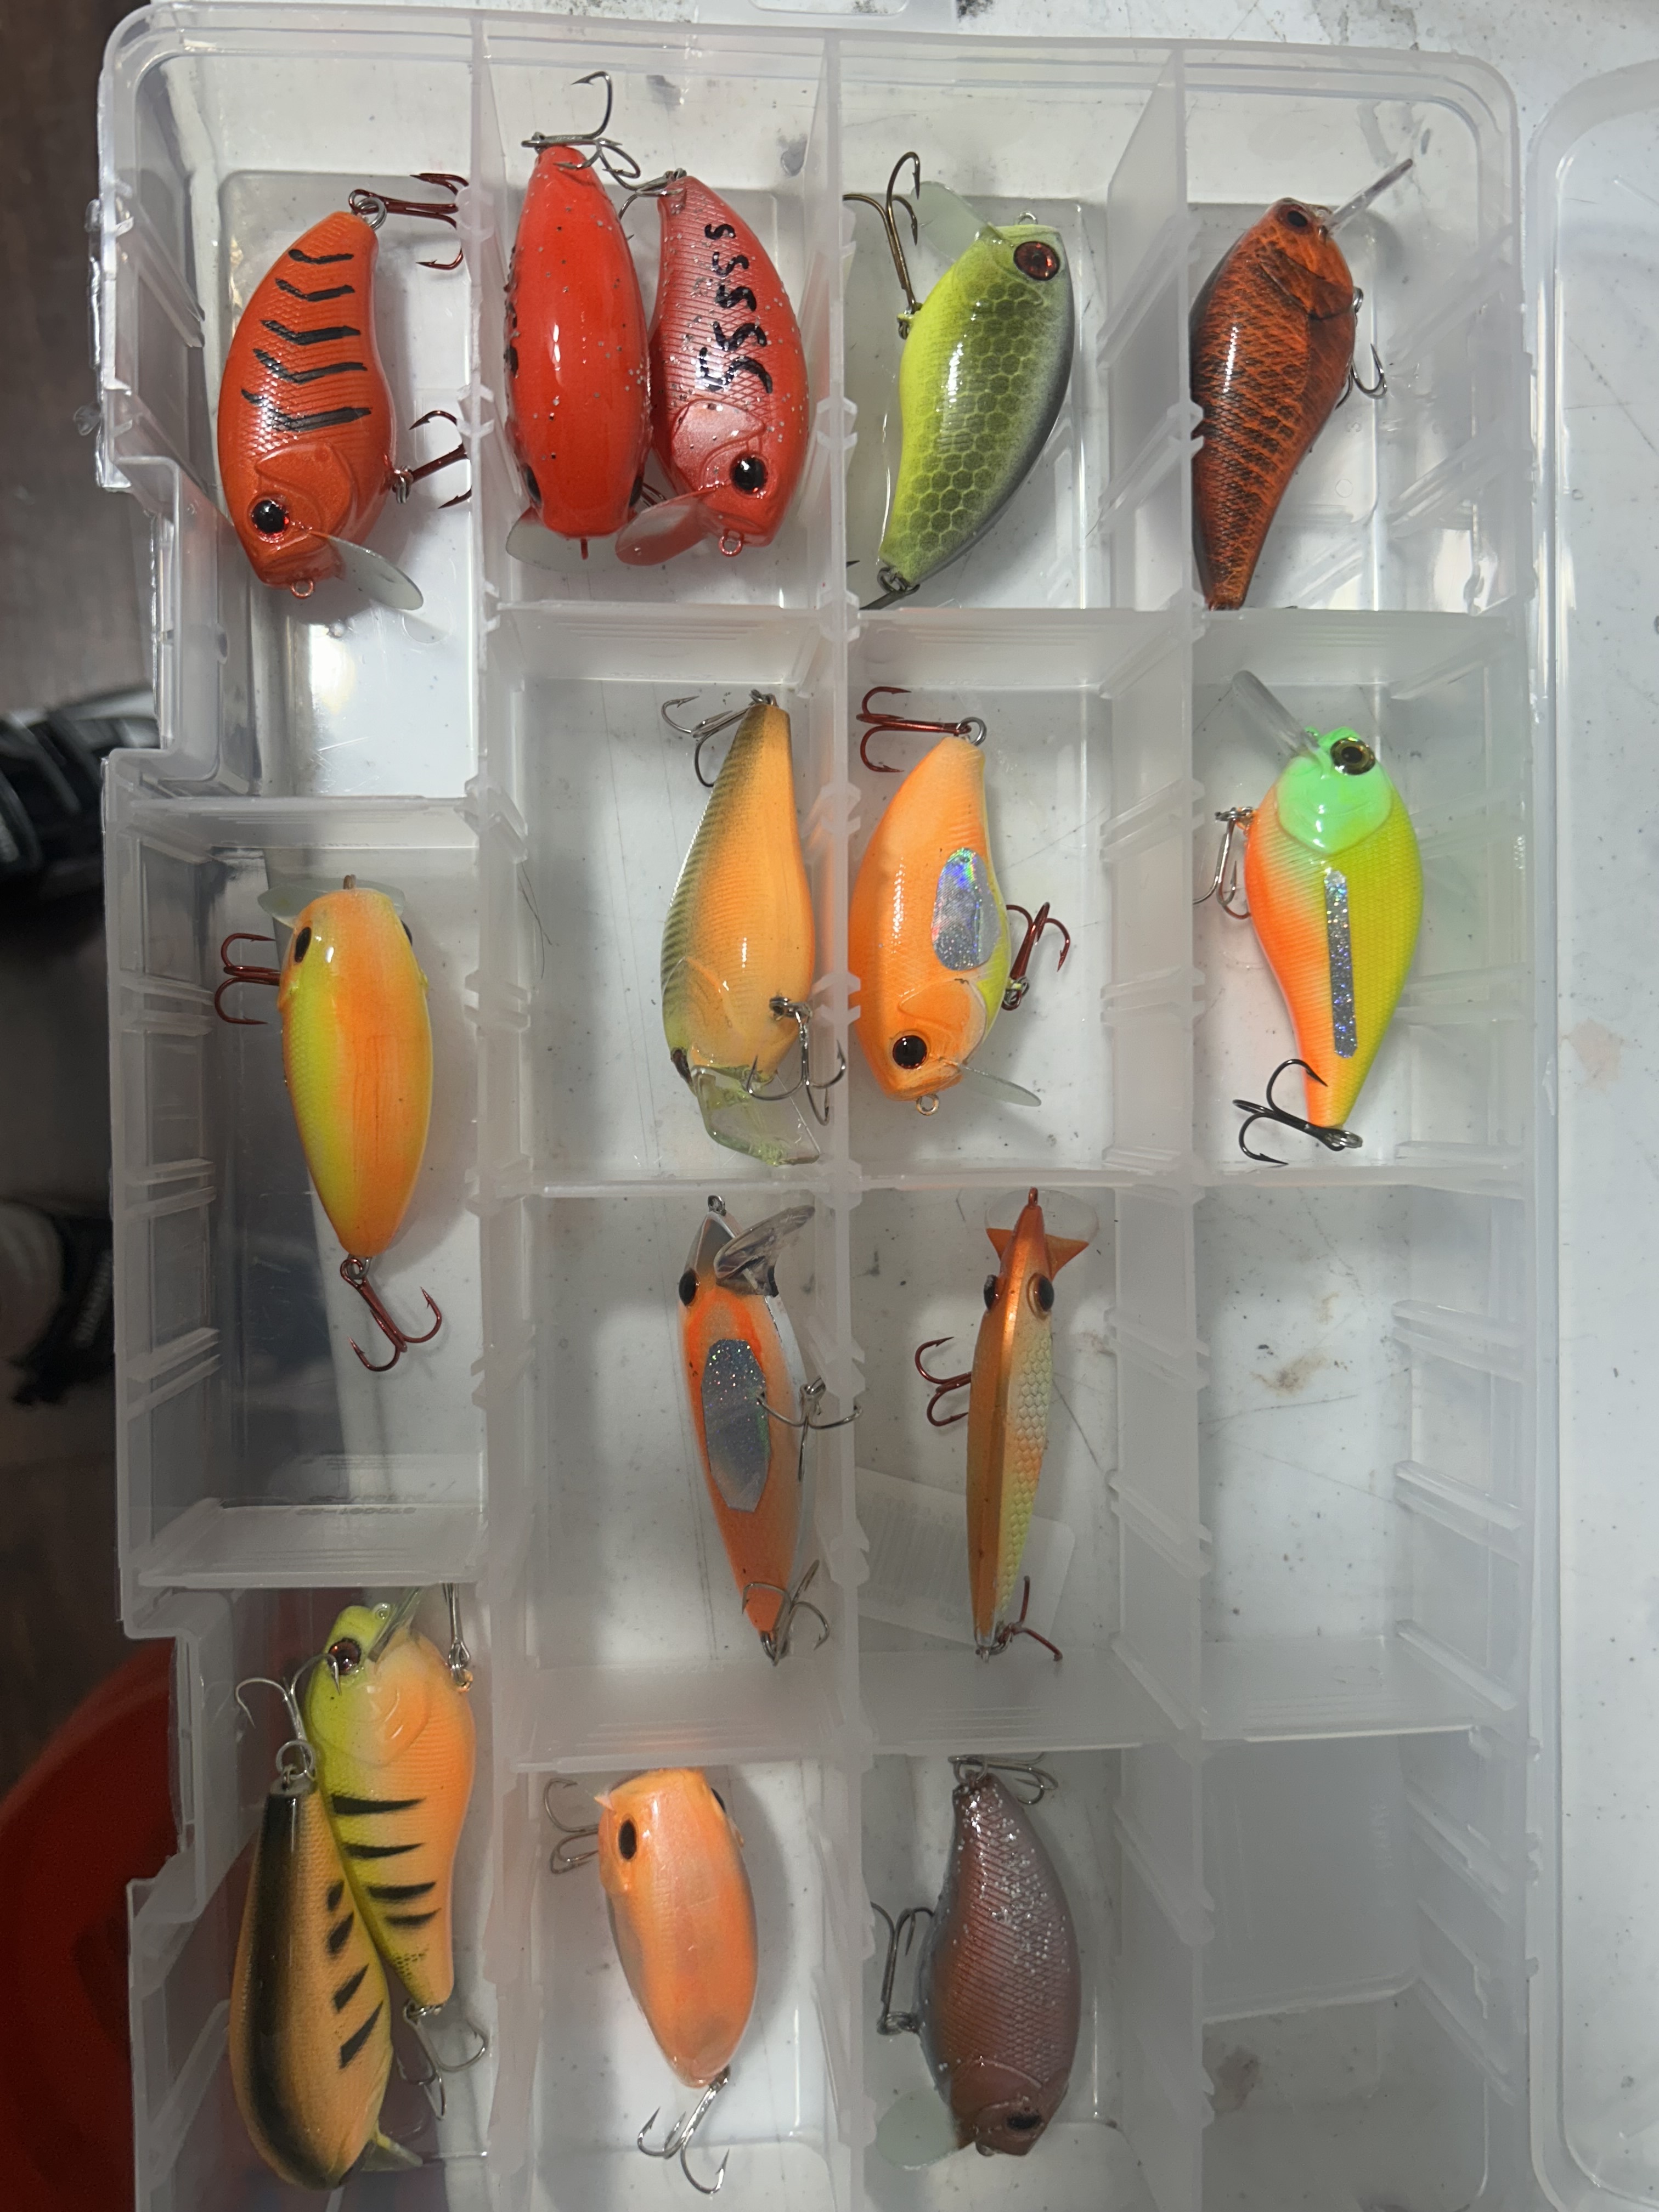
Good looking baits @Carpfisher ! I’m building a paint station to get started on my baits. It’s taken awhile to figure out the venting. I really don’t have the space but gonna give it a try.
Not sure if it’s a problem for you but the 8 degree offset on the LiveScope transducer causes me to lose my bait on the screen sometimes. It only happens when the bait is right at the edge of the sonar beam. The 8 degree offset was added to avoid interference from the motor housing of the TM. I’m working on a design to eliminate the offset with an insert between the mount on the pole and the transducer.
I’ll share it once I know it works
My “ventilation is a NOSH respirator. And my boot is a cardboard box:roll_eyes:![]()
Ah, That make sense. Surprised MK doesn’t offer one. I was wondering about that. When your workout the adapter I’ll drive down to pick
It up and you can show me the good fishing in the low country!
I wish I was a low country boy! Im in York SC.
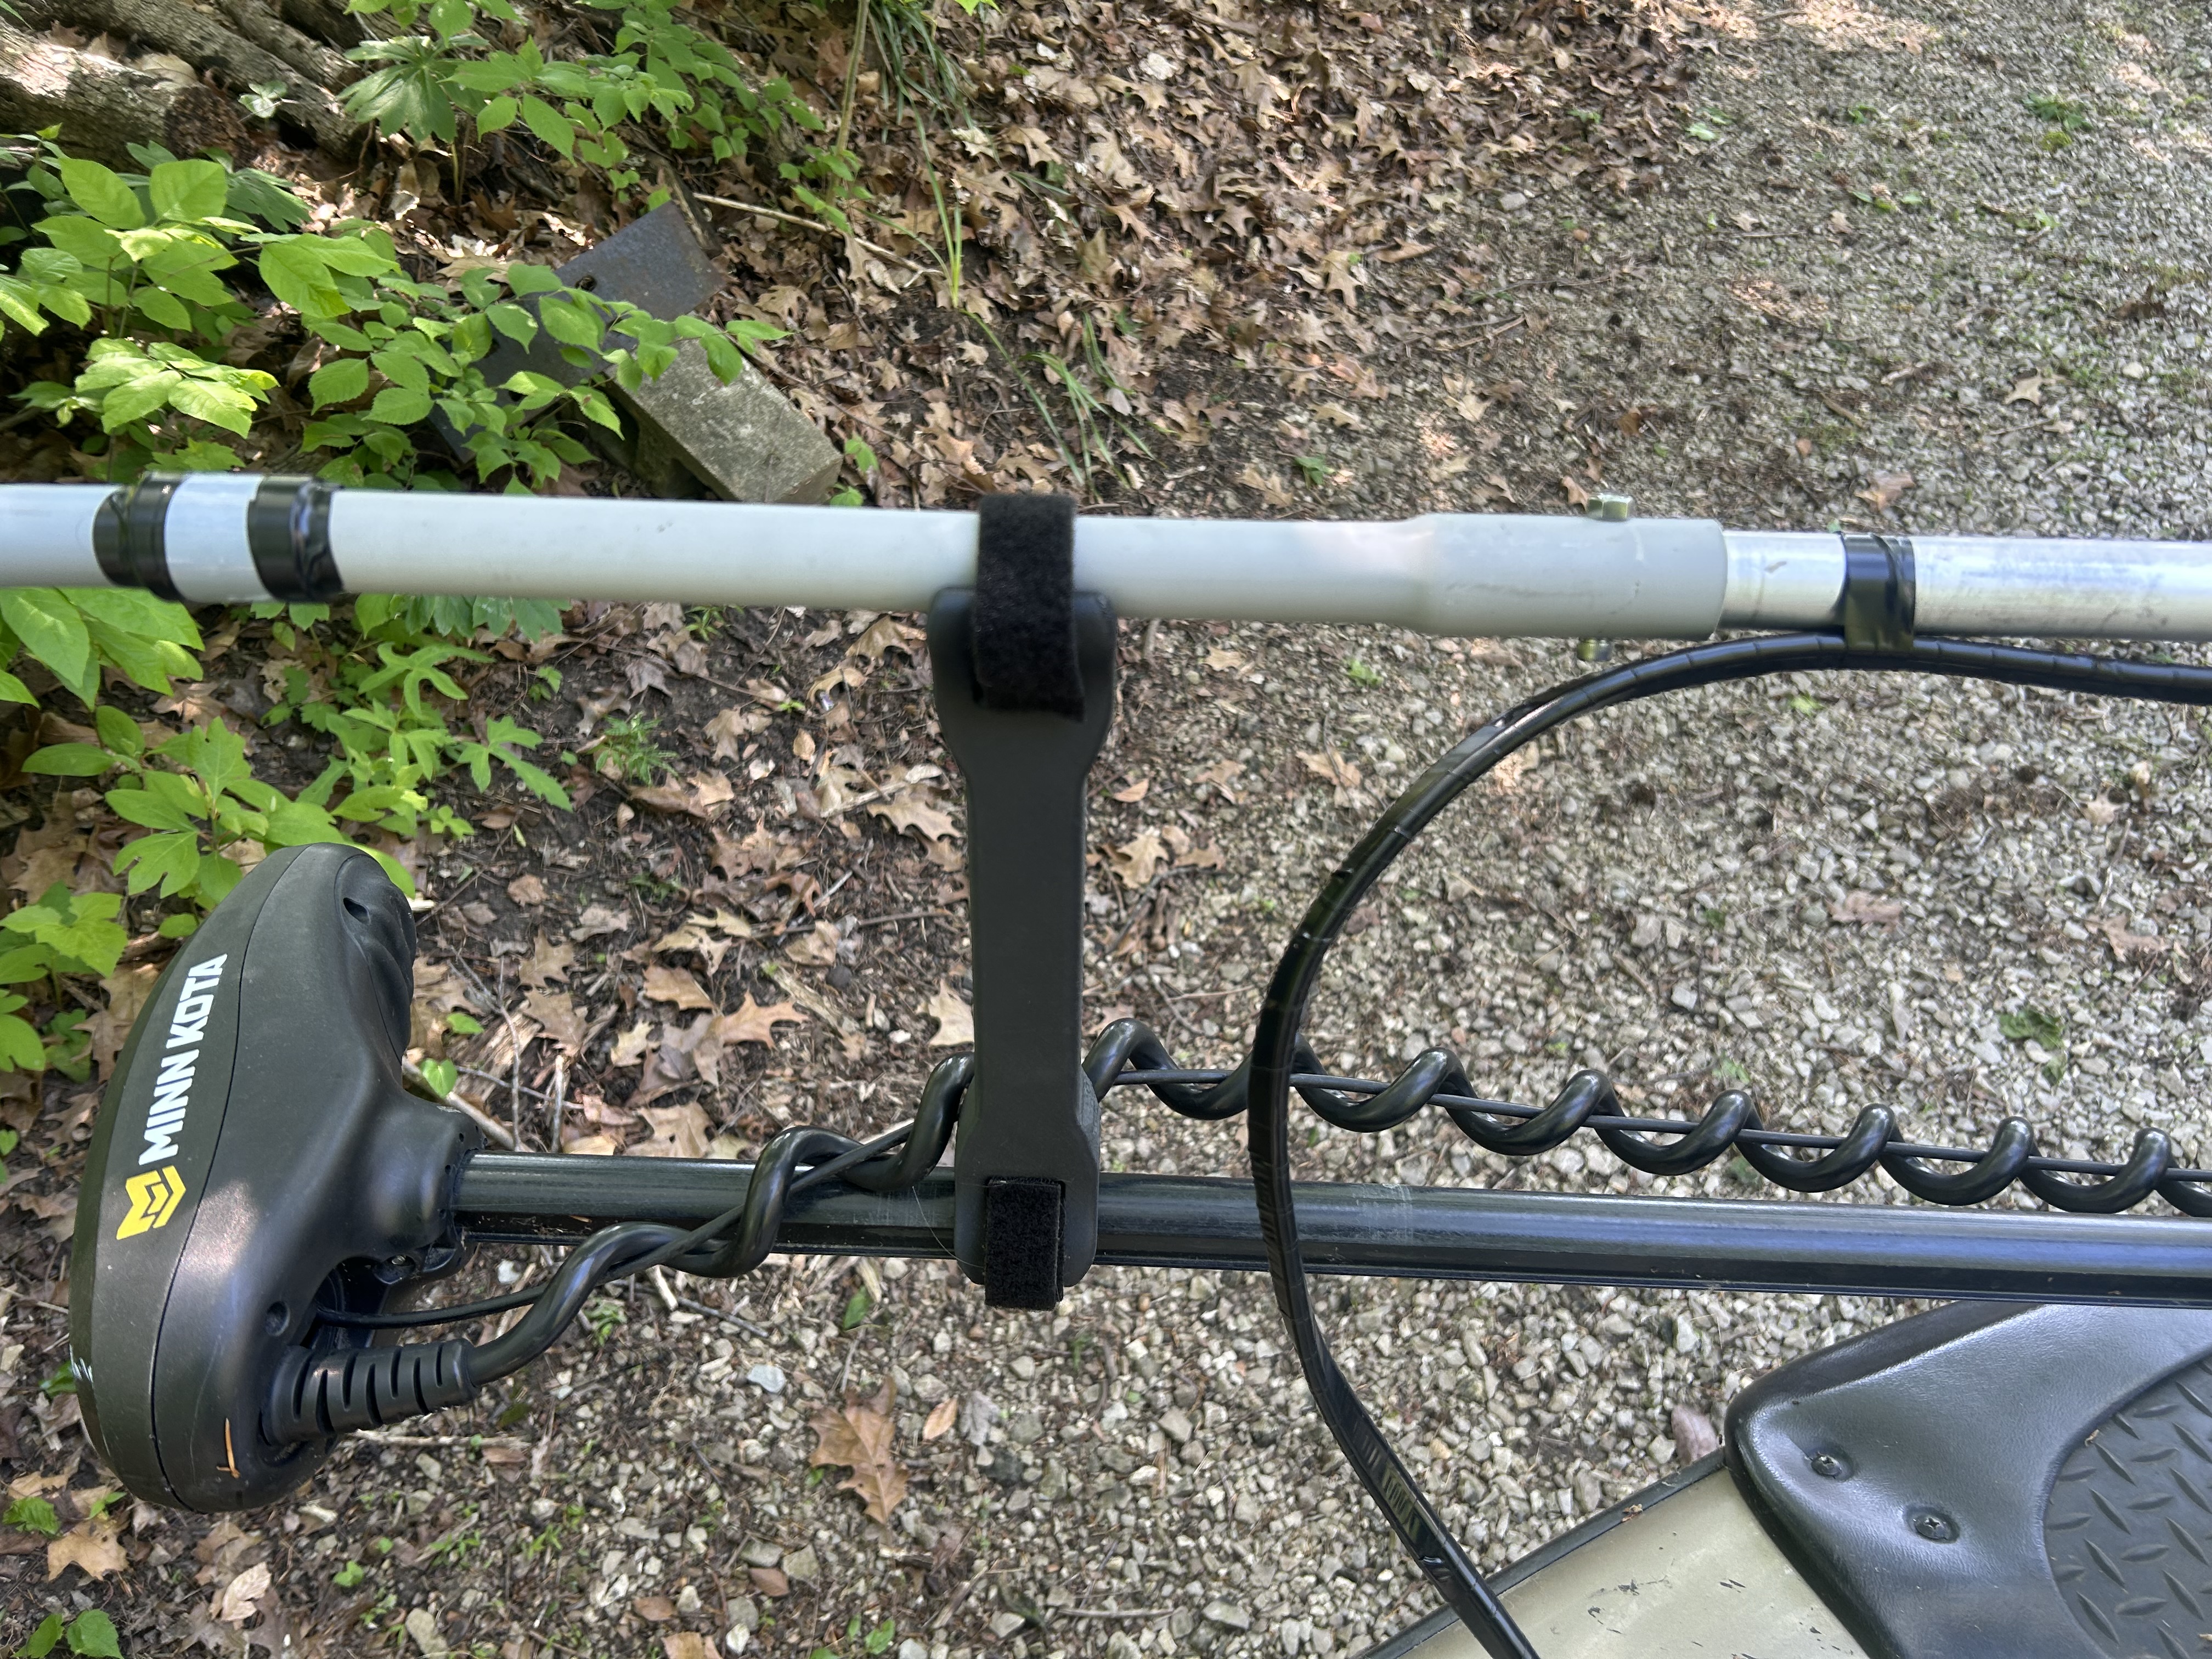
I think I am finally really, completely done with installation. Today I cleaned up the snake pit of wires and cables that having been tying trip me and toss me in the lake
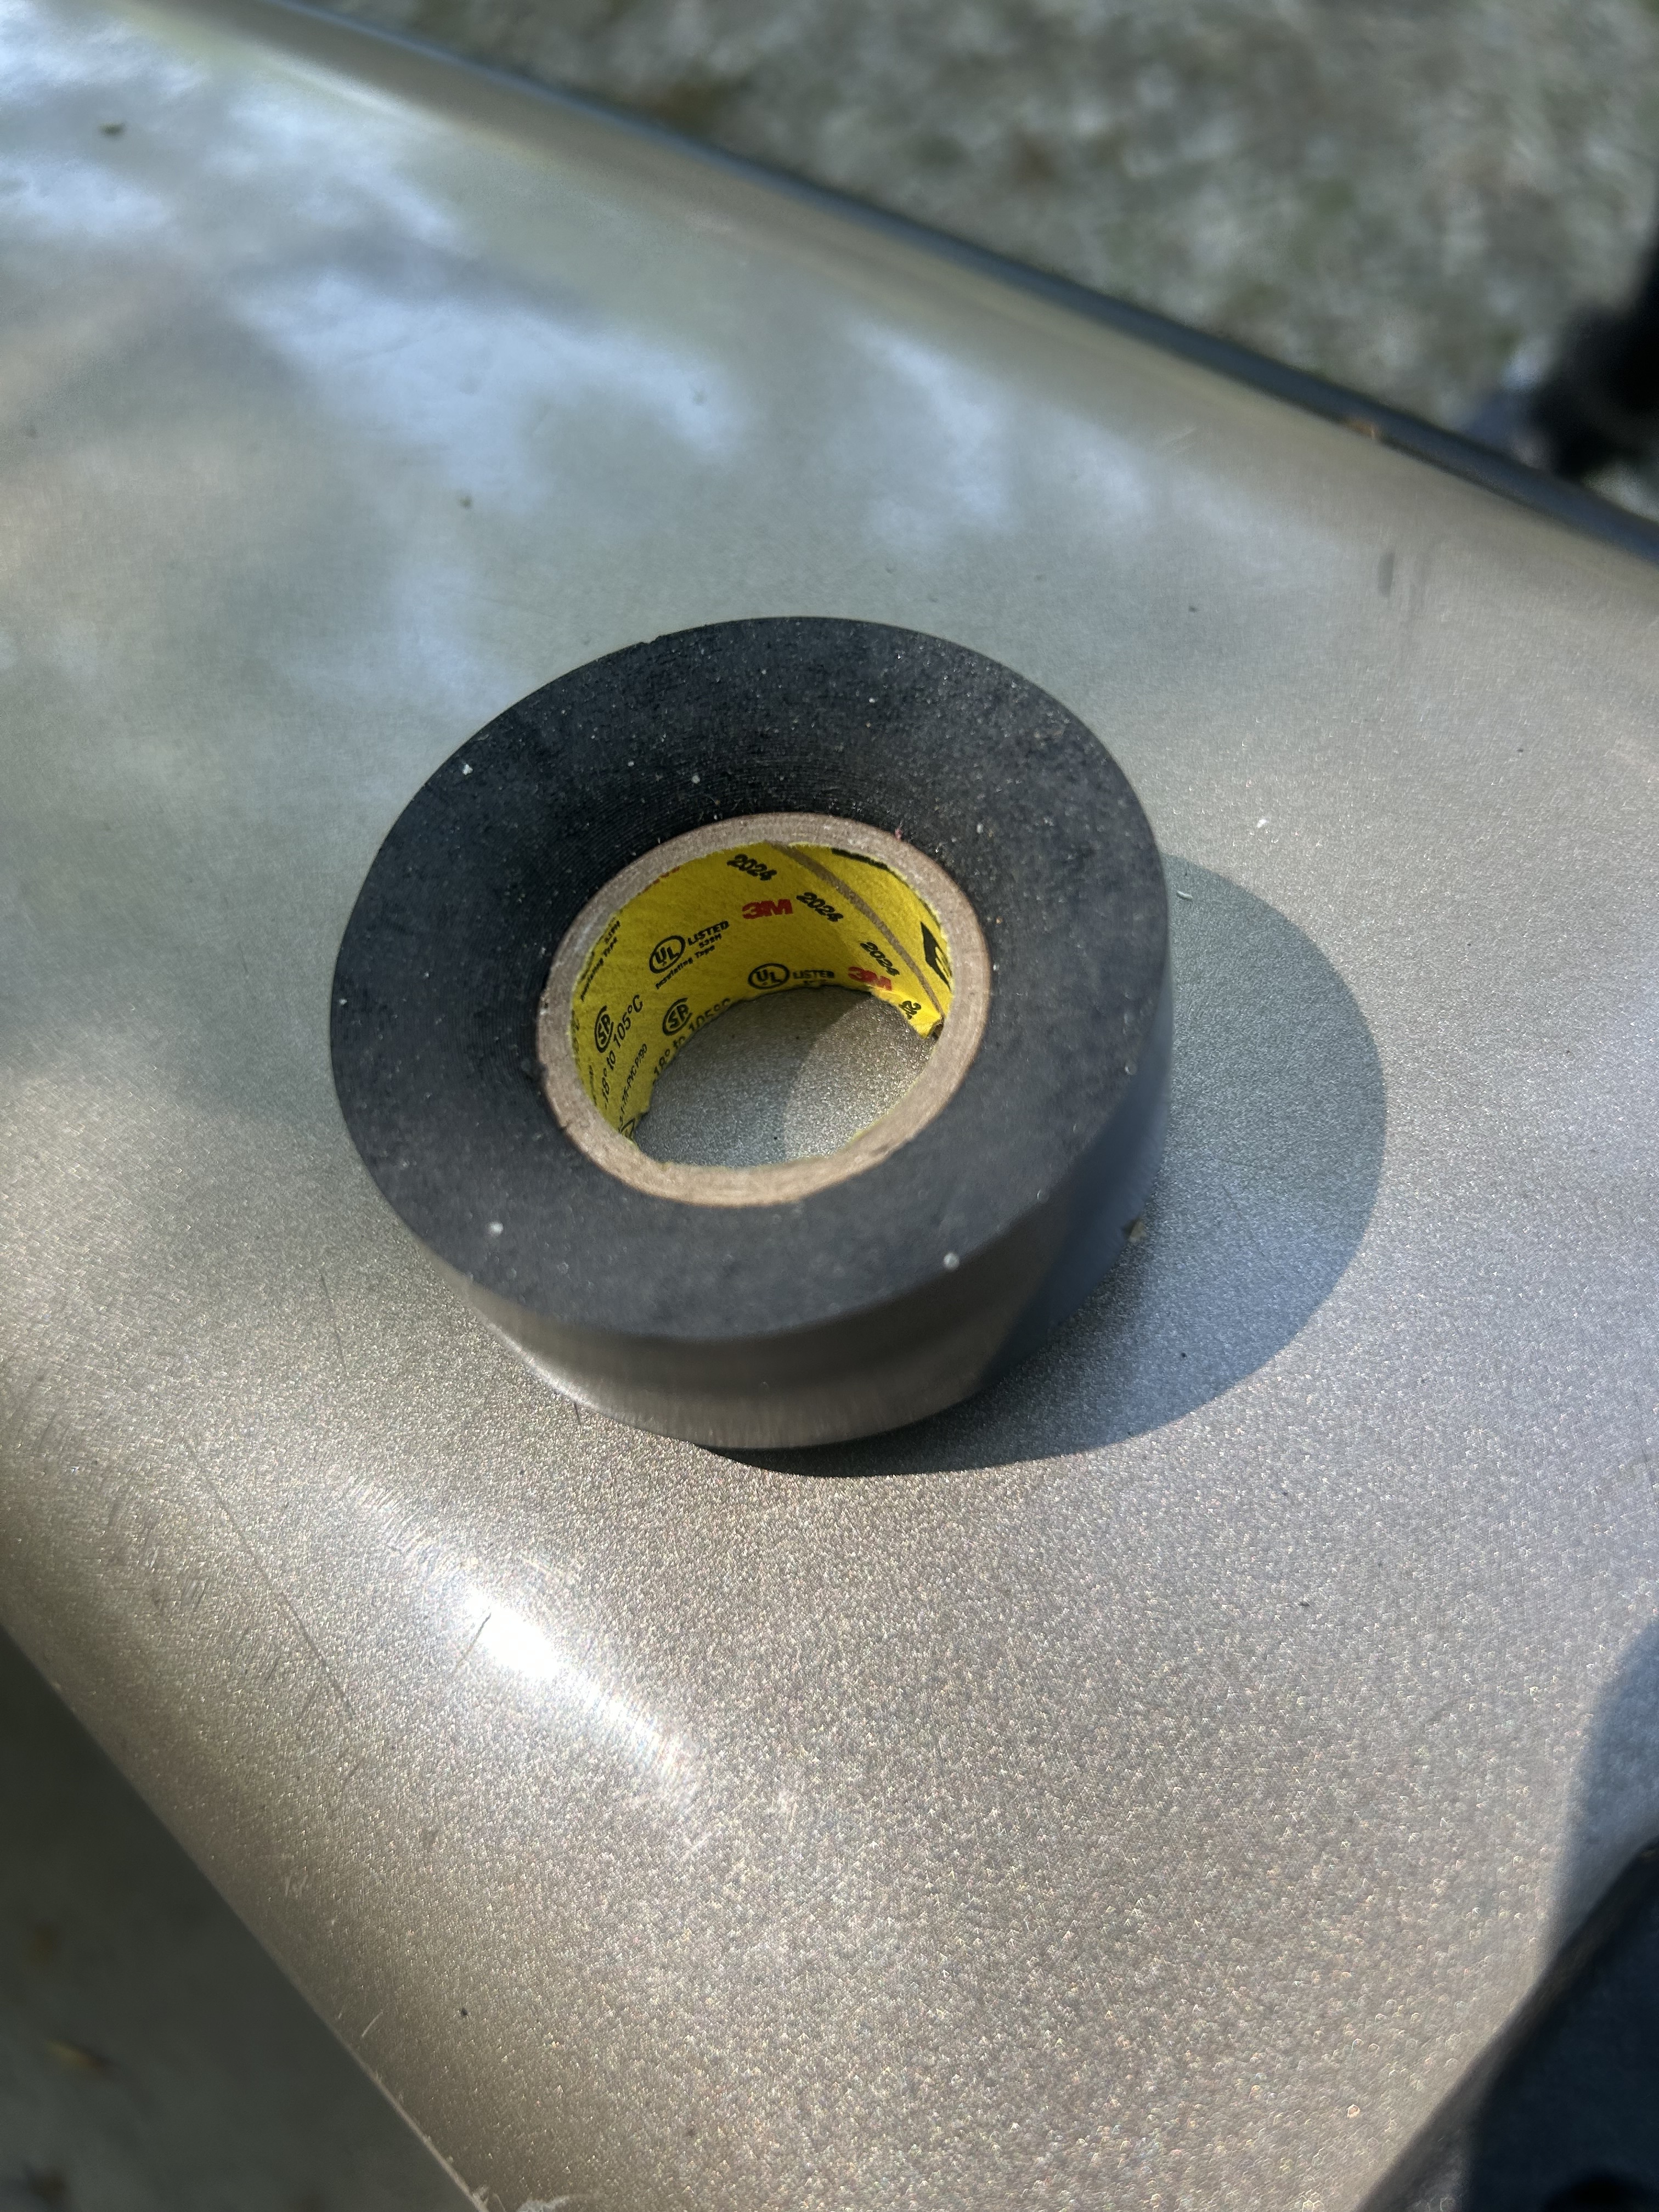
2 transducers cables fully wrapped with electrical tape. Be sure to use the “yellow core” tape. It’s the best. The white core crap won’t hold up to the environment. See pictures
Cables are taped to the shaft about 2’ from the bottom and at the top of the shaft. That gives about 3’ of adjustability.
I put a tape wrap on the t-slot to mark proper installation depth. I’m considering drill/tap the t-slot for a more secure installation.