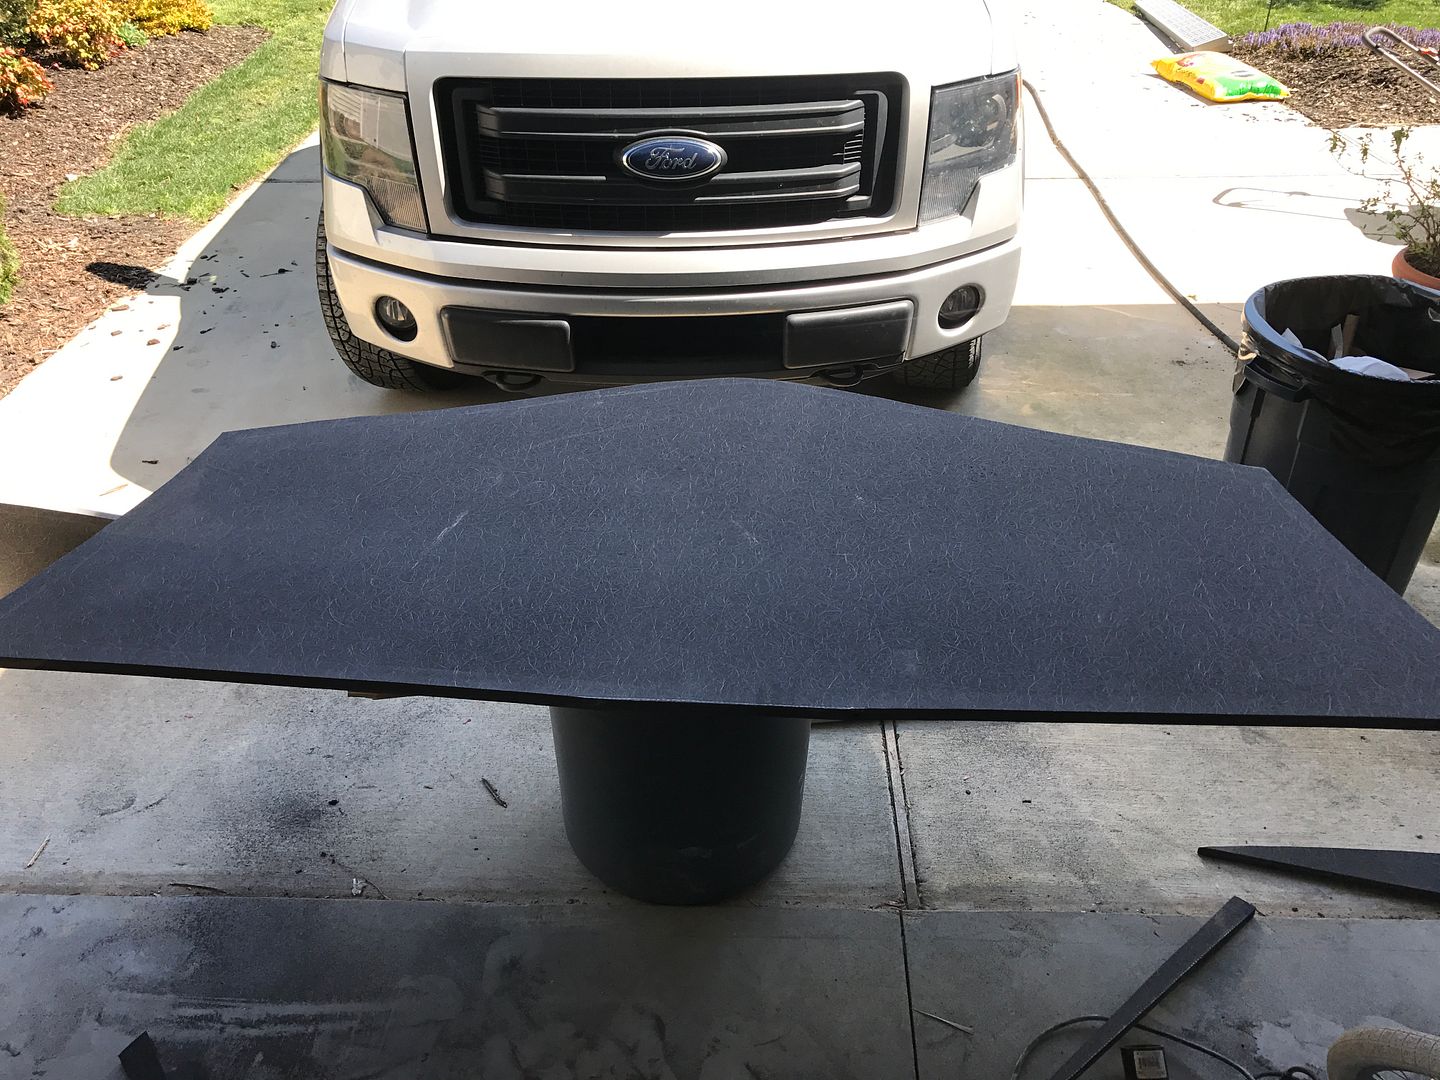
Looks like a major undertaking, good luck!
quote:
Originally posted by boatpoorGreat project,good job, you realy jumped in and ran with it, try to get all the grinding done before it gets hot. As someone mentioned get your self a quality resporator!
</font id=“quote”></blockquote id=“quote”>My project began last summer…
HEED this advice! Sanding and grinding glass in the summertime is brutal…and yes, buy a good respirator! They’re worth every penny.
Awesome project, look forward to watching!
Wadmalaw native
16’ Bentz-Craft Flats Boat
sheesh never have the time you think you’re going to…
Finally got caught up on enough other crap and got enough decent weather to get a little work done on the boat. Moving forward with closing up transom. still not sure what direction I’ll go with bracket (build out of fiberglass? Have friend help me weld up an aluminum one? Or just pay a pro?) but decided no matter what I can delay that decision for a while.
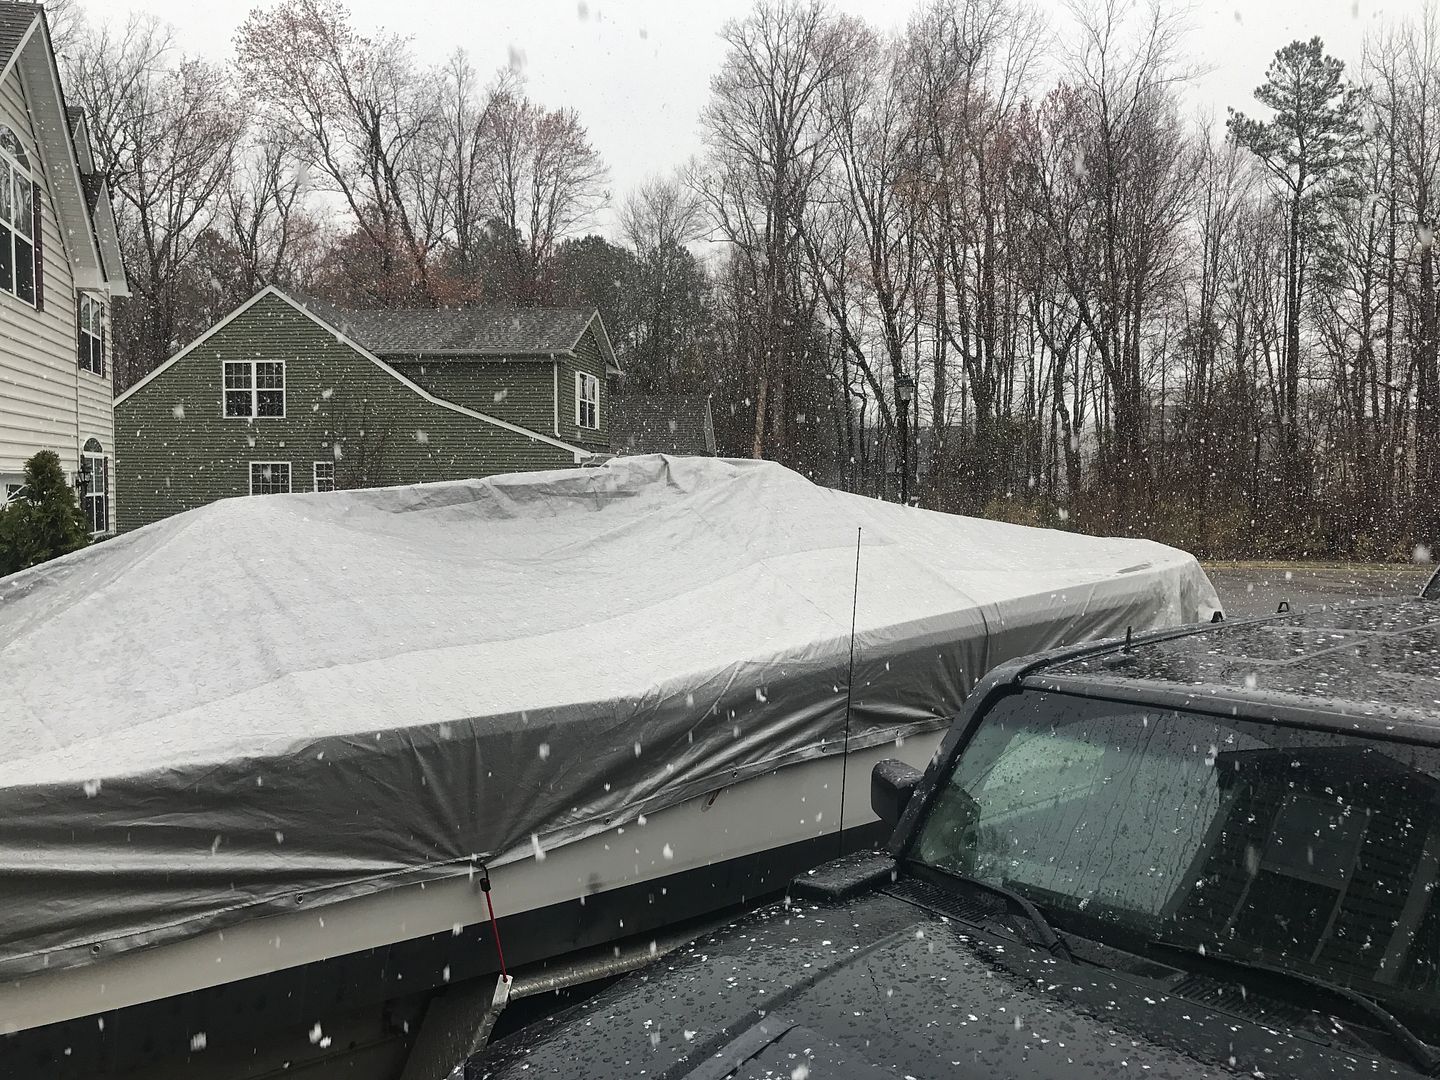
While the weather looked like this a few weekends ago here in Virginia…
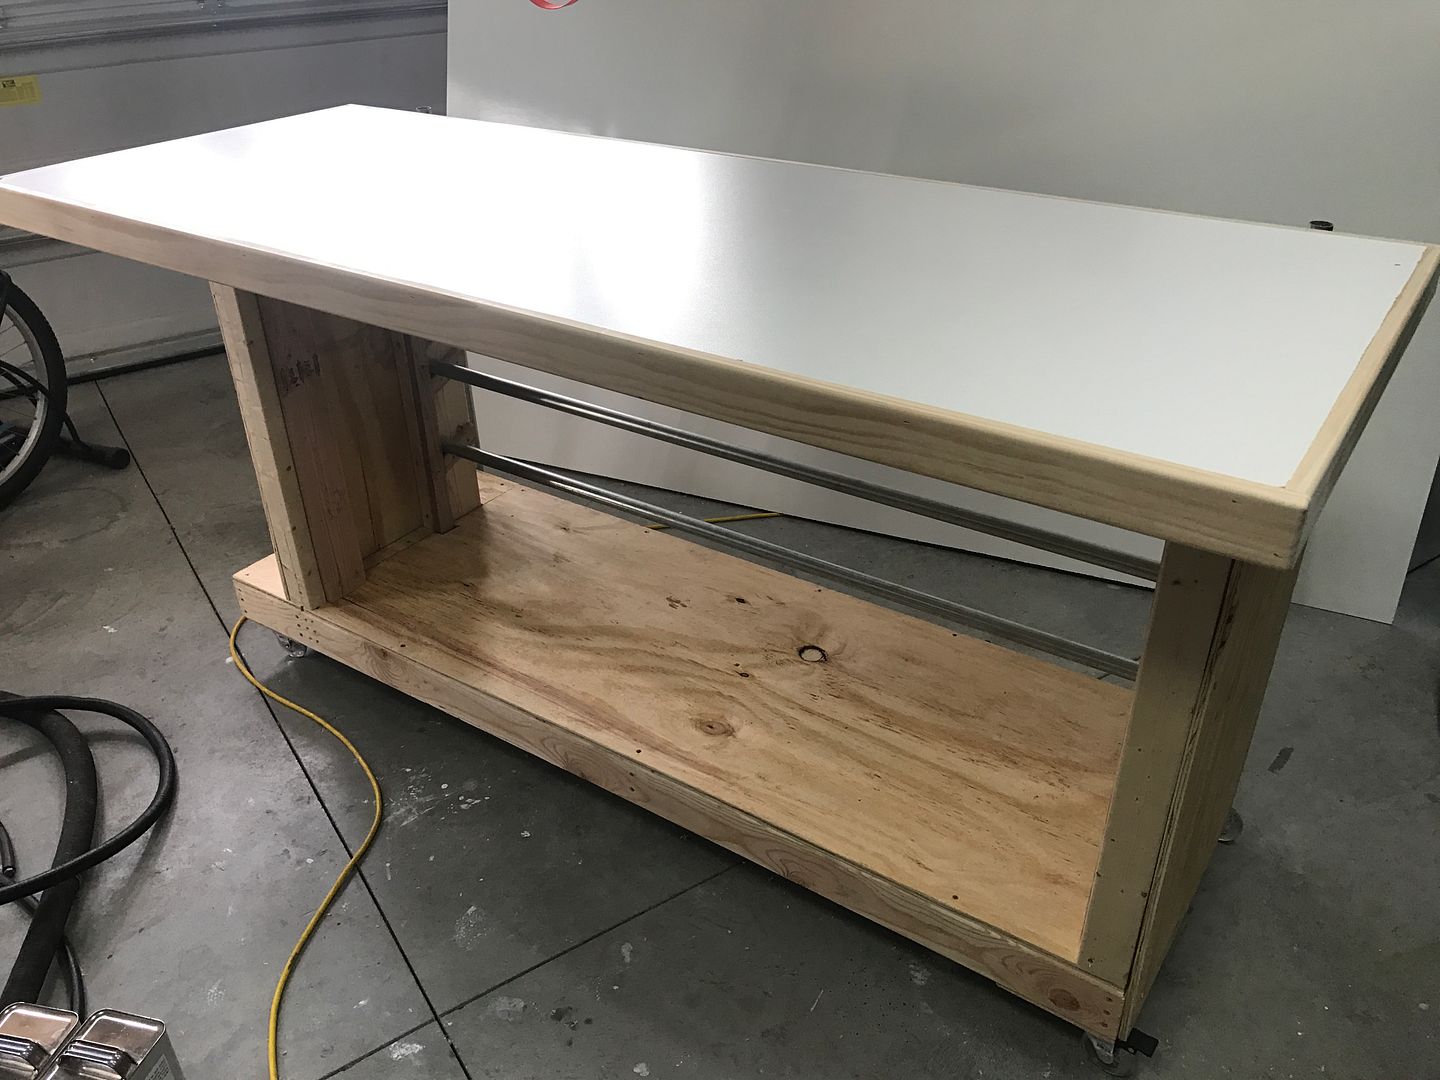
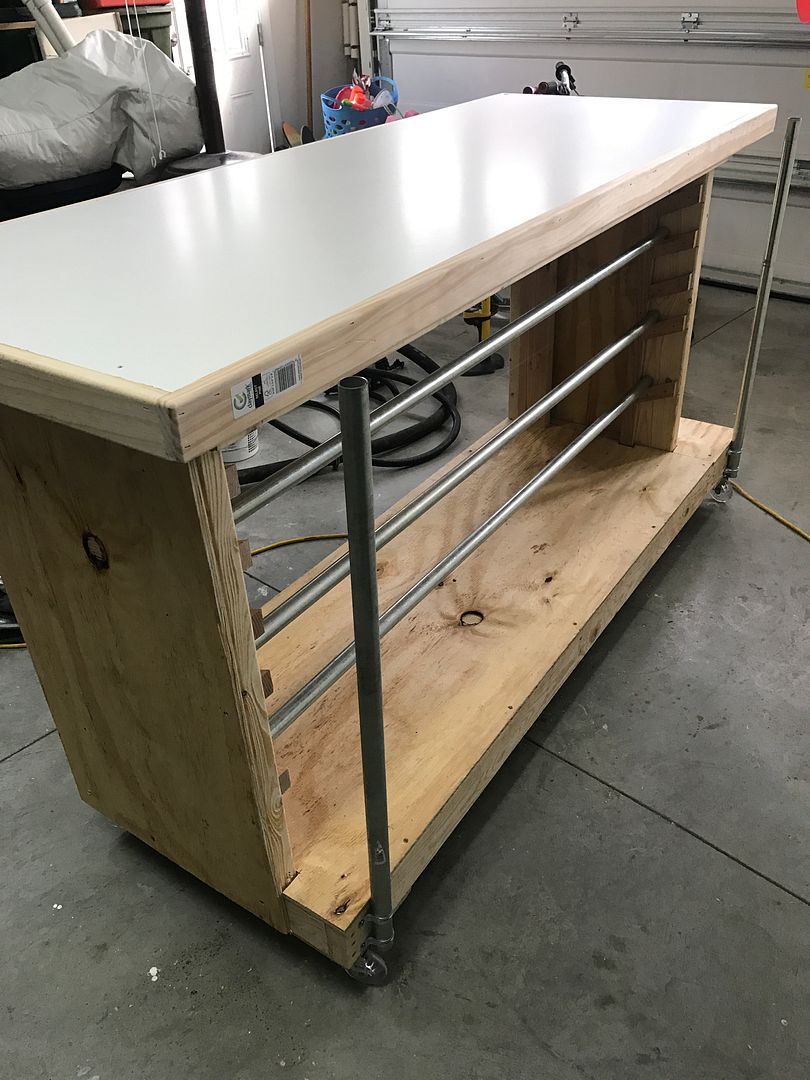
I invested in some cleaning and organizing in the garage. Also built a little work/storage cart for my glass and supplies. Man this thing has been awesome already, really glad i did this.
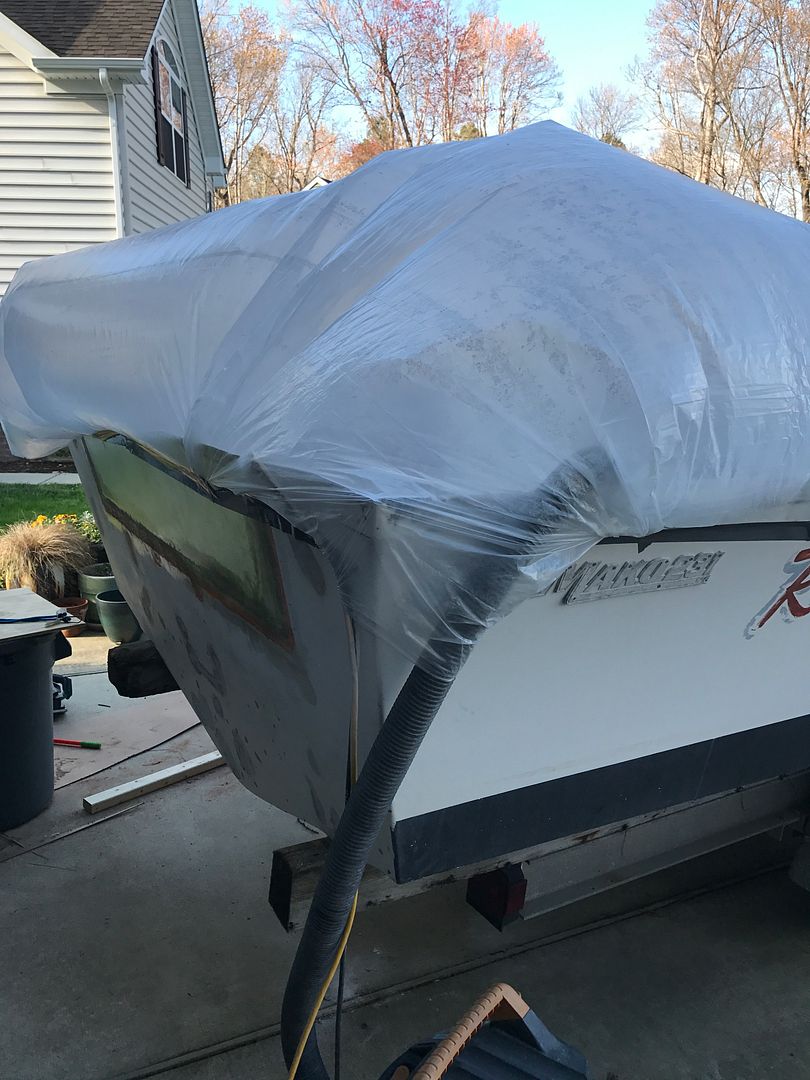
in this picture you can see the “custom” cover I made out of a cheap tarp, makes it a lot easier to fit on boat (and actually stay in place)
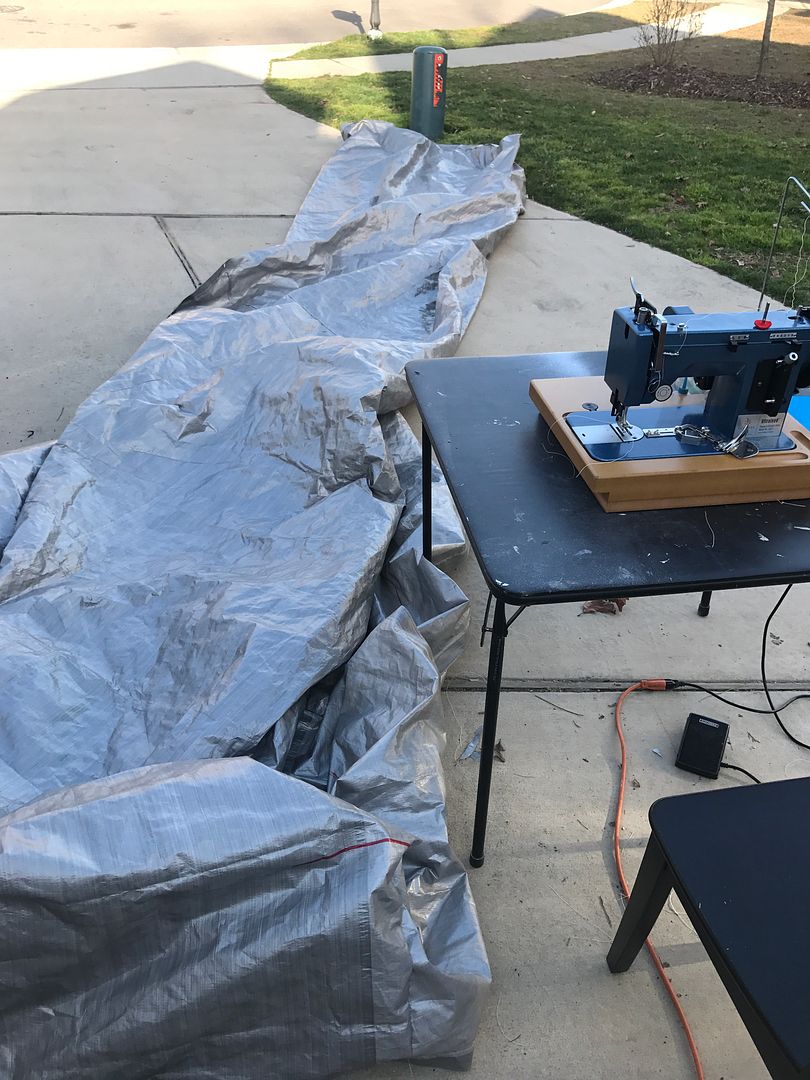
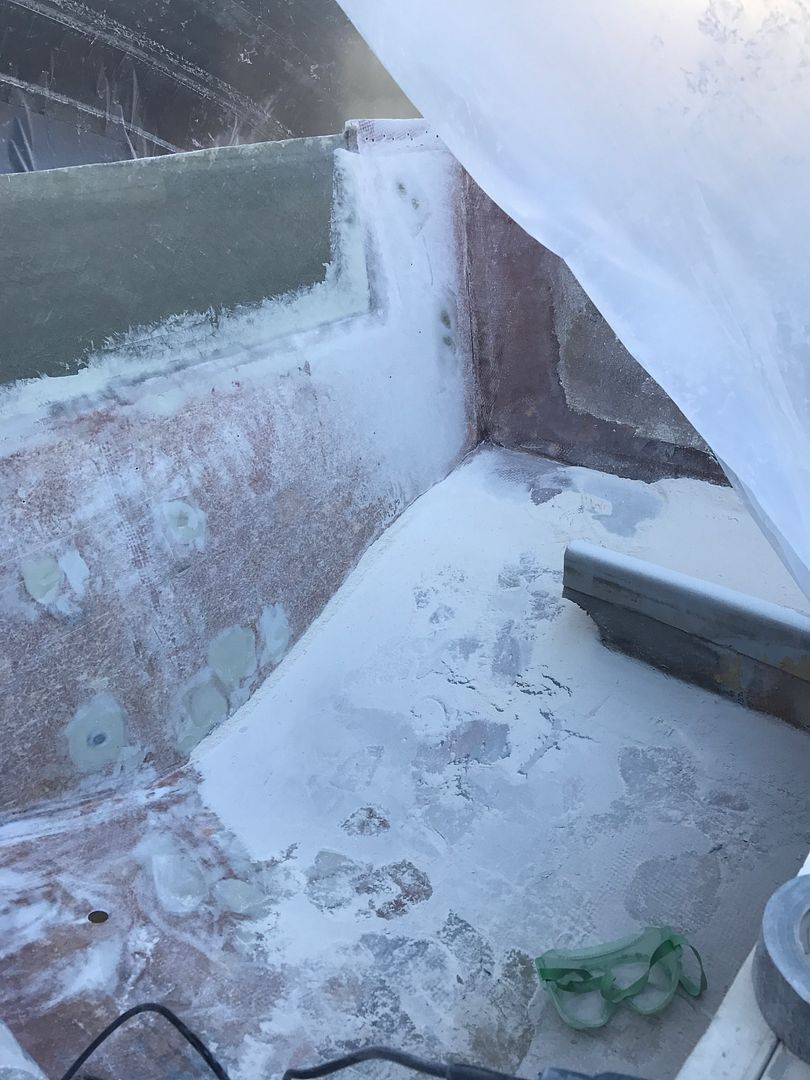
Got a rough idea what kind of crown I’ll try to achieve on the transom. Will fair to a nice curve, but for now the structural part of transom will just run straight across. Also worked on patching all the holes in transom with glass.
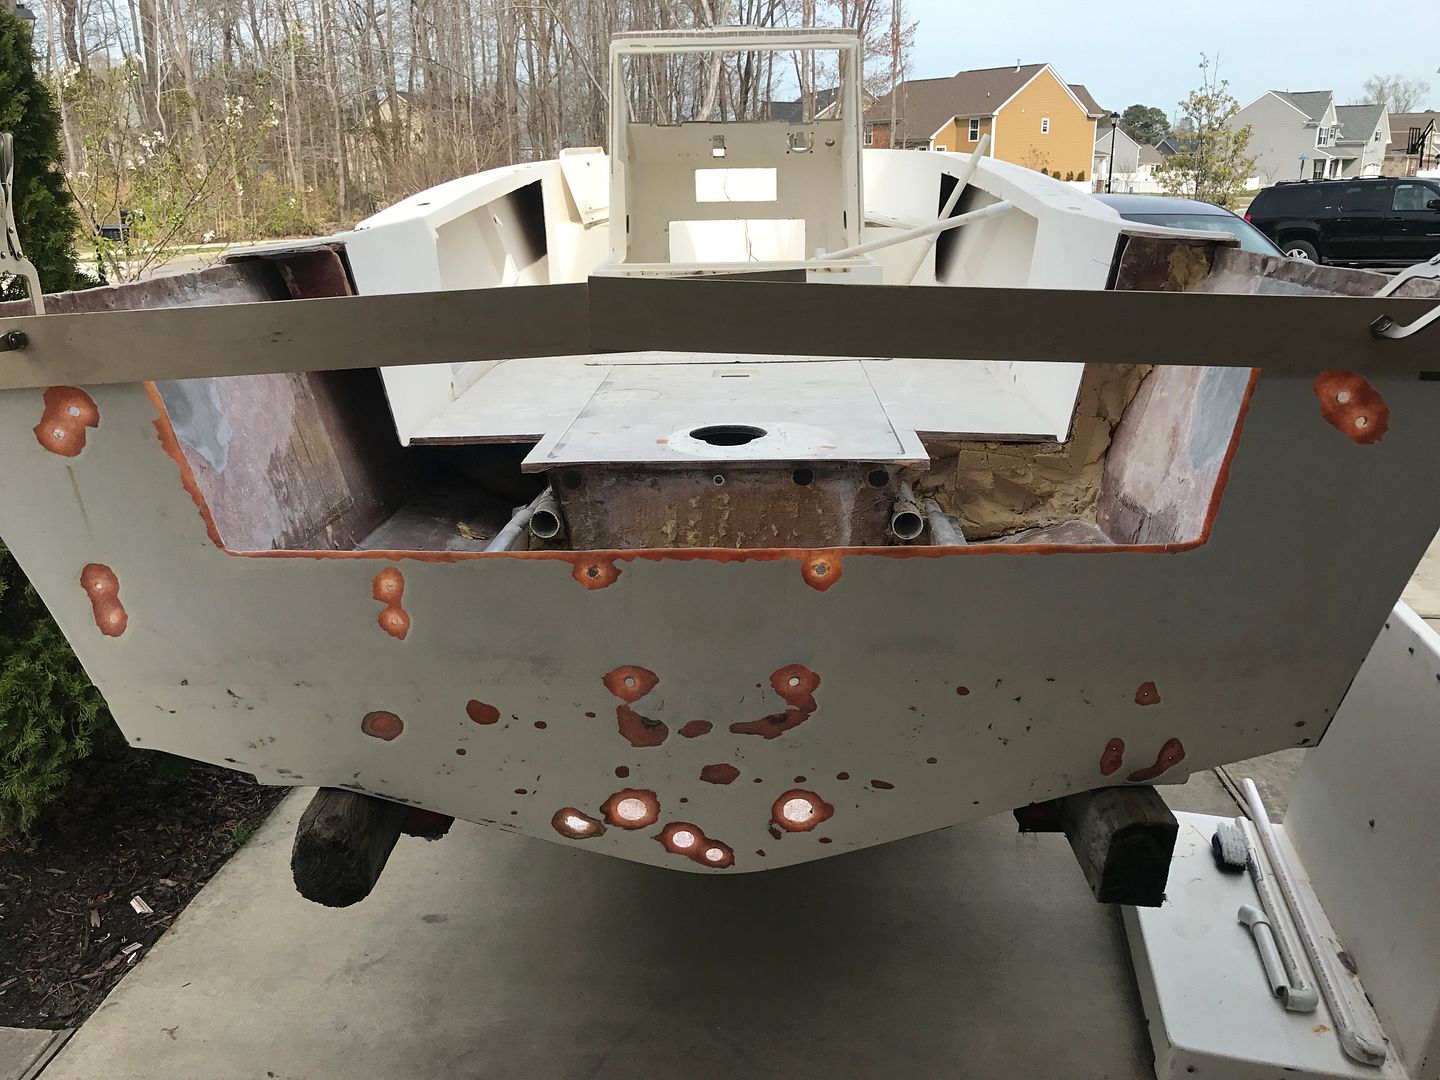
Marked up inside skin and ground out to about a 2" bevel.
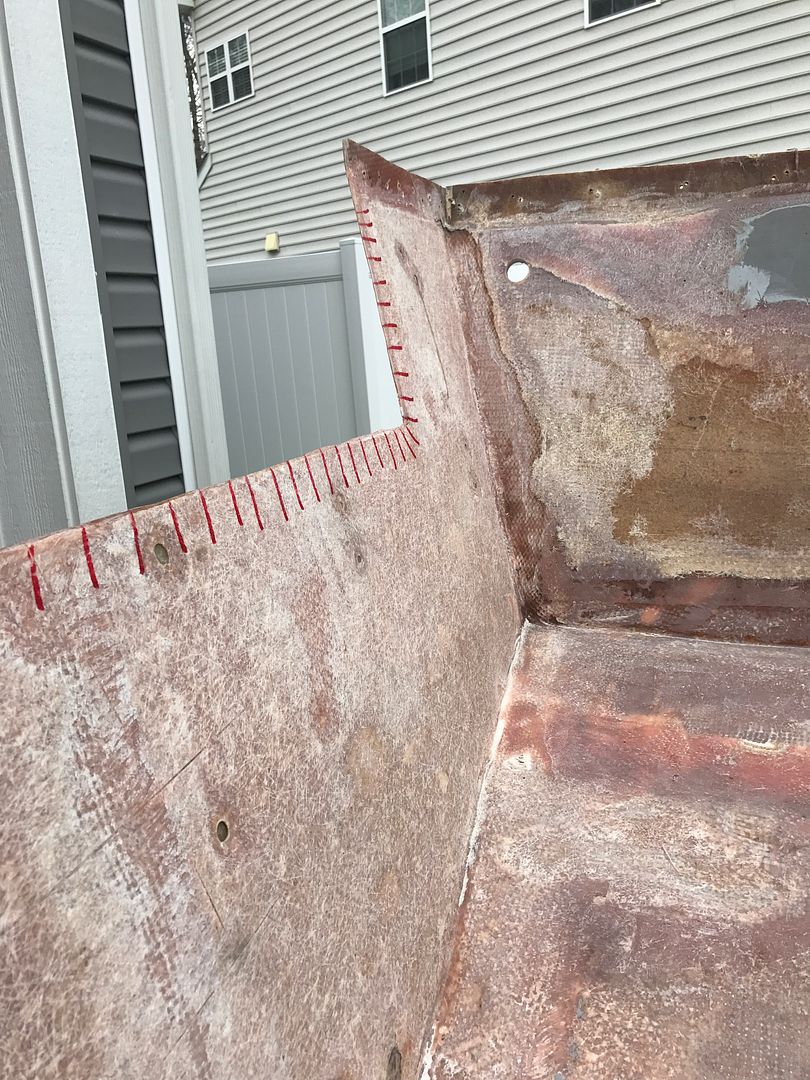
Used a piece of melamine particle board to provide a form to glass against. Built up with two layers of 1708, with a layer of 1.5oz mat on the inside to build up to same thickness as the existing sk
Way to go man. Got a lot done. VE is the way to go. Strong and easy to work. Once you use epoxy…got to keep using it too tie in.
After you plywood the transom, I suggest kerfing a 2x12 and sticking it across the transom. The bracket will pull down across the transom. I’ll post mine I did on my Bertram 10+ years ago. Cracker Larry is cussing me some where.
Keep up the good work…and enjoy the itch.
Continued work on the transom outer skin.
I beveled and tabbed in a strip from the outside to keep it strong and flush on both sides. Also kept plugging away at filling old holes in the transom.
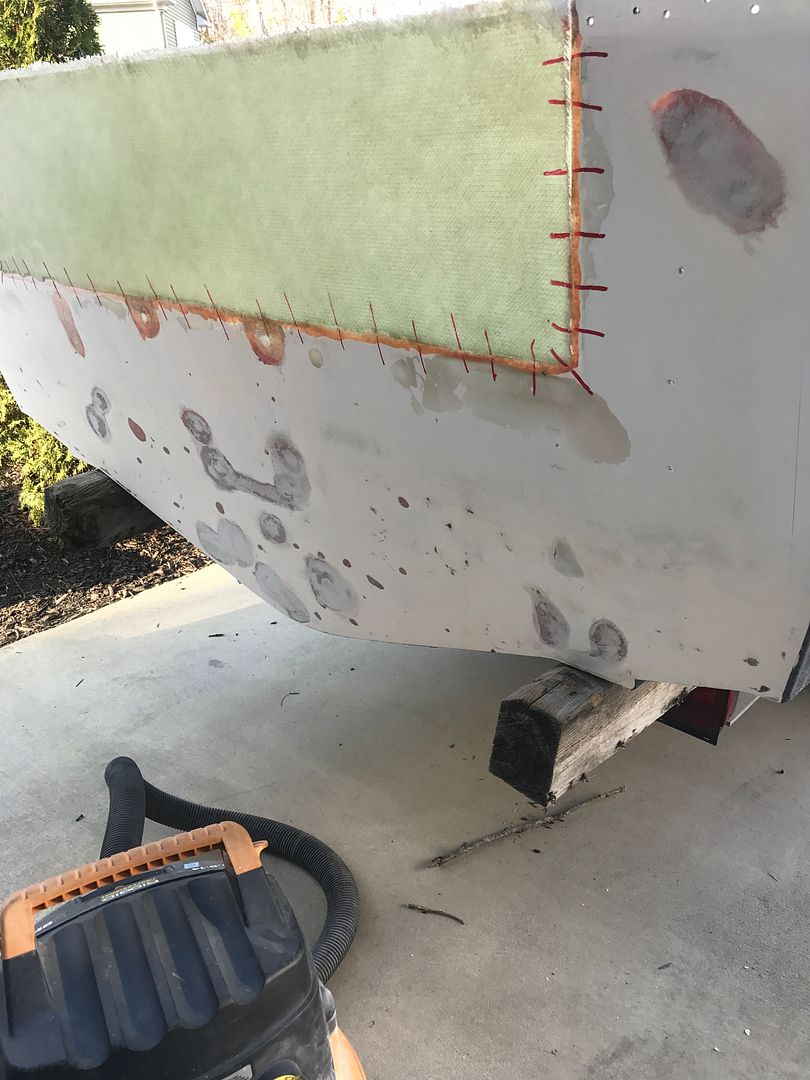
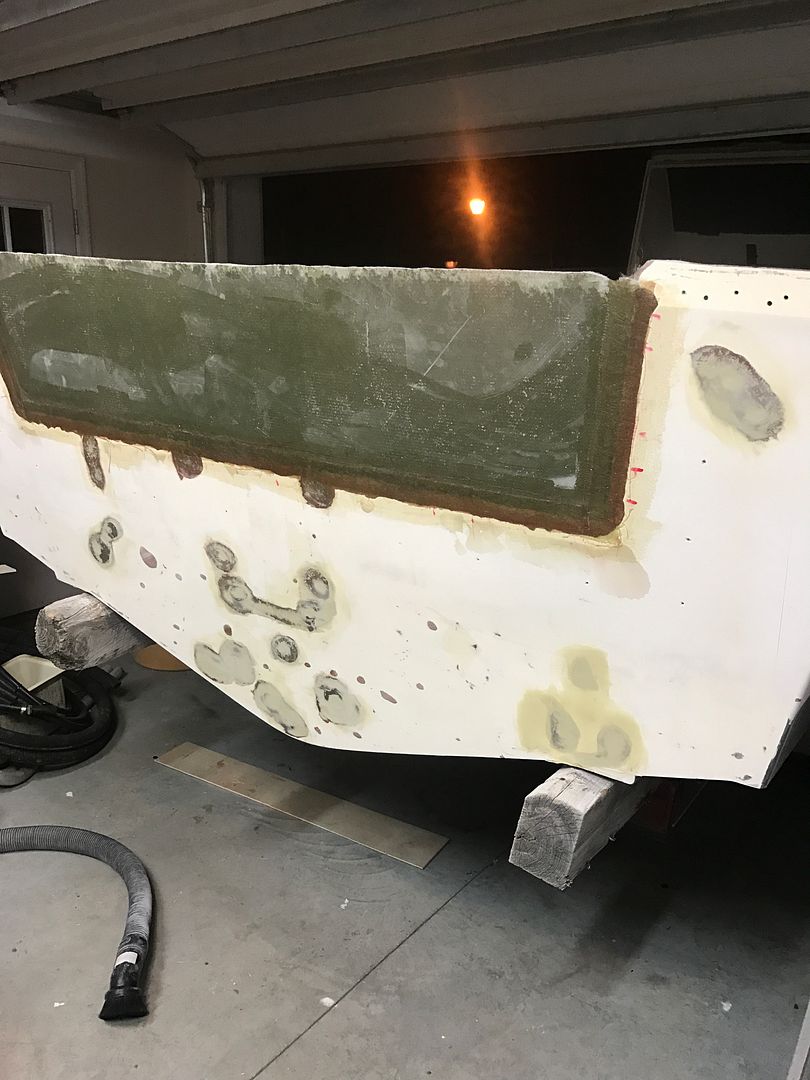
Nothing too exciting, just trying to keep some momentum going!
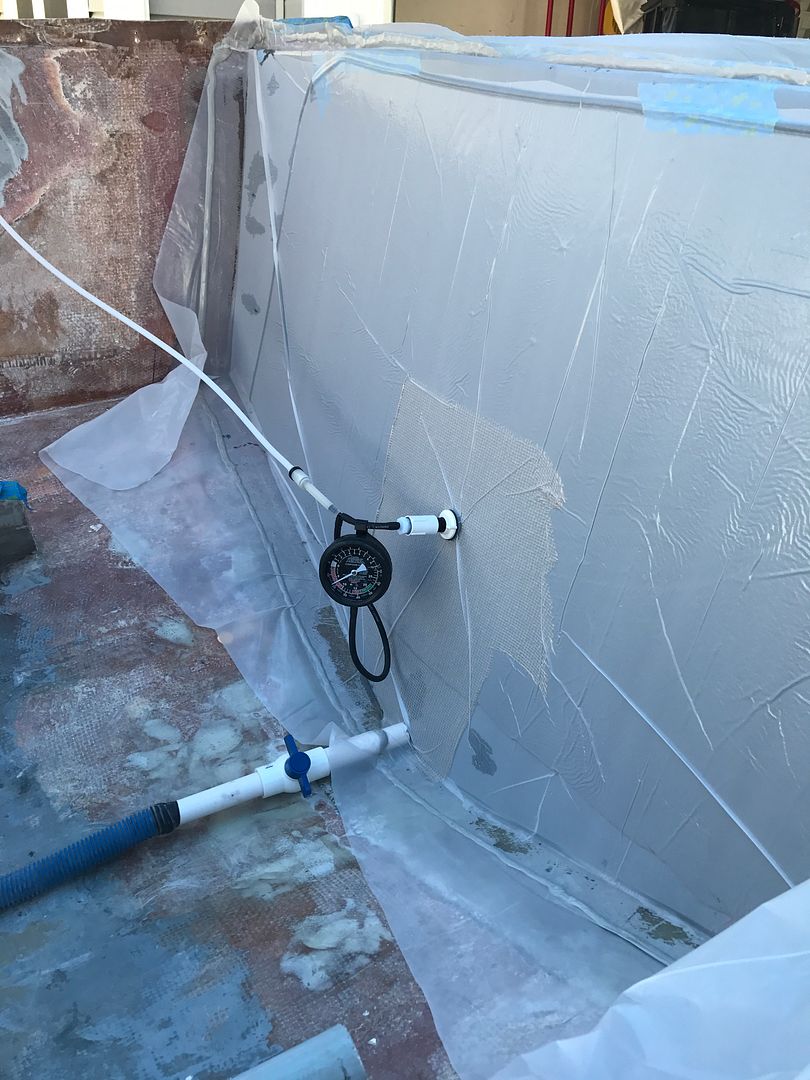
I also played around with some ghetto vacuum bagging techniques, just to see what I could do. Definitely learned some stuff, but mainly that I don’t believe the assertion that you have to have a lot of expensive, specialized equipment to do it (at least at a basic level). With a few dollars worth of stuff from home depot I was able to vacuum bag a small test panel very successfully. Obviously not resin infusing a yacht hull this way, but could be awesome for recoring/molding hatches, small parts, etc. If I can find a cheap and effective vacuum source I’m in business!
layed up a layer of mat+resin on table, then a sheet of 5mm plywood, followed by a layer of cloth and a couple strips of 1708, just to see how it all would react.
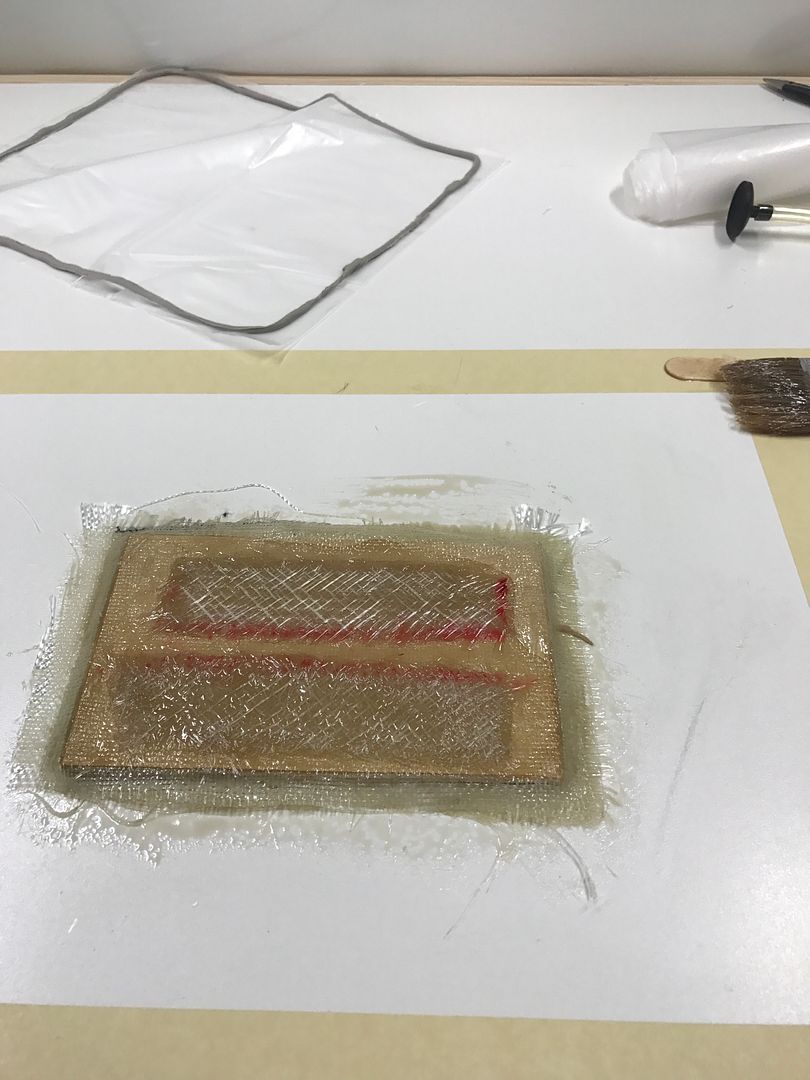
I used a 2 mil drop cloth for the bag and “peel ply” (just poked a bunch of holes in it.) Used some blue shop towels as bleeder cloth. Sealed it all up with the sticky, caulky window sealant on a roll.
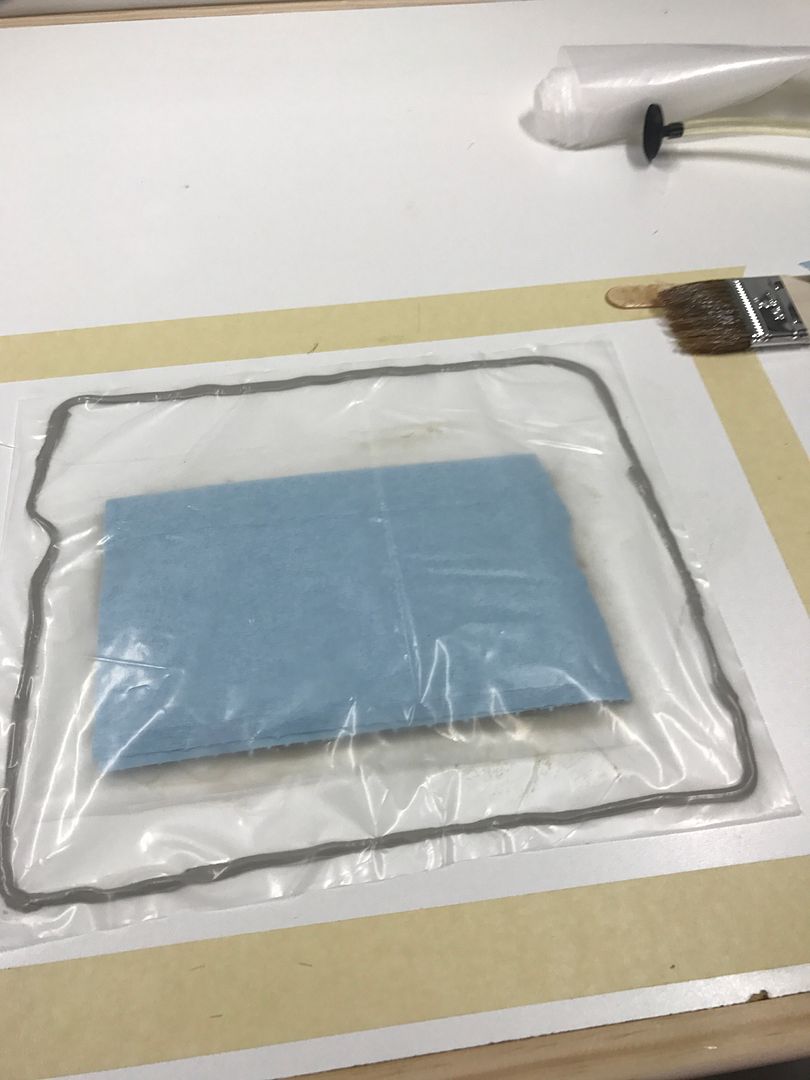
Poked a hole in the bag and attached a suction cup connected to a cheap hand vacuum pump.
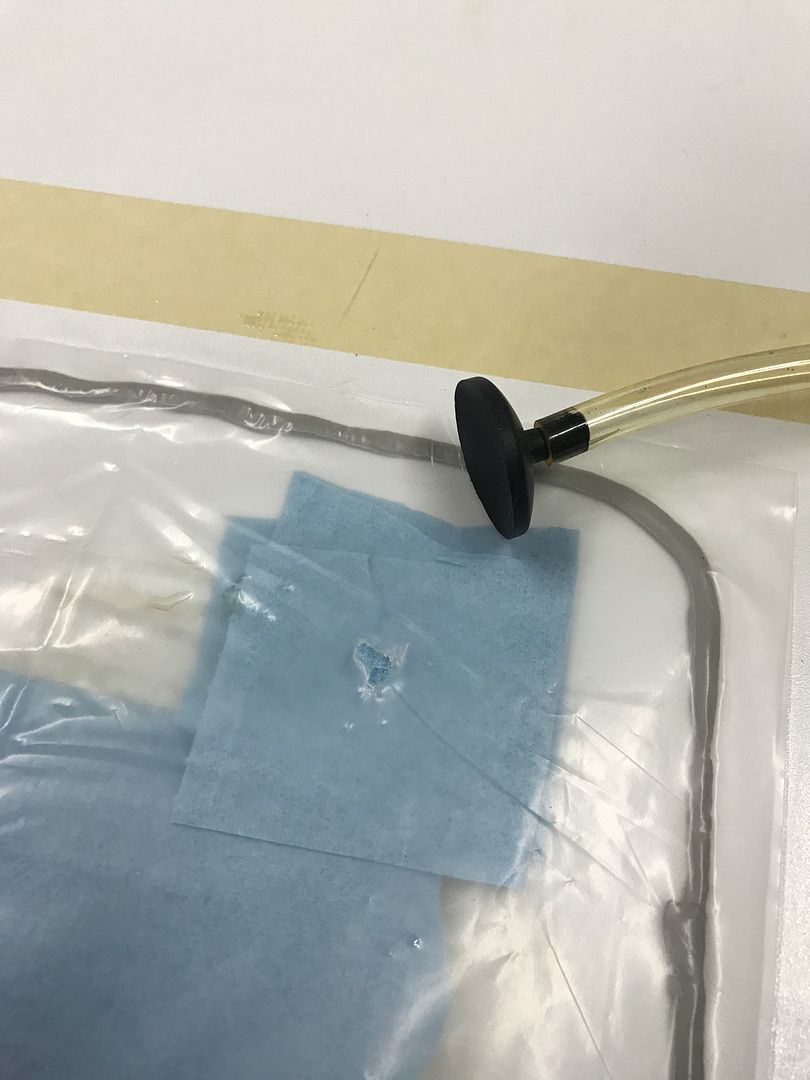
Now obviously a hand pump won’t cut it for anything big, but this was just a proof-of-concept exercise at this point. Was able to pretty easy achieve and maintain 20-24 inHg (about -12 psi) until resin cured. That means o
All I can saw is WOW!
looks like a transom to me… ![]()
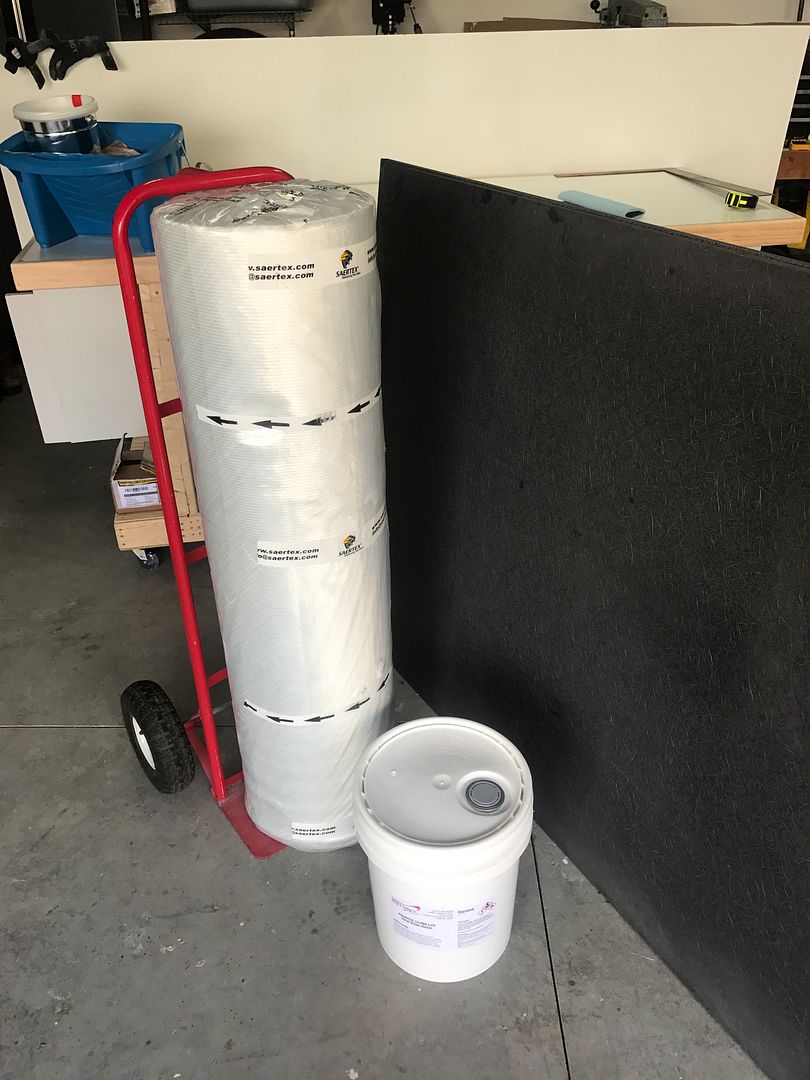
Time to get to work!
Angler 204 FX
Yamaha 150
shop vac works well for pulling a vacuum at that level. you can even use duct tape to down size the hose
www.teamcharlestonmarine.com
www.joinrfa.org
IF I RESPOND IN ALL CAPS, ITS NOT ON PURPOSE, AND I AM NOT YELLING
Man, you got some money. I used treated plywood/stitch mat/VE.
I was going to suggest a frig compressor…but you got the coin for a nice pump. I’m old but willing to learn new tricks like vacuum bagging, so, post it up.
Get it, Wolfie.
quote:
Originally posted by mdaddyMan, you got some money.
</font id=“quote”></blockquote id=“quote”>HAD some money, maybe…
late update, but got some work done this weekend! Added a layer of glass to existing transom outer skin and got first layer of core cut and bedded.
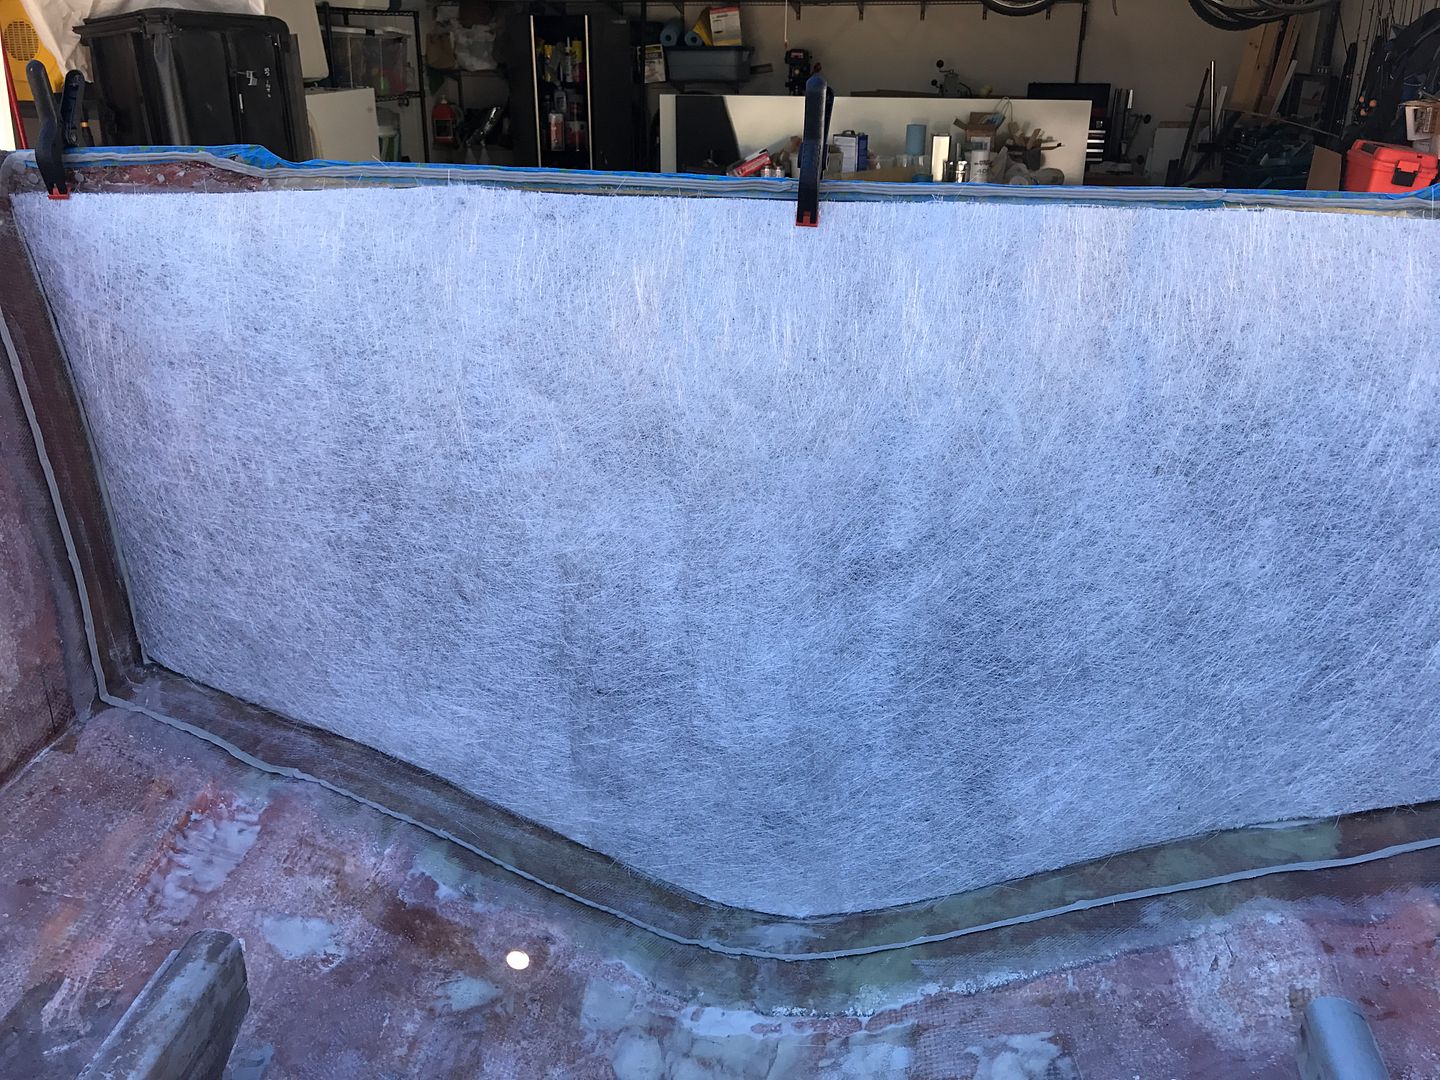
Sides of hull behind where fishboxes used to be were built up with really sloppy layers of mat and roving. Ground down to solid glass on both sides about 8" forward from transom to give me a solid substrate to bond new glass to. Knew I would be making a LOT of dust, so rigged an impromptu containment to catch it. Plastic drop cloth sealed over aft end, with fan supplying air to inflate and create a “bubble”, shop vac to exhaust. I climbed in with a full face respirator and went to town with the grinder. Actually worked very well - constant supply of fresh air from fan so doesn’t get hot, and zero dust outside since the exhausted air gets filtered through the shop vac.
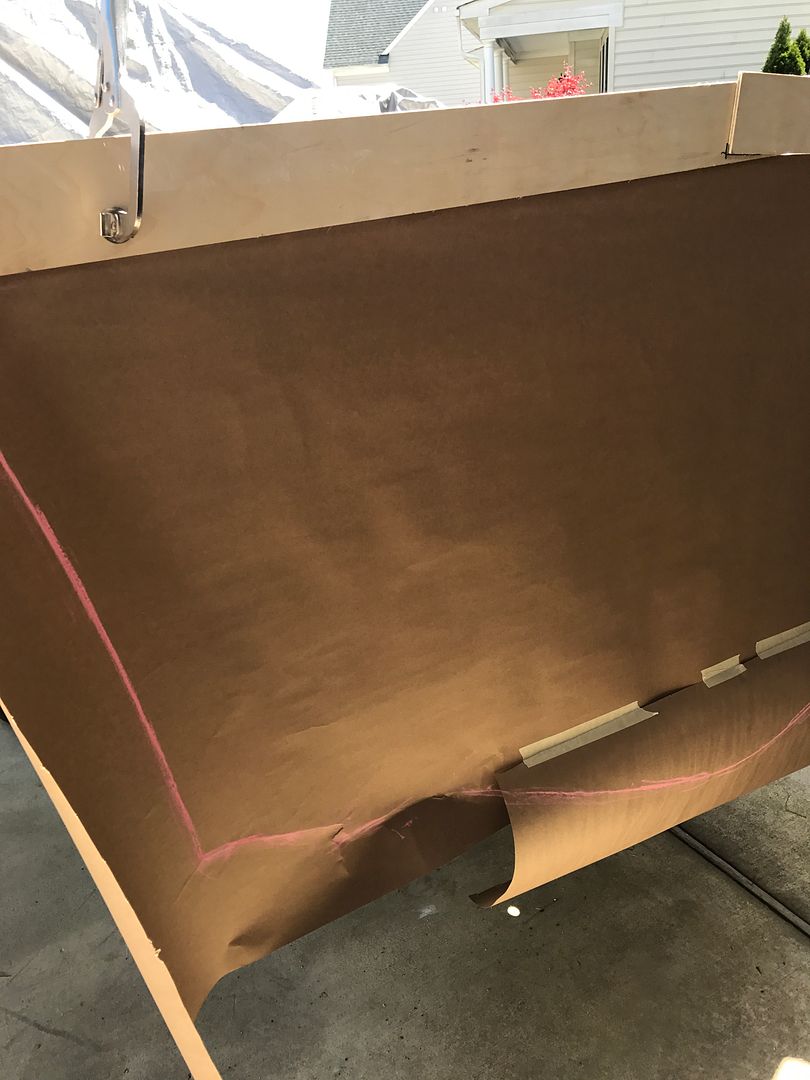
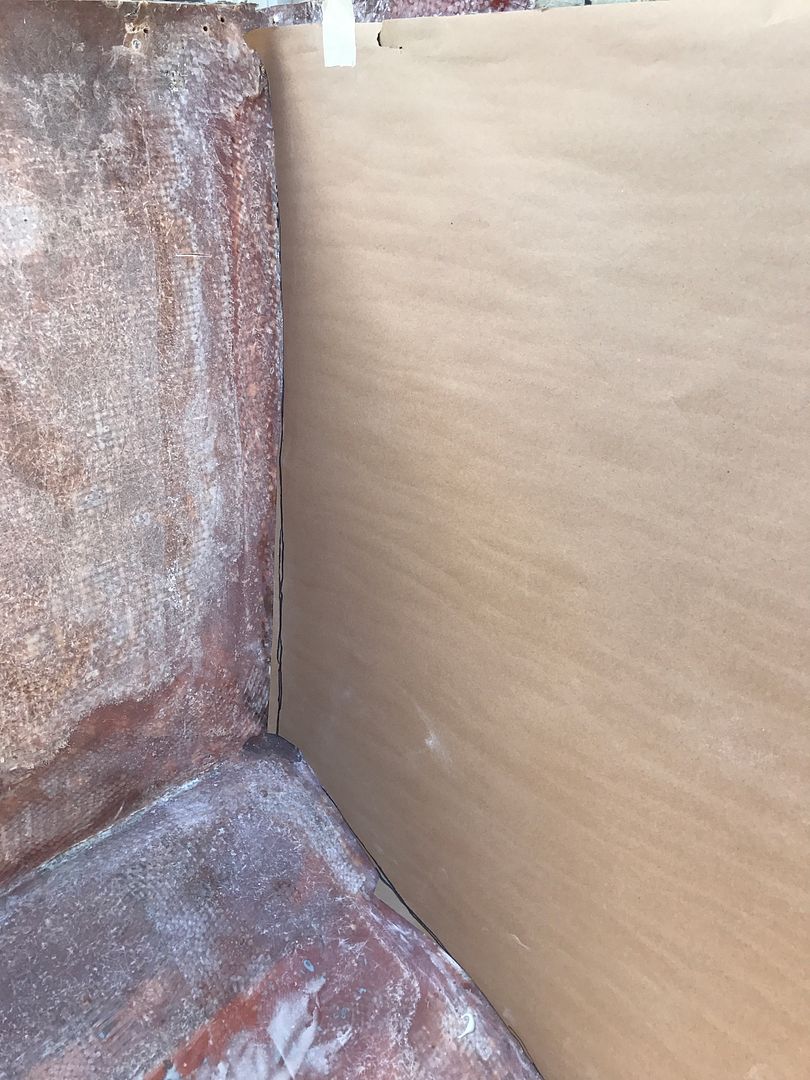
Made a paper template of transom. Because I wasn’t confident enough to potentially ruin a $225 sheet of coosa, I made a trial run with an $8 sheet of hardboard. Then transferred satisfactory template to coosa and cut out with a jigsaw.
Outer skin seemed a little thin, so I added an extra layer of 1708 for good measure. Overlaps into bilge and hull sides about 8" to provide a good tie to exi
WE HAVE ALWAYS JUST LET THE SHOP VAC RUN UNTIL THE EPOXY SET.
ALSO, WE JUST USED DUCT TAPE TO SEAL THE OUTER EDGE. I AM SURE YOUR TECHNIQUE CREATES A BETTER SEAL, BUT WITH THE AMOUNT OF AIR THE VAC MOVES, THE LEAKING NEVER SEEMED TO BE AN ISSUE.
www.teamcharlestonmarine.com
www.joinrfa.org
IF I RESPOND IN ALL CAPS, ITS NOT ON PURPOSE, AND I AM NOT YELLING
You got me fired up. I’ve never done the vacuum bagging. You got it going on. Keep the posts coming. Make sure someone knows your in there…that resin will cook your brain!
I would imagine your neighbors like you as much as mine( and I’m on 5 acres)…Fred Samford got nothing on me.
After a few more beers, that is some nice glass work. You got any Cuban in you?
working on getting second layer of coosa in and then inner skin this weekend.
Primed both pieces of core with resin and wet out a piece of mat to go in between instead of messing with thickened resin to hold them together.
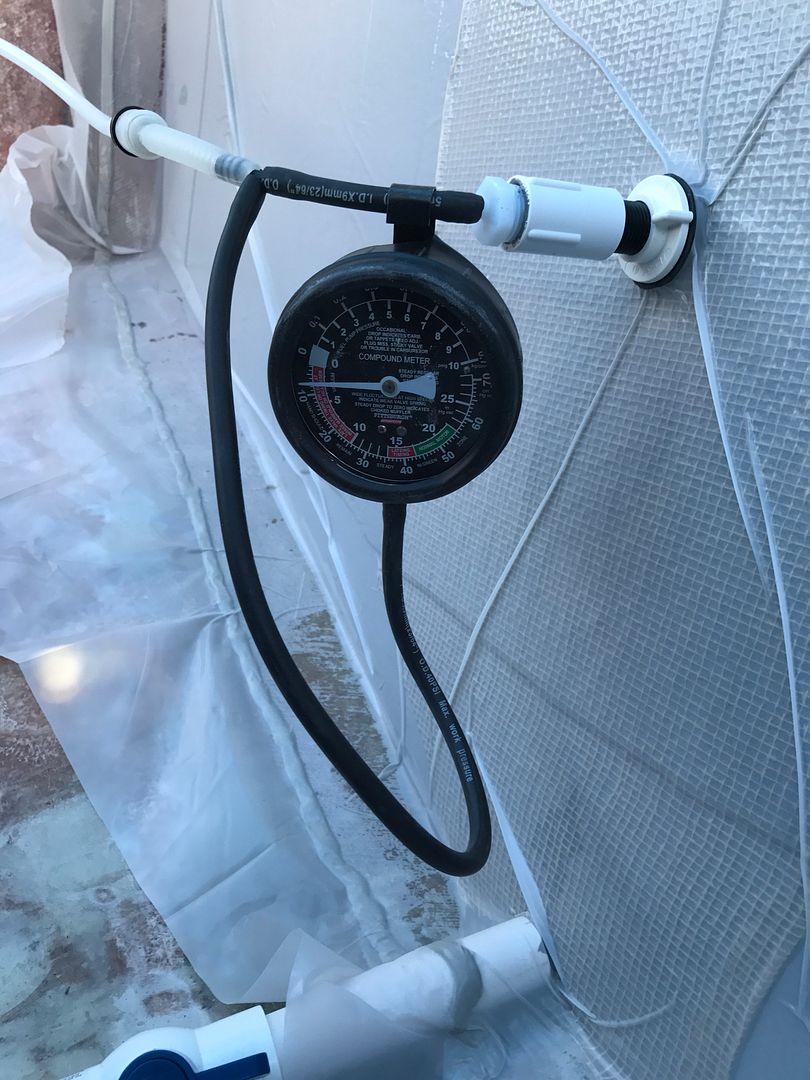
Tweaked my vacuum rig, with shop vac alone I get about 3 inHg (about -1.5) psi. This time I put an isolation valve in vac line, when I got all the leaks I could tightened up I started the actual vacuum pump and shut the valve to shop vac. With just the vacuum pump eventually achieved about -10 psi after chasing leaks. Could probably gotten higher if I was really careful about sealing the bag and tracking down all the little leaks but really no point for this application. Resin is curing right now, will be laying down some glass later this afternoon!
Angler 204 FX
Yamaha 150
Well, I’m waiting with baited breath. You like the coosa board? I would imagine it doesn’t soak up as much resin as plywood.
WELL??? Get to work. I’m Jonesen!
sorry for the lack of updates, hit an unforseen roadblock - ran out of thickener trying to fill gap around core. Fiberglass supply place i use isn’t open on weekends, checked West Marine but couldn’t stomach paying $15 for 1.7 oz of fumed silica. [:0] But, that shouldn’t be a problem again for a while… ![]()
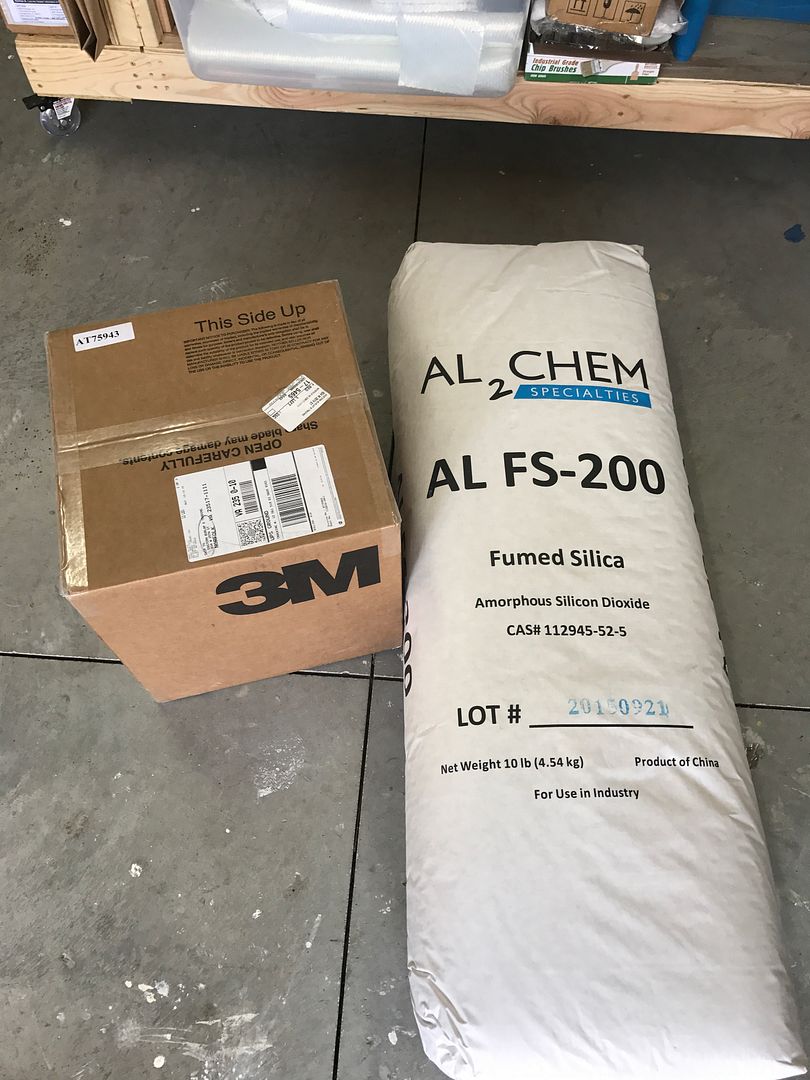
thats 10 lb of 3M glass bubbles and 10 lbs of fumed silica. Should be more than I’ll ever need, but its waaaaay cheaper to buy in bulk. West Marine: $7/oz. Bulk: $7/lb. You do the math…
so should be able to finish getting edges filleted and really get some glass down this weekend.
Angler 204 FX
Yamaha 150
I call that Cabosil…probably not the right term. I’d say you gots the market covered on that. When you get tired of grinding, come to Savannah. You gots a place on my boat…it’s old and slow like me.
well, feel like I lived in my respirator all weekend, can’t stand up from being hunched over in the boat, and I have resin in (almost) all my hair… but the transom is in!
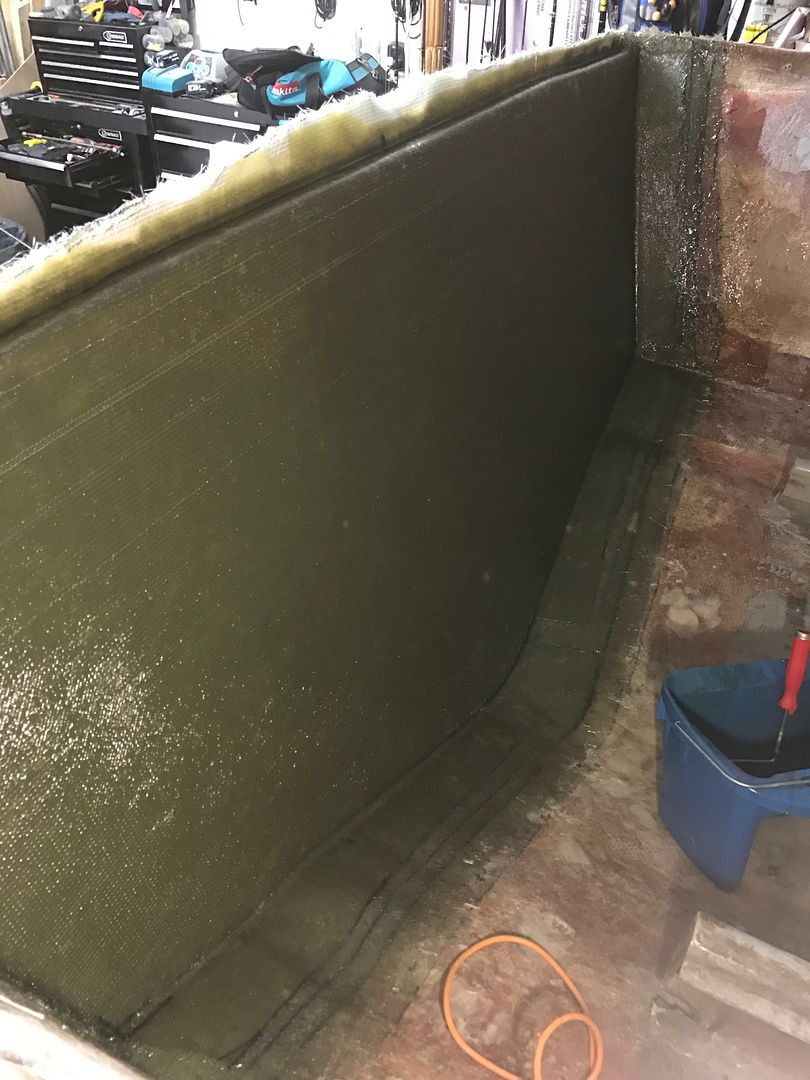
finished filleting around core and built up the inner skin. 7 layers of 1708 for a total of 0.25". thinner than some guys do, I know, but still thicker than the original skin. First layer overlaps sides by 8", then each subsequent layer is 1" less. actually layers 5&6 do not overlap since sides were already plenty thick, then capped it off with another final overlapping layer. May reinforce the areas where bracket will bolt on later, but holy crap is it solid now!
preparation, preparation, preparation. really glad I made the hardboard template to cut core, made use of it again to trace out layers of glass.
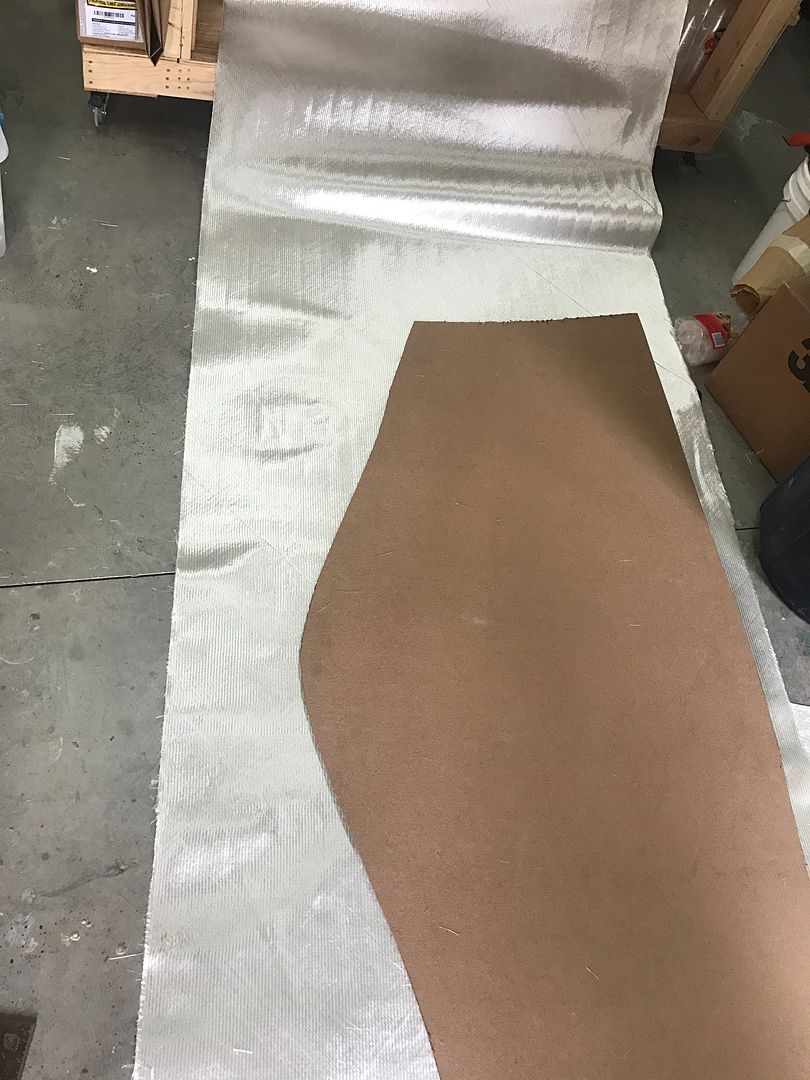
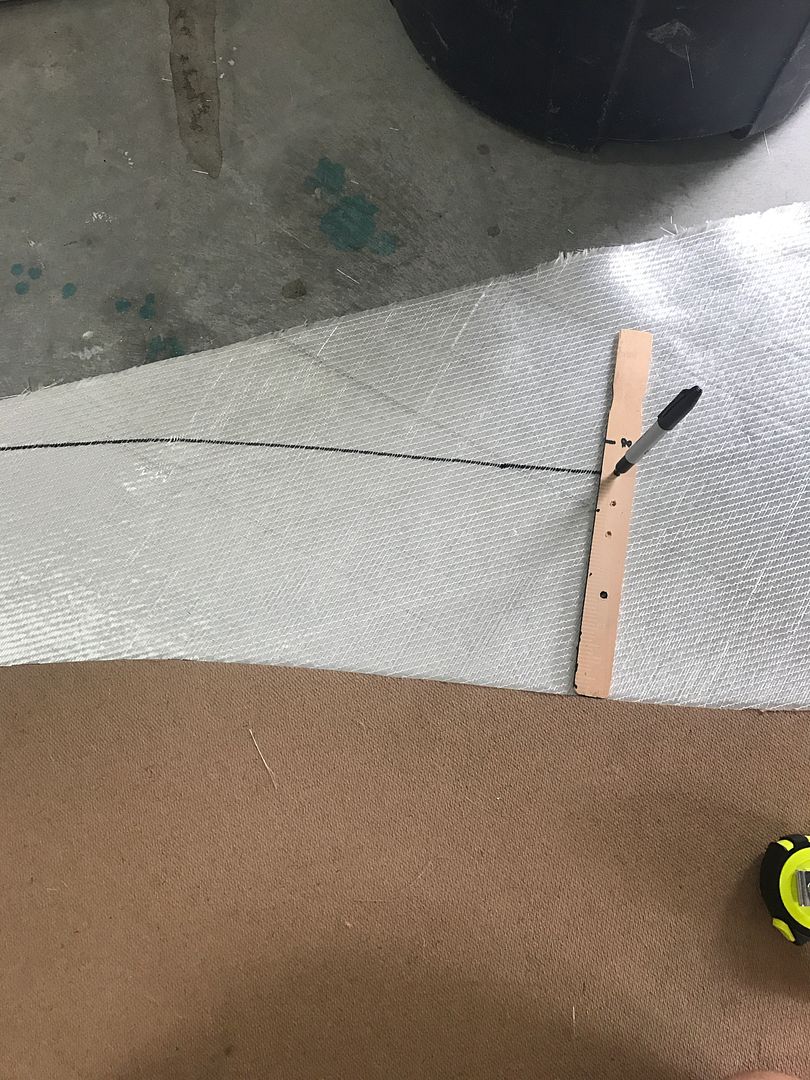
used a fabric patterning trick to mark up layers. drilled holes every inch on a wooden ruler, then stick a marker through at the appropriate distance and trace around pattern to get consistent width. Made match marks at centerline and corners to help get everything positioned correctly.
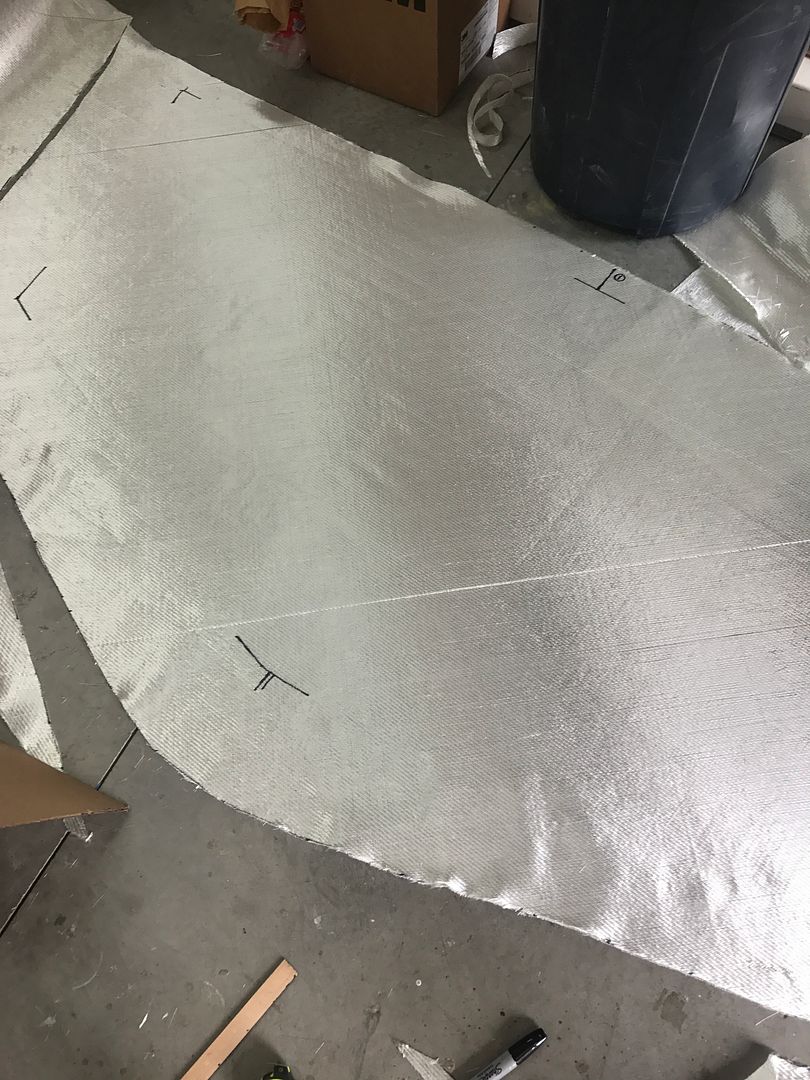
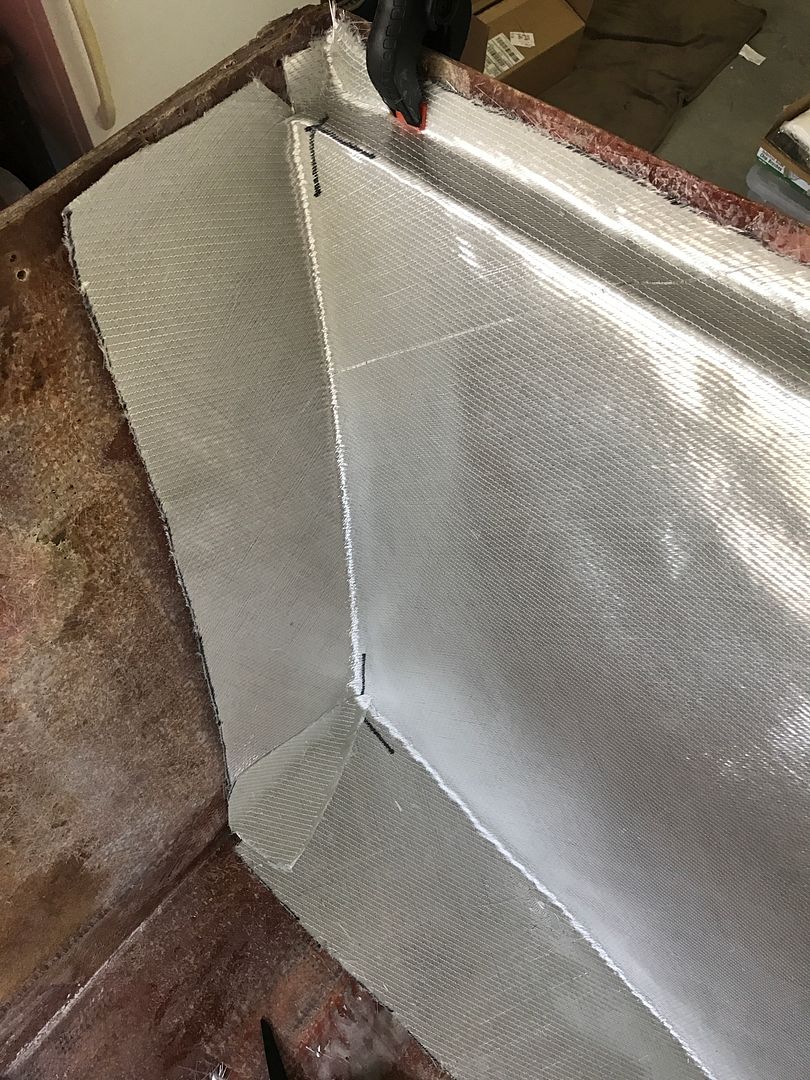
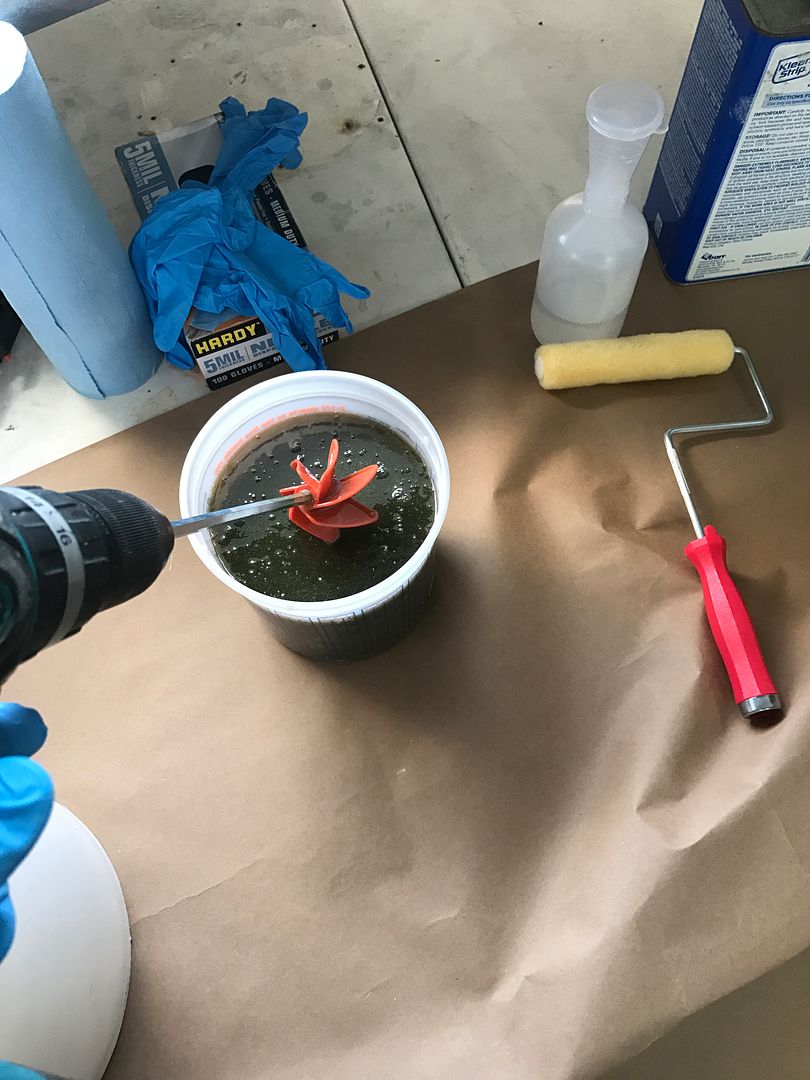
clamped each layer in place, trimmed out excess in corners, and smoothed out. wet out first layer from the back (mat) side one half at a time since the 1708 can be a beast to wet out from the biaxial side. worked great for the first layer, but just made a mess on next layer since previous was still sticky.
excellent work
better than most professionals, including a lot of boat manufacturers
www.teamcharlestonmarine.com
www.joinrfa.org
IF I RESPOND IN ALL CAPS, ITS NOT ON PURPOSE, AND I AM NOT YELLING
