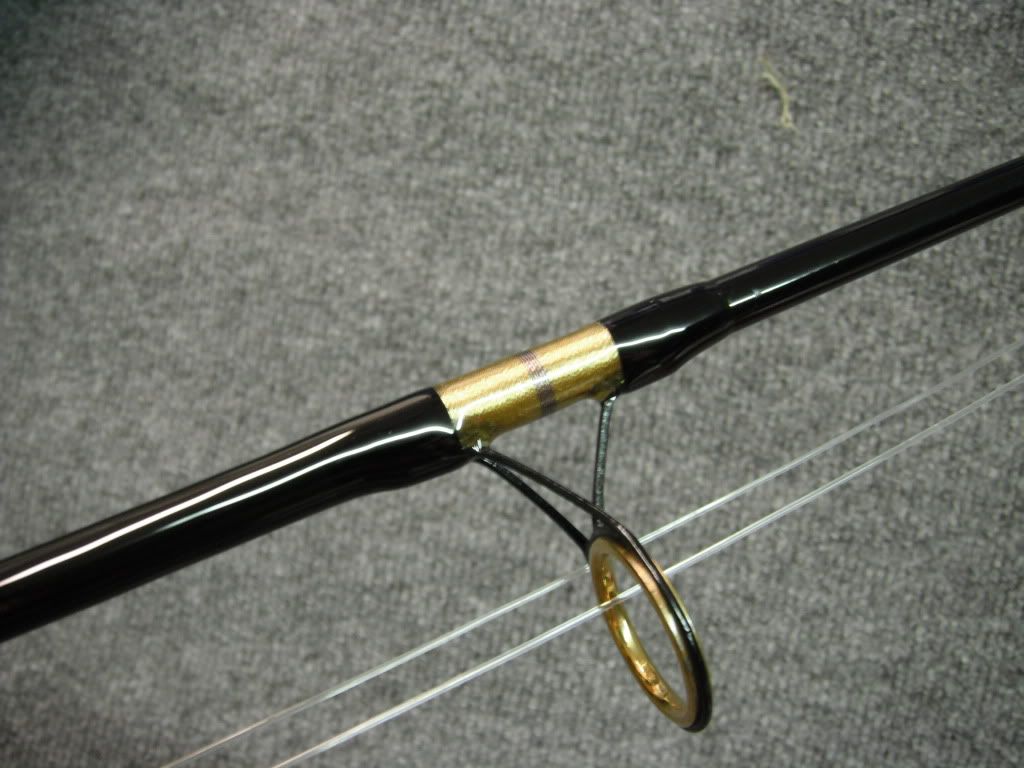
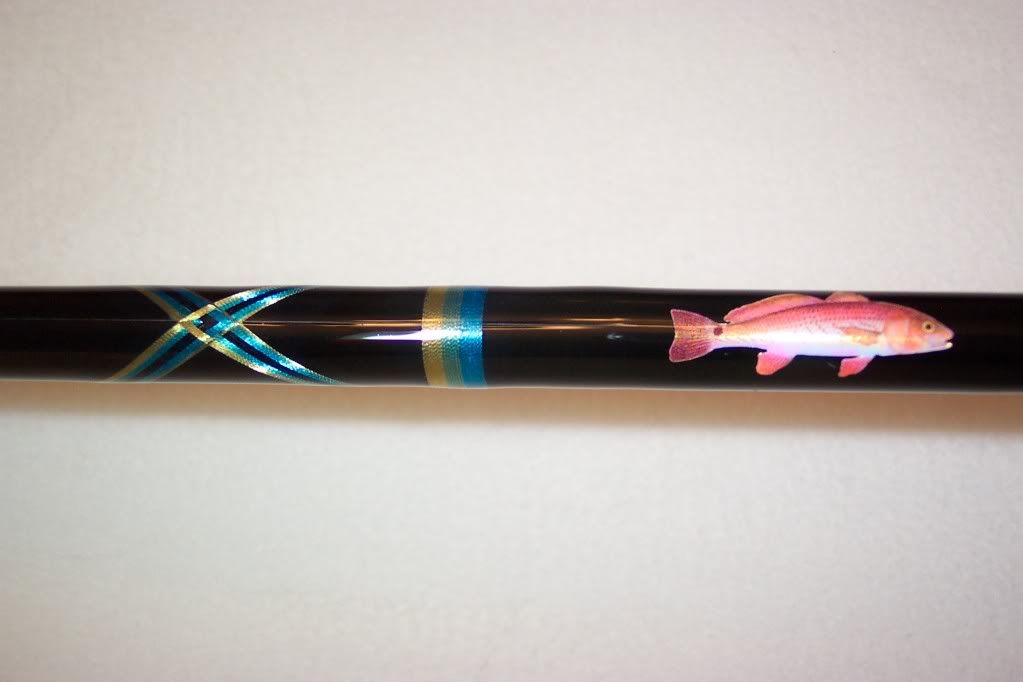
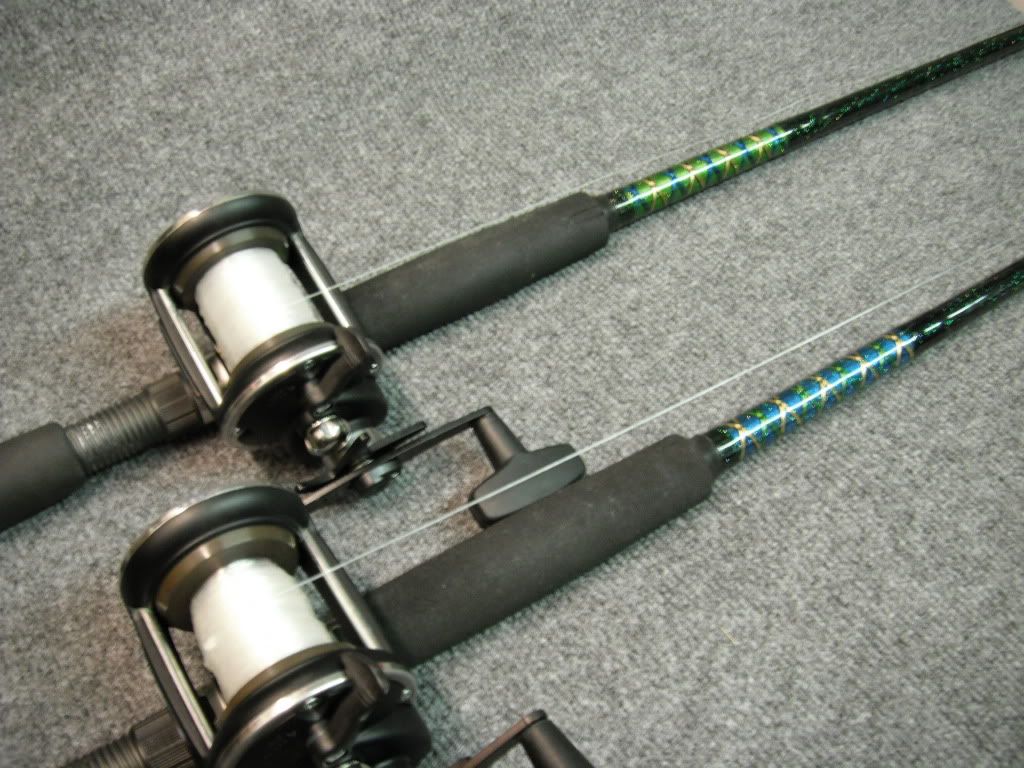
I have been messing around with trying to make/wrap some rods. Mostly junk up to this point but I have become fascinated with inlay and marbling. I want to get better at weaving but that is tuff and I can tell this is going to take much practice and patience (neither of which I am good at). My question is this, check out the layout of the guides on this rod.
[/img]
Not my work</font id=“red”>, photo is courtesy of Coastal Custom Rods…Does this really work? Has anybody tried anything like this? Or is this just a cool looking demo for advertising purposes?
“If you had to tell someone how good you are, then you probably aren’t that good”
I think it is a good demo of how not to line up your guides. It could work but your line would be cutting into the rod as it makes the twist around causeing a lot of drag.
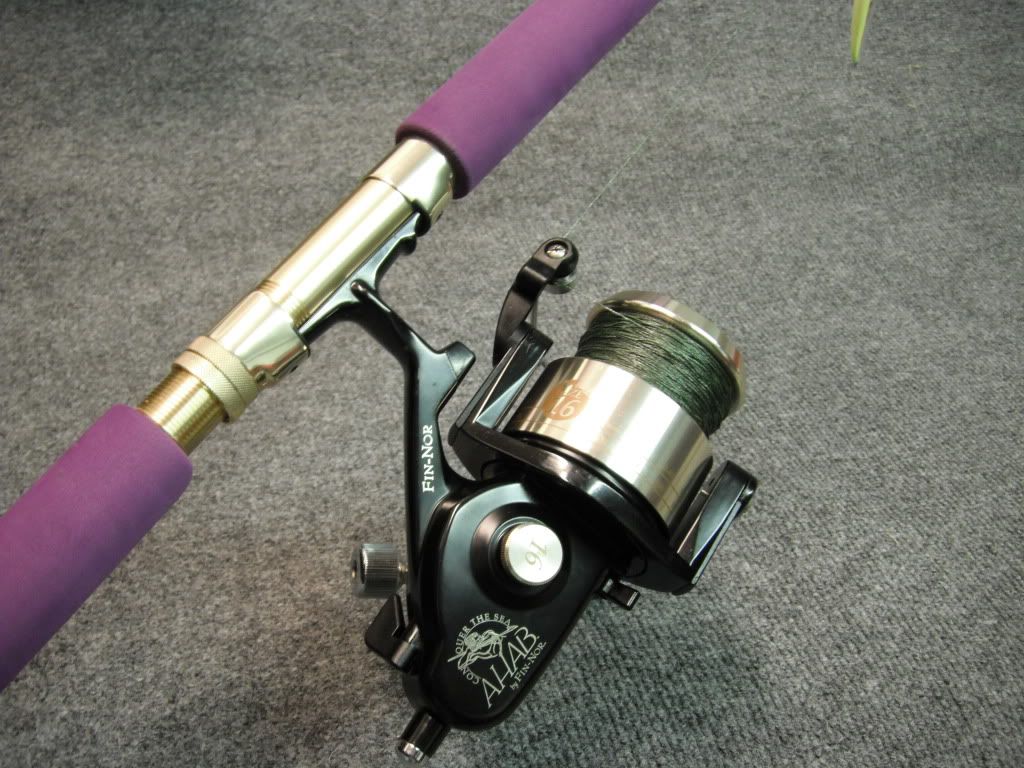
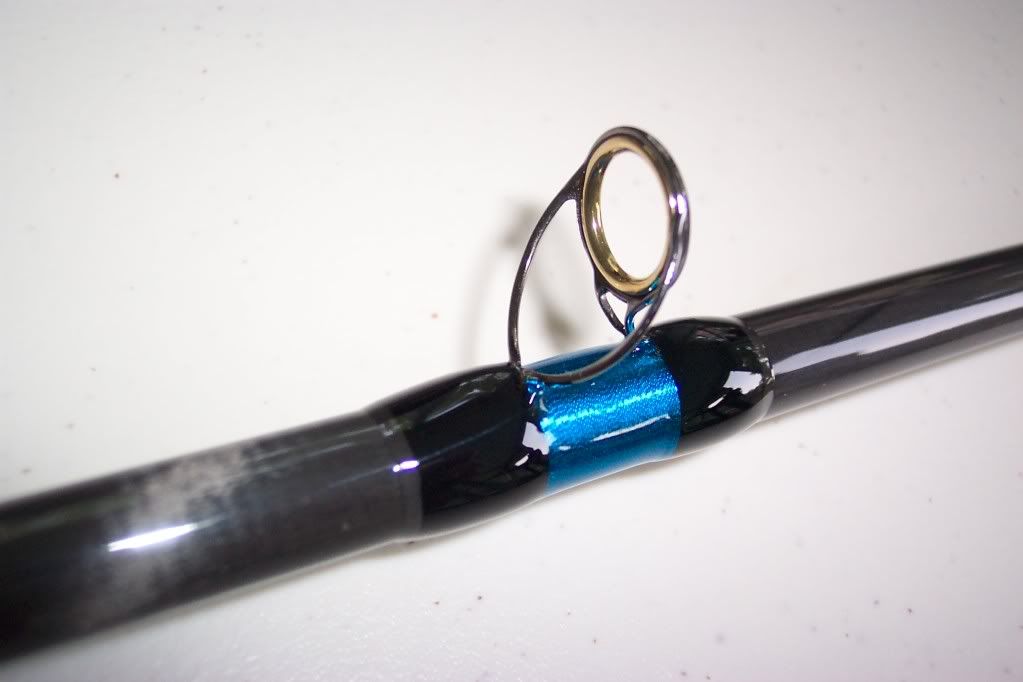
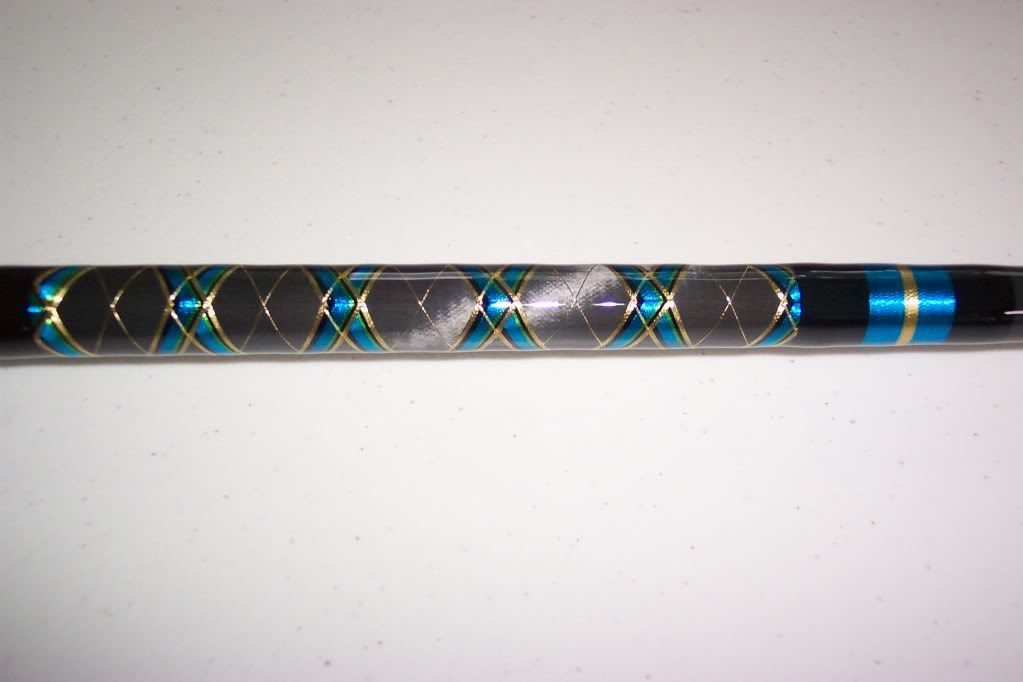
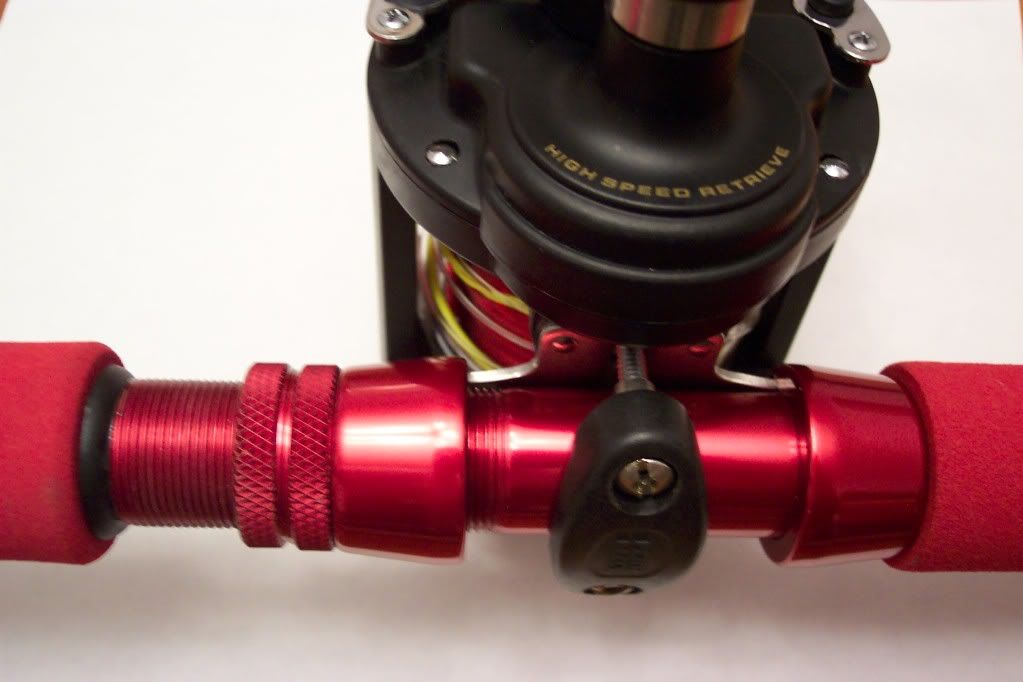
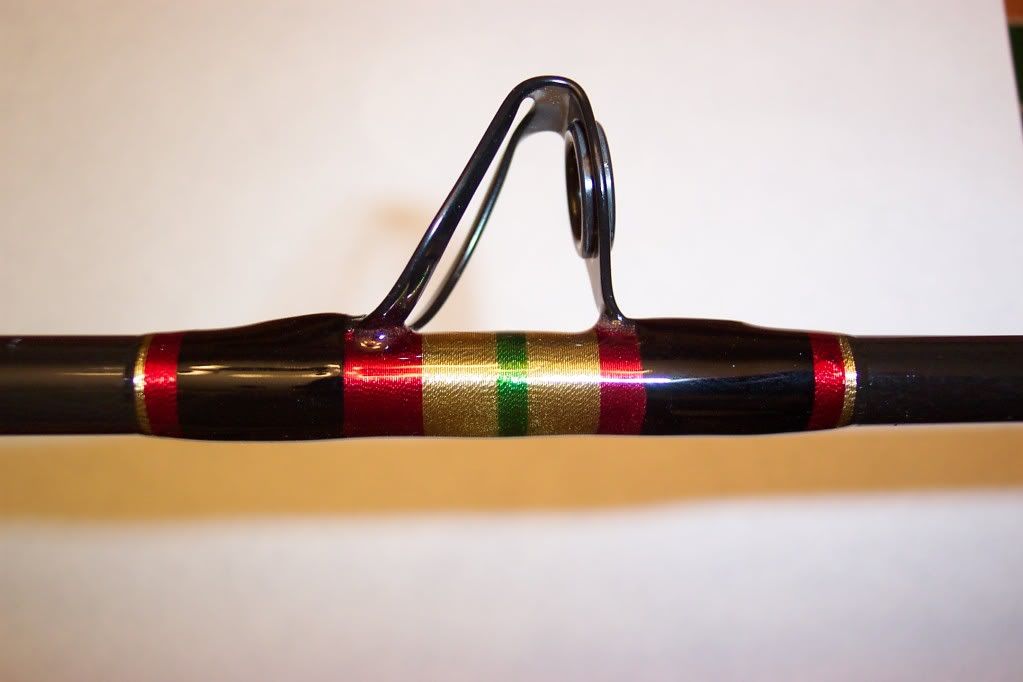
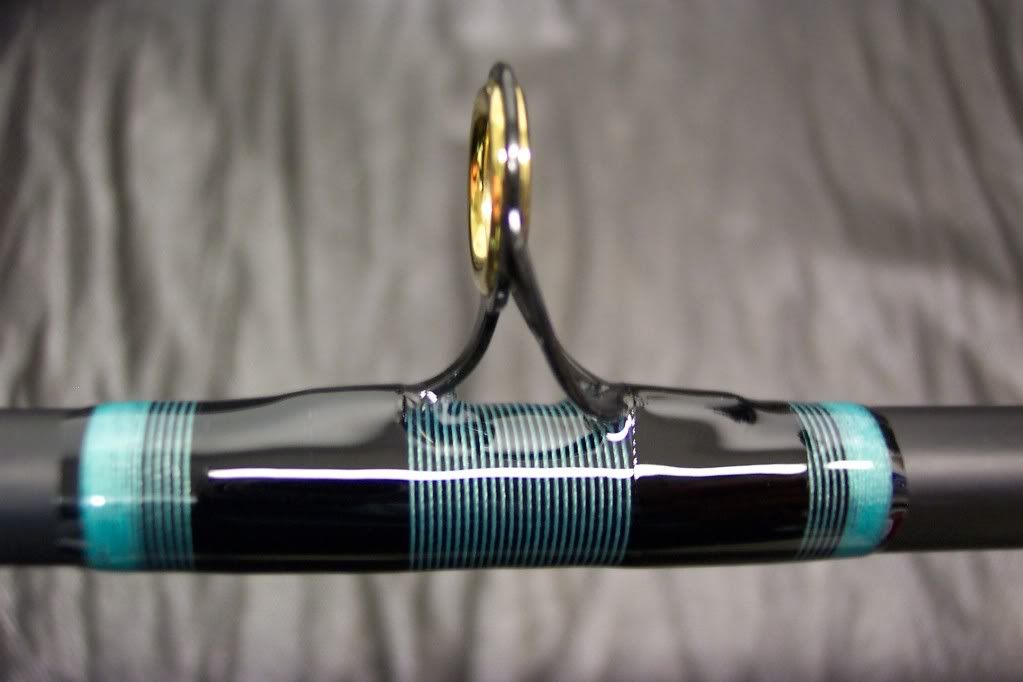
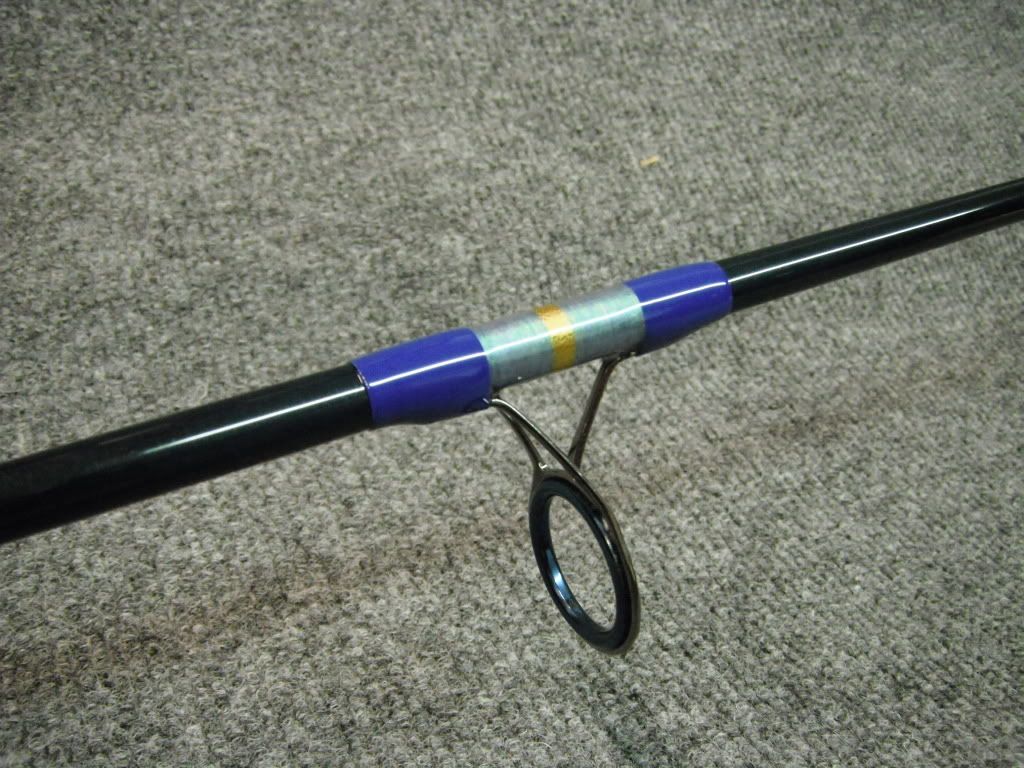
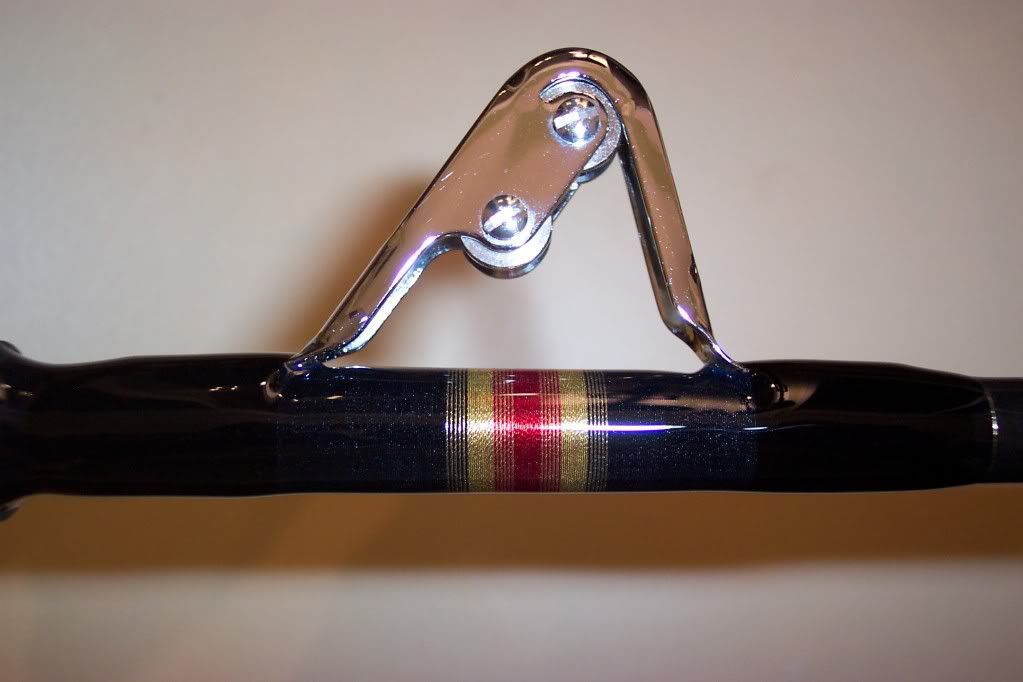
It’s called an “Acid Wrap”. It is used on conventional rods, mostly jigging like Full Pull says. The advantage is that that the rod does not torque over when loaded up just like a spinning rod and make it easier to hold. The guide spacing and angle is a little tricky to keep the line off the blank. Search acid wrap and there are several articles on how to do it. I’m thinking about doing it if I build a conventional jigging rod. I just built a spinning jig rod and used a Mud Hole jigging blank. Here are some pics; don’t ask me why I went with purple other than I like my rods to stand out.
Like hairball said, it’s also known as a spiral wrap. They were very popular 50-100 years ago. I have a few, and it really does help stabilize the rod when fighting a fish
had one a friend gave me as a gift. it was used he said you’ll love it, tried it for a while then i re-gifted it to another friend. told him “you’ll love it”. i think its been thru 3 other people so far… aint heard anybody likes the danged thing yet.
green grass and high tides forever
jhp----- Murrells Inlet
Hairball, post some more pics of that rod. If you built it, that’s a fine looking piece of work, wouldn’t mind seeing some more.
Mark
Mako 262 Twin Yammaha F200s
Yeah, but do you consider a dog to be a filthy animal? I wouldn’t go so far as to call a dog filthy but they’re definitely dirty. But, a dog’s got personality. Personality goes a long way.
“Life’s tough…It’s even tougher if you’re stupid” John Wayne
I do use flex coat. I found that the epoxy finish is the hardest this to get comfortable with doing well because you are working against the clock.
This is my basic method:
Use a cheap solder brush and cut about 1/3 of the end of the bristle off cleanly with some sharp shears.
Without the dryer motor on (just turning by hand) I brush the epoxy on along the lenth fo the rod (left to right motion). Turn by hand to work around the circumference of the rod. make sure to get around the guide feet well without globbing it on. For the ending points of the epoxy down worry about them yet, just get within a 1/4 or so.
Get just enough epoxy on to wet out the thread and cover without dry spots. The first coat is for strength the second coat is for looks.
Turn on the dryer motor. With the brush at a 90 degree angle to the rod, use the side of the brush to define the ending points. It take a steady hand to get a crisp line. Then with the brush in the same orientation, lightly lay it on the guide wraps allowing the rotation of the rod to even the epoxy out. Allow 3 or so turns before moving the brush over.
Use an alcohol torch or your breath to pop any bubbles (time consuming to get all of them) I usually go back several times within the first hour of dry time to look for bubbles.
6 Repeat for the second coat.
Hairball builds some BADAZZED rods. I’ve fished with a couple of them and they are awesome!!! My first Charleston 60 trip was with HB and we were using the rods in pic 7 above. I was pulling a nice BSB off the bottom when a 6’ shark grabbed him on the way up. Fought the shark for about 5 minutes before I pulled the BSB out of his gut. Those rods are BEAST! He did 99.9% of the work on my custom rod which is seen in pics 8 and 9 above. The man does impressive work and knows his stuff. That purple rod with the Ahab on it is sick and has some serious backbone.
And it doesn’t really set off the Gay-Dar like you would think it would.
“There is no hunting like the hunting of man, and those who have hunted armed men long enough and liked it, never care for anything else thereafter.”
Ernest Hemingway
I always seem to be rushing to get mine done, so I nkow why my epoxy doesn’t turn out as well. It’s functional, just not as aesthetically appealing as yours. Cutting the brush bristles is a pro-tip! I’m going to have to give that a try.
The alcohol burner I have is terrible for air bubbles… it produces a large flame and there isn’t enough clearance to get underneath with the rod turning in my dryer. I tried a heat gun on low for quick passes and it worked alright on the bubbles. Does one of those automatic mixers that advertises a no-bubble epoxy actually work? If so, it would be worth the investment. Most of mine appear from mixing in the plastic cup.
Pillage and plunder with a 9wt and a fist full of clousers.
For some rods that have a lot epoxy work I will work until the epoxy becomes difficult to apply then make a new batch. I also found it is easier to work from the tip down because when the epoxy is thin it applies easier for the smaller guide wraps. As it thickens the larger guides wraps don’t require such a fine touch and it will still smooth out well on the larger section diameter.
The auto mixers do cut down on the bubbles, but you are always going to get some from the brush. I just got an alcohol torch from Mudhole that is a plastic bottle that has a tube to force vapors out through the flame when you squeeze the bottle. It produces a very fine pinpoint flame for focused bubble popping. You can also tilt it over quite far to get it under the blank for general bubble removal.
Thanks! I’m finishing up a rod this week and won’t be able to build another until spring, but that burner will be on the must-have list when I start my next one. I think it will be a flyrod.
Pillage and plunder with a 9wt and a fist full of clousers.
Hey Hairball, I’ve got a question about decals. I have on that you use two pieces of tape to separate and apply. Any tips for getting it on and not having the edges show? I haven’t used one like this before.
Should I cut the decal close to the edge or make it larger and wrap around the blank more?
Pillage and plunder with a 9wt and a fist full of clousers.