how did you get teh foam leveled out?
quote:
how did you get teh foam leveled out?
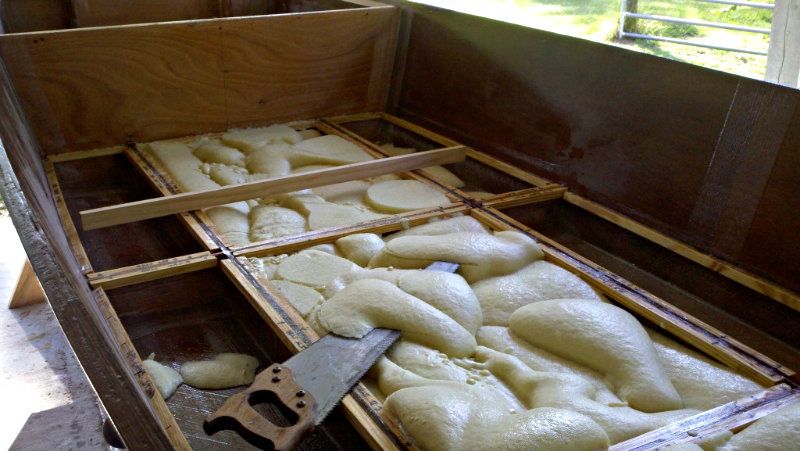
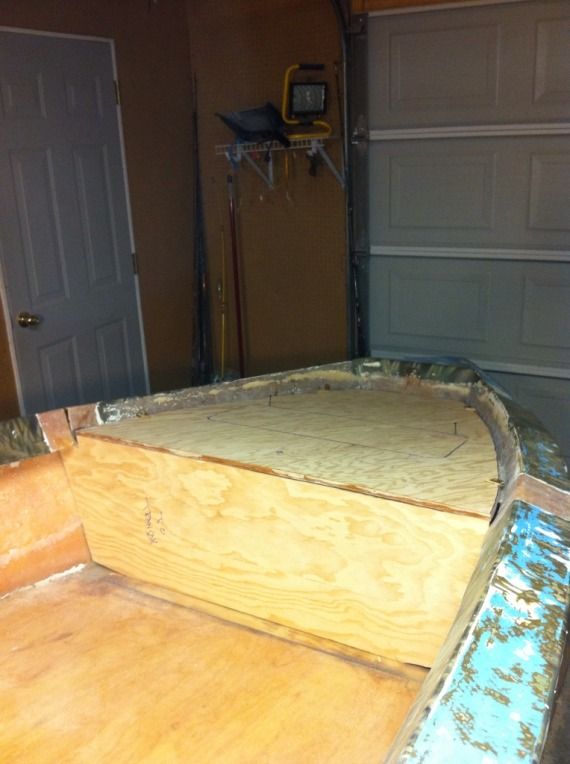
I can answer because I’ve been giving him some guidance. A long handsaw held flush against the stringers, then a sander for fine tuning. Like this…
Capt. Larry Teuton
Cracker Built Custom Boats
Small craft surveying and repair
quote:
Any reason for leaving the wood stringers and then using more wood to beef up the stringers instead of using foam-core
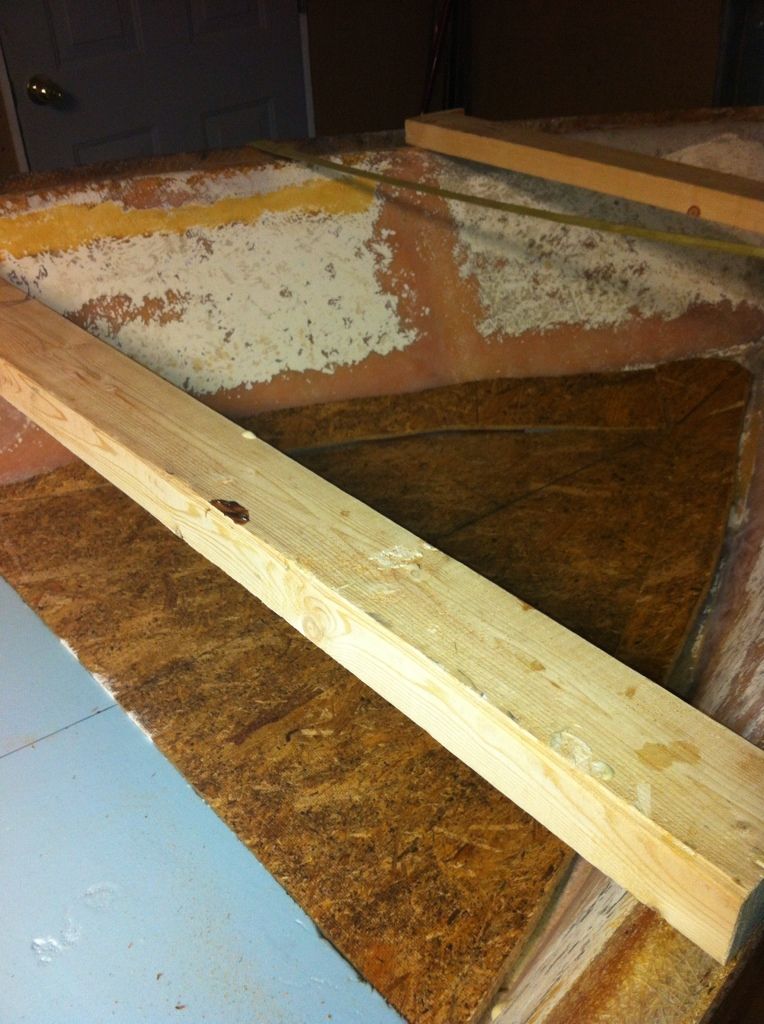
I can answer that, too. He didn’t leave the original wood stringers, he replaced them with new. Plywood is considerably stronger than foam. The cleats on the top of the ply create an “I” beam that stiffens them even more and gives a larger bearing and gluing surface for attaching the sole.
Capt. Larry Teuton
Cracker Built Custom Boats
Small craft surveying and repair
I understand the point of the “I”, it increases the cross sectional surface area of the stringer. Which increases the stringer’s moment of inertia and makes it a lot stronger. Its basically like using a solid piece of wood that is as wide as the “cleat” Does the wood inside the glass of the stringer give the stringer strength, or does all the stringer’s strength come from the glass?
The laminated plywood provides the strength and the glass transfers the strength of the stringer to the hull. The stringer would be plenty strong without the glass but it all has to work as an integral unit.
Capt. Larry Teuton
Cracker Built Custom Boats
Small craft surveying and repair
I found that a japanese pull saw was my tool of choice for leveling the foam. They bend and flex as you desire. Then some sanding for the final leveling.
Btw…Cracker Larry has been a big help! Thanks again Larry.
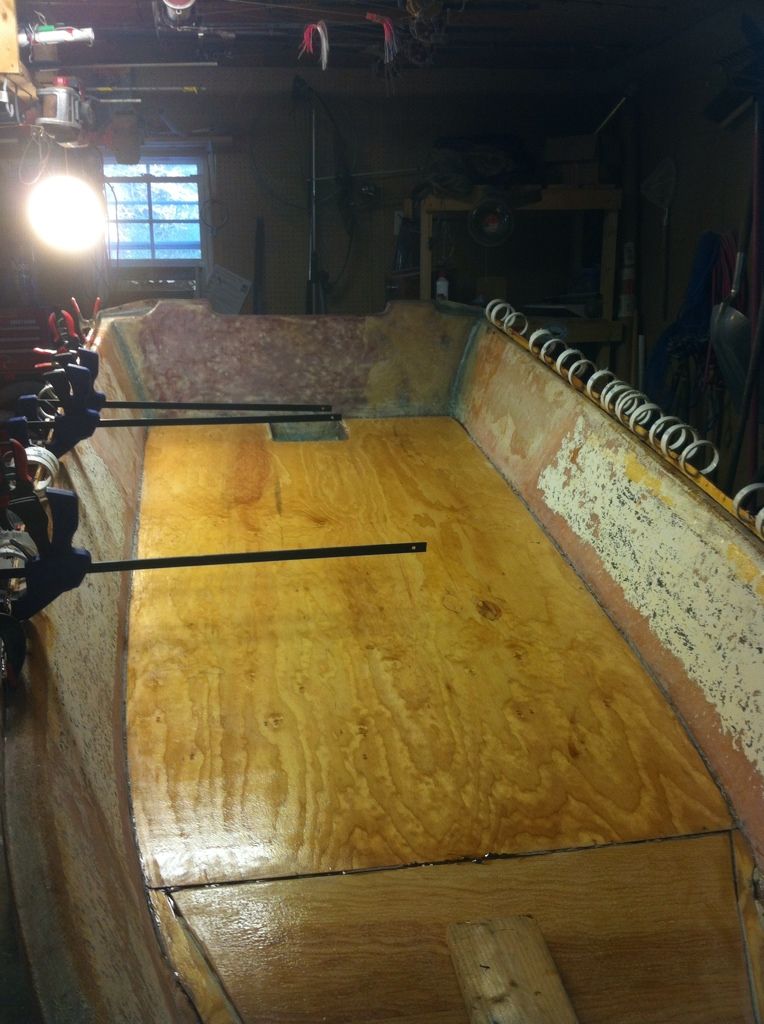
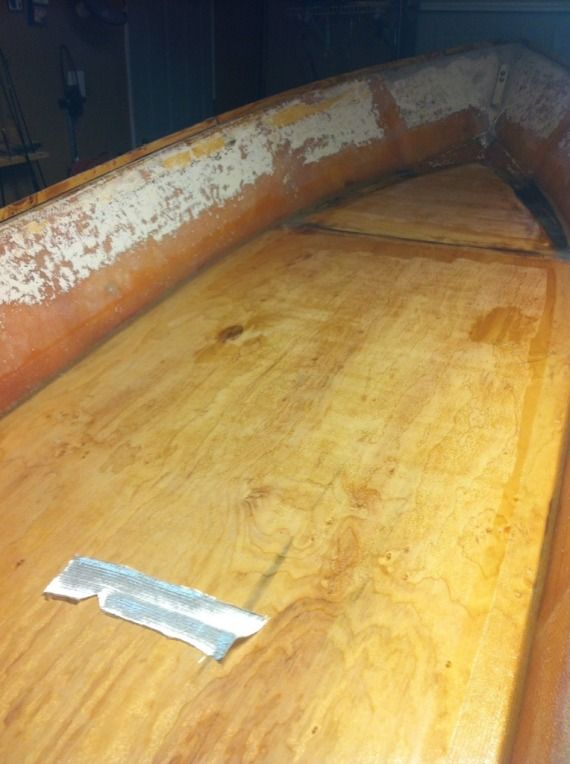
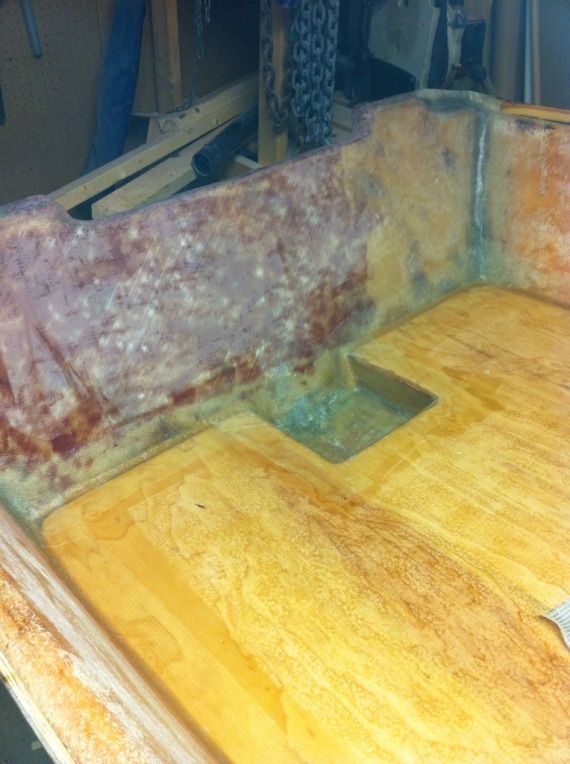
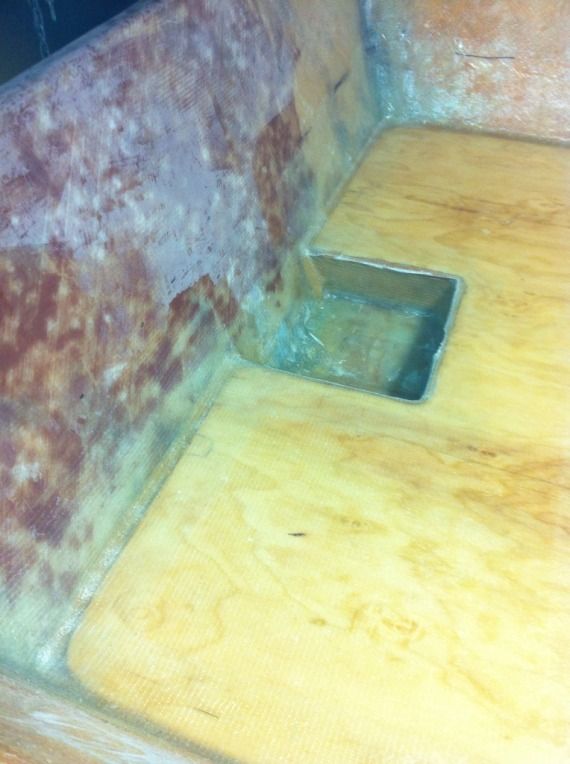
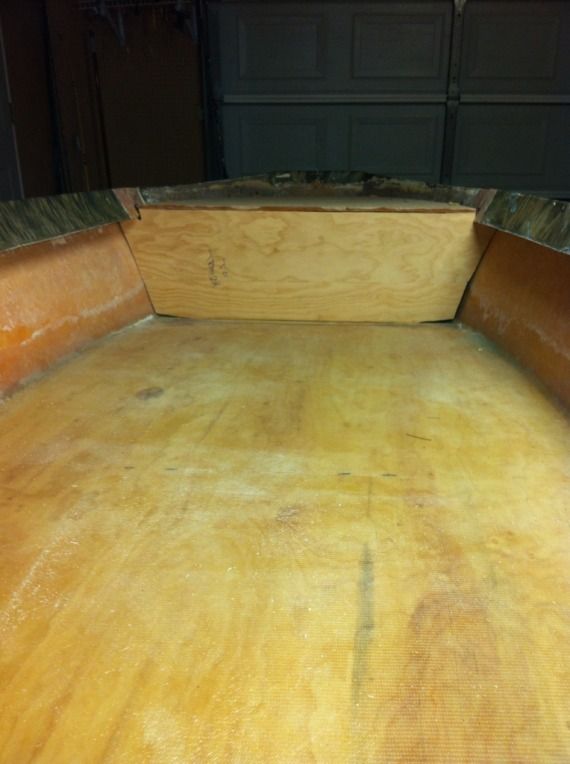
I got the template cut out and rough fitted. There is a little bit of weird stuff going on in the bow area matching the angle of the hull. The factory had some thin OSB type wood in there as a kind of a filler between the glass and the hull. When I removed this area, there was nothing but saw dust (rotten and wet) and a fire ant colony living in there. I was thinking of going back with some 1/4" ply to conform to the curves and angles a little better and make a smooth transition under the future casting deck.
Any thoughts on this front section?

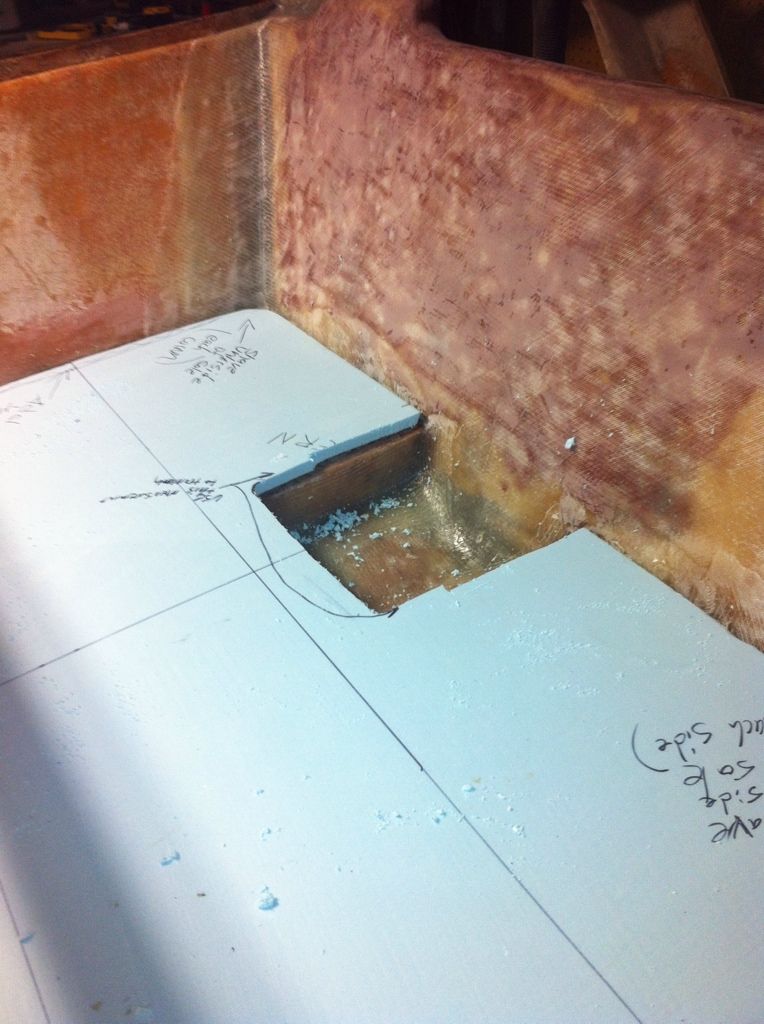
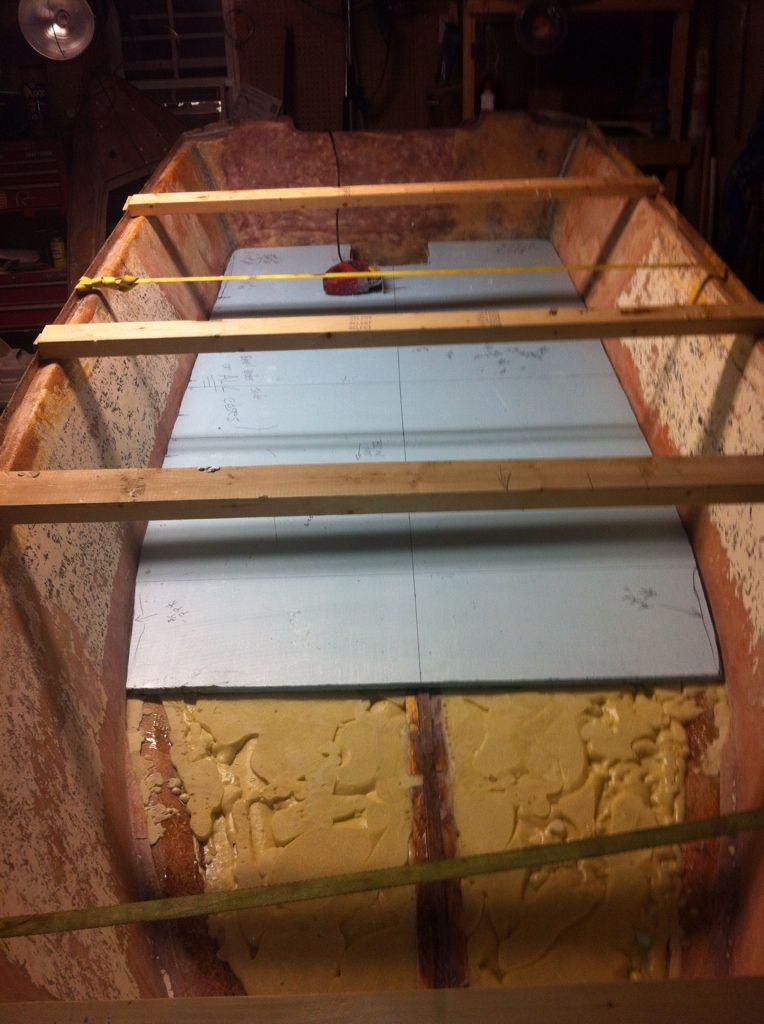
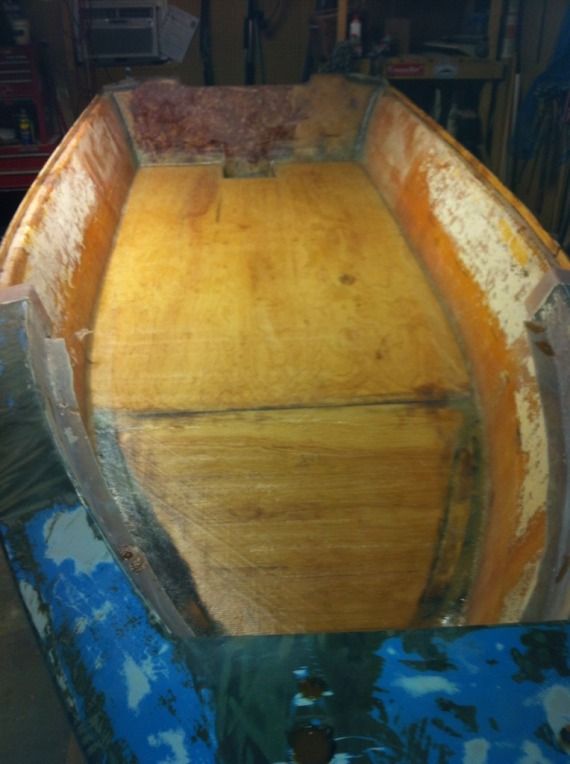
Progress? The blue foam is protecting the wood underneath. btw.
Yessir…That looks nice.
Very nice! I’m enjoying watching the progress
2000 SeaPro 180CC w/ Yammy 115 2 stroke
1966 13’ Boston Whaler w/ Merc 25 4 stroke “Flatty”
www.ralphphillipsinshore.com | www.summervillesaltwateranglers.com
quote:
Originally posted by RDWYessir…That looks nice.
Thanks Dale. Do you still have “EP” ?
I had a late late night last night. I got the sole tabbed in and all the way glassed in. The cap, rear seat, casting deck are next.
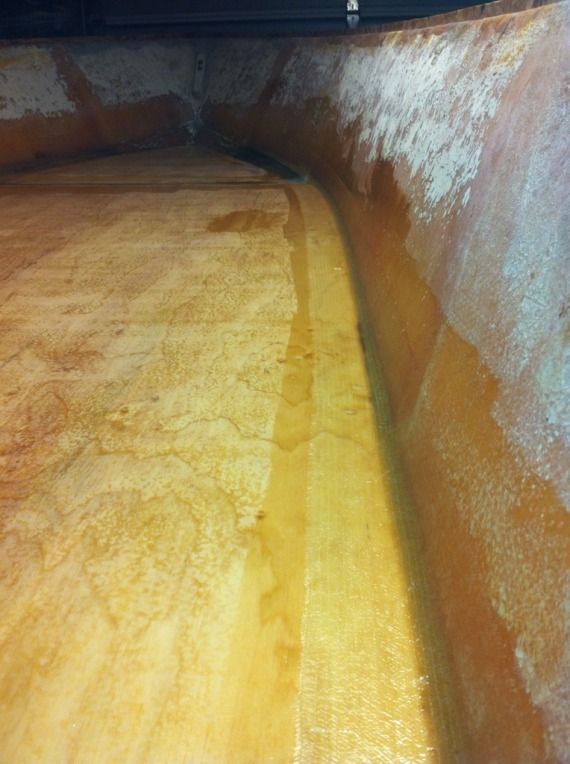
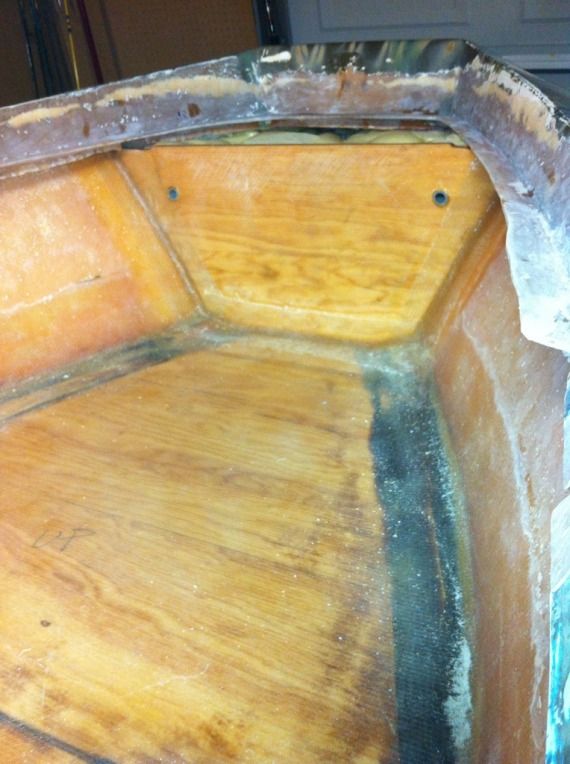
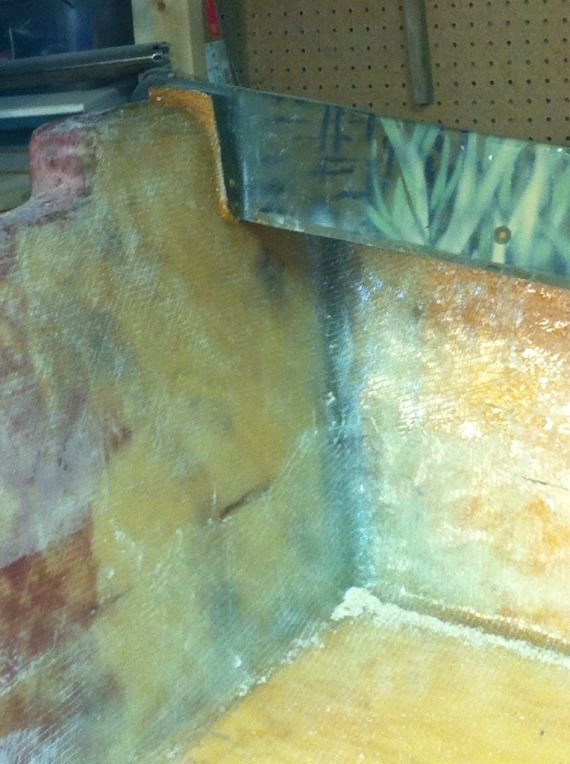
Looks good. What was your process at the bow where you were having trouble getting the sole connected to the sides of the boat?
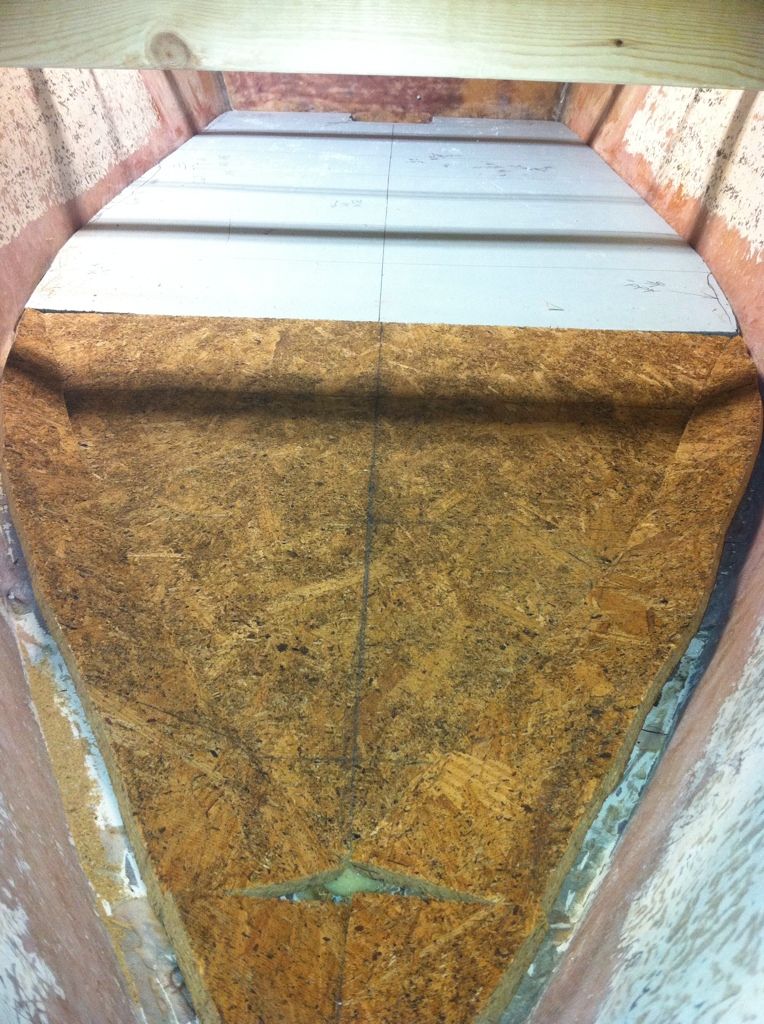
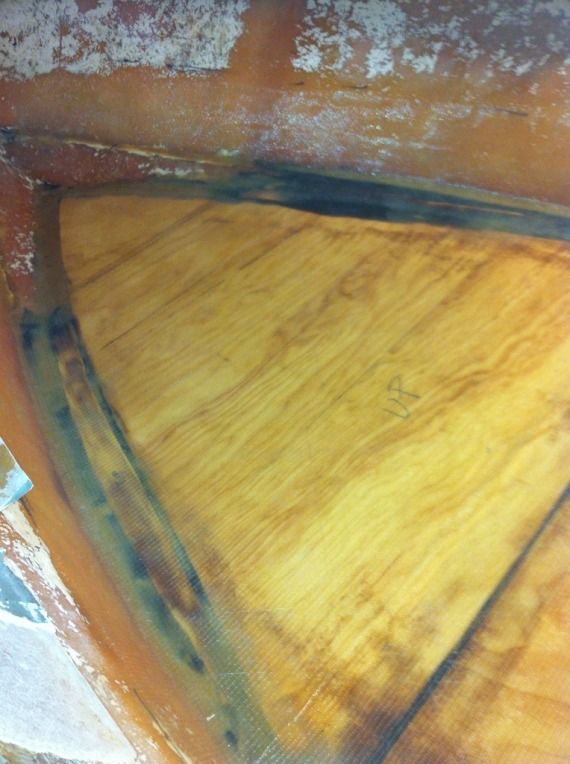
On each side of the flat part of the sole it met the hull that was angled up at approx 22 degrees. I had to do something to fill this area in due to the fact that is will be part of the storage under the casting deck. I also didn’t want the front part of the sole to “peel” away from the hull.
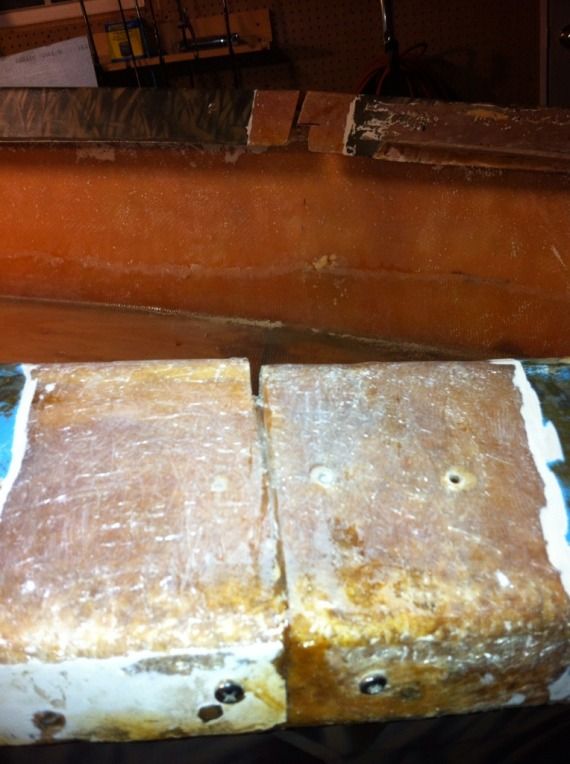
Therefore I installed two 1/4 pcs of ply on each side of the sole, glued and faired them in, and glassed over them. The bow area in front of the casting deck underneath storage area will be pored foam.
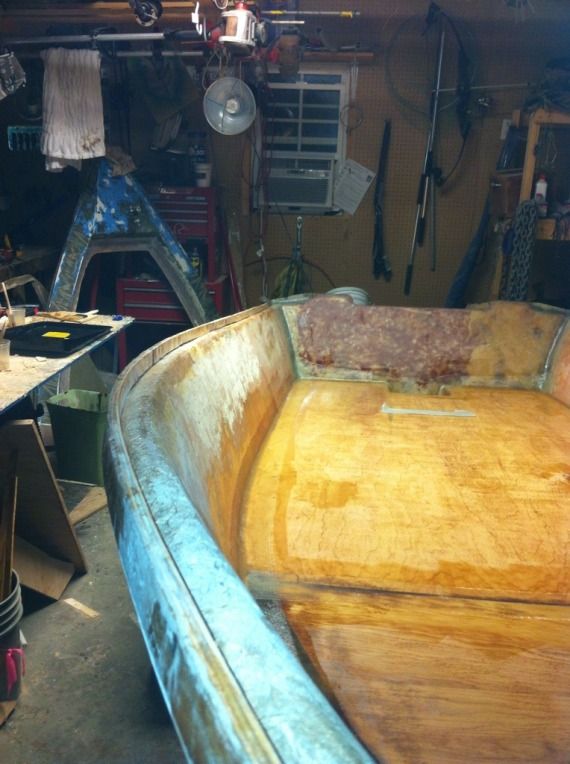
With the wife and the kids out of town for a few days, I have hit the boat pretty hard. I hope to get things finished up pretty soon…We will see.

Cap back on.
Support in front of casting deck glassed in. Conduit running to shark eye LED nav lights in the hull exposed. The area in front of the vertical support got pored with foam.
Cap butt joints … They will flex once I get them in the final position to glass / glue them in permanantly.

Casting deck glassed with 6 oz underneath and final cuts for fitting to deck. Also top casting deck hatch and swivel seat base marked.
Got the vertical casting deck support cut about 2 hrs ago.
NO SCREWS…just glue. I don’t want to re-do this thing anytime soon.
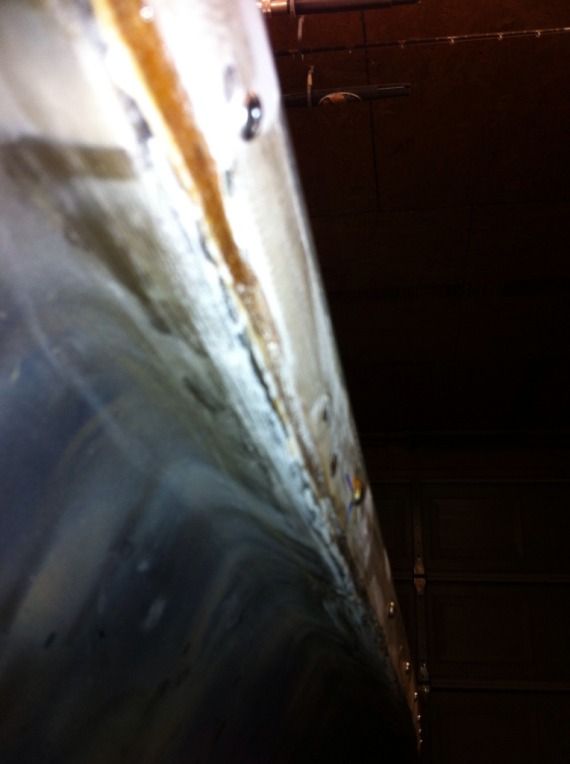
Cap sealed with thickened epoxy all the way around before fastening with screws…sealed with epoxy as well.
[IMG]http://i5.photobucket.com/albums/y173/dhunter1/221805FD-3CF1-48A4-8960-83F07FF6244E-5
I still have the old “EP”.
I had to replace a lot of the floor around the T-top this past summer from where water had gotten into the core from the through bolts.
Did some more “structural” type repairs to the bulkheads and such.
Capt. Larry and Phin were both big helps with info just as they have been to you on this project.
Looks good
'04 Sea Hunt 200 Escape w/ Yami 150
quote:
Originally posted by empty pockets
I like the tall casting deck with plenty of storage! Wish my McKee 14 had that!
Thanks, Captain Ross
http://T-Topless.com folding, stainless steel T-Top fits most center console boats
http://ShadowTop.com entry level (Do-It-Yourself) T-Topless kit
http://Montauk-T-Topless.com for Boston Whaler Montauk, Dauntless or Outrage
http://Flats-Top.com Shade for Flats Boats
http://RNR-Marine.com/Canvas.shtml Factory Original-Equipment (OEM) replacement Sunbrella canvas for Sea Pro, McKee Craft, Sea Hunt, Boston Whaler, Key West, Cobia, Sea Fox, Grady White, Sea Ray, Pioneer, Tidewater, Mariah, Baha Cruisers, Sea Boss, Palmetto Custom & more…</font id=“size1”>
![]()
Drop your top and go T-Topless! T-Topless@RNR-Marine.com
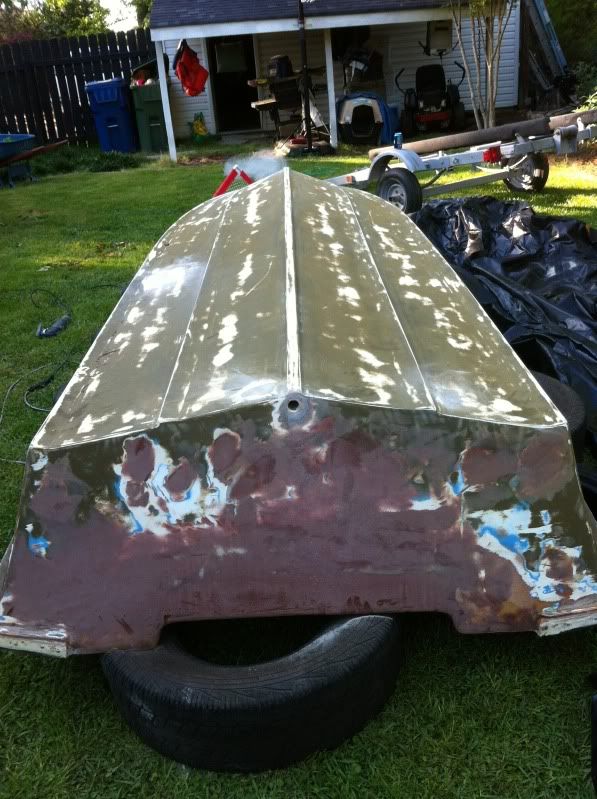
Recently have gotten the boat flipped and the bottom prepped.
[URL=http://s5.photobucket.com/user/dhunter1/media/null_zpsd35fc3df.jpg.html]
[/URL]