Per Scootin4goodies’ request I will put some stuff regarding this boat on the net.
My fiancee (now wife) and I got this boat a few weeks ago, and we have lots of plans for it. Nothing too major because the hull and motor are in great shape. This week I’ve started actually doing some of the more time-consuming stuff. If anyone has any questions I can explain things in detail.
This week I blocked the boat up and pressure washed the bottom. We’d like the bottom paint totally off. I truly hate bottom paint. This morning I let some high dollar paint remover from west marine sit on the entire painted portion of the hull for 3-4 hours, and then I pressure washed again. About 80% of the paint is now off. A few areas haven’t been affected at all, and others are all the way down to the gelcoat. I’m trying to do as little grinding and sanding as possible, so I’m going to spray easy-off oven cleaner on the tough areas this afternoon and see what happens.
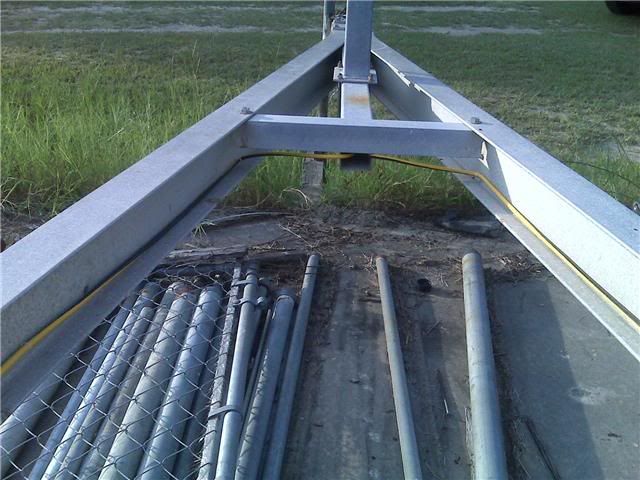
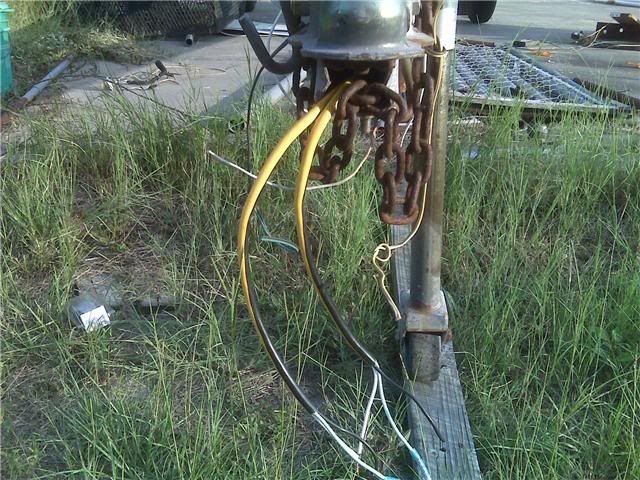
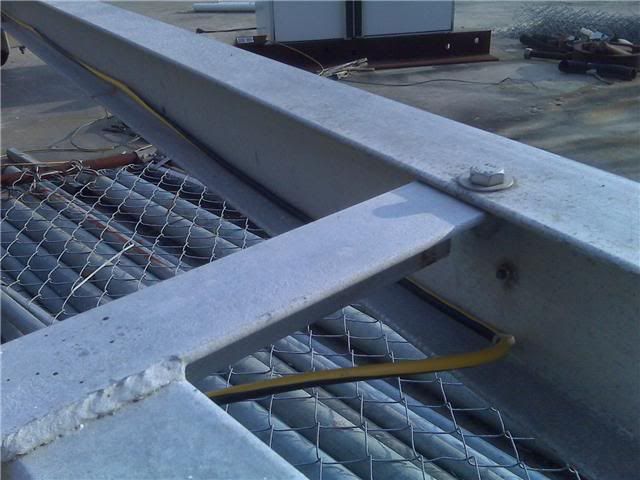
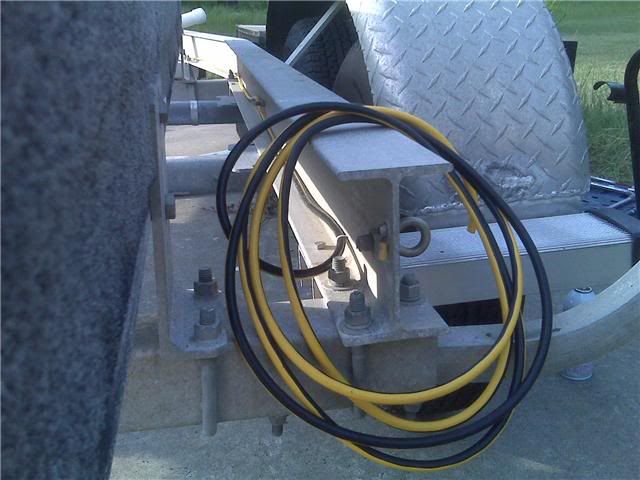
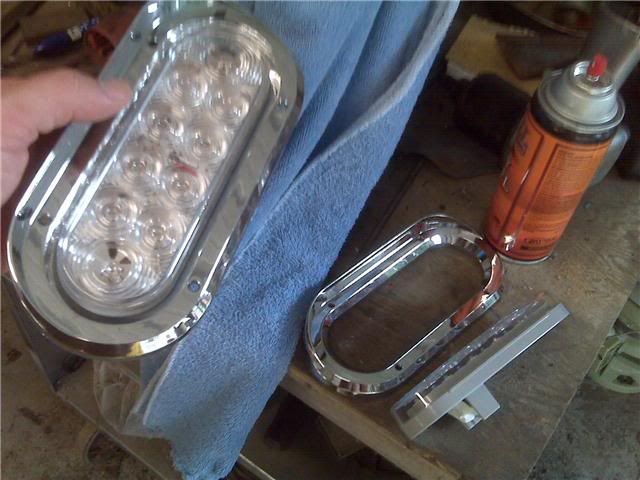
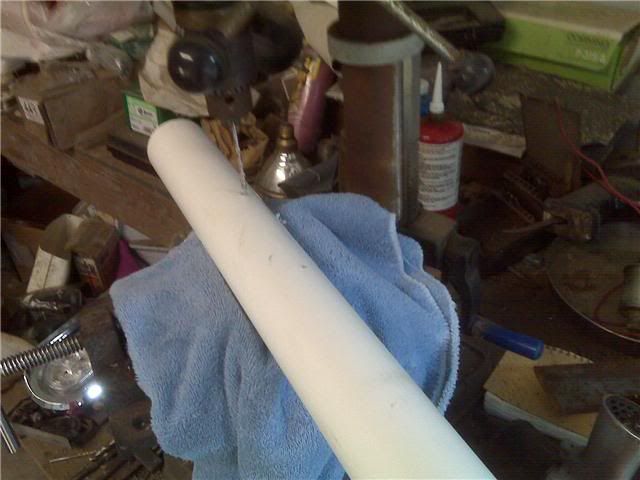
While the boat is off the trailer, I’m rewiring the trailer lights with oil-resistant 14 gauge triplex drop cord, which is a pretty cheap way to get a waterproof shield for ground, tail, and running lights for each side. (I am using an 80ft drop cord from Lowes for this trailer. A 50ft drop cord worked for my 17ft cc’s trailer a few years ago- just cut them in half) I have some chrome-colored plastic holders, instead of rubber grommets, for 6" oval tail lights from a truck supply center, and I’ve got some clear lens 6" oval LED tail lights. Don’t know why I went with clear other than to match the clear lens of some LED marker lights that go on the top of 2" PVC pipe that stay lit red on the rear half and amber on the front half when running lights are cut on. I will mount all this at the top of 5ft PVC pipe on each side, and they’ll be connected to the triplex wire with heatshrink butt connectors that will stay at the top of each pipe. There will be no connections or splices in the wiring whatsoever between the trailer hitch and the top of the pip
neat…please follow up as things progress…what about some more blocking on either side of stern,wouldn’t want to see your wife collect all that life insurance…
You like my truck rim as the base of the transom stack? I put a 2x2 sheet of 3/8" iron on top and then went up with wood. The transom stack is more solid than all wood or cinder blocks could be as a result. I used one stack because I can get to that part of the hull easily to remove the paint when it’s back on the trailer. Oh yeah, and I was too lazy to cut up some more 6x6 timbers with the chainsaw to make a third stack.
Two 2x4’s mitered at 20 degrees are wedged in from both sides on the transom stack to keep the boat from rolling. Maybe I should tie the transom eyes down with some rope in case of a bad thunderstorm.
P1, I will need help learning how to use the 50khz frequency setting on the lowrance in a few months.
get2, this one has not been on Hartwell yet.
I’ve got some trailer light pics and a few pics of how the bottom paint’s looking. Easy Off oven cleaner is the only way to go. Be sure to wear goggles and long sleeves as you put it on. I tried an area that was very stubborn, and after an hour with the easy off sprayed on, the pressure washer had the paint running off. A few cycles of this should have the paint to a point where heavy compounding will finish it. Going to take a break from it over the weekend so the bottom paint, etc. doesn’t frustrate me or make me work too hard!
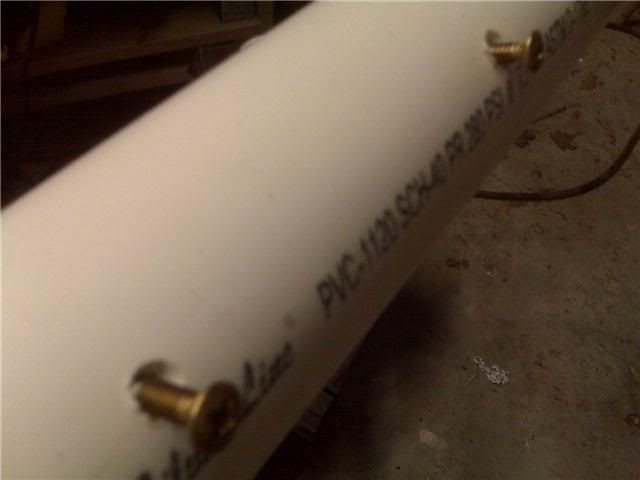
Countersink holes to make the panhead screws sit in more cleanly. I went with brass 10-24x3" bolts because there’s no need for expensive stainless here*** (and size 8 or 10 stainless in 3 inch length were not in the 3 stores I tried to find them in) . I also used nylon nuts to hold the plastic light fixtures. A 4 pack of these bolts at sLowes was like a dollar, and the 4 pack of nylon nuts was 50 cents. I used a little bit of lifecaulk around the LED’s against the plastic frame, and I’m going to put just a couple spots of pipe glue on the top and bottom of each LED to hold them to the plastic fixtures. I have 5/16" holes drilled behind the lights in the pipes where you cannot see them for the wires to fit through.
All I can say is wow… I would rather watch this as any movie that’s out right now… That thing is gonna be VERY SWEET when you get done with it. I’m looking at a 2nd v20 to fish out of while I some major work to the one I got from you guys phin. Thanks again! Good luck with that project. Can’t wait to see more…
Phin are you fingernails as thin as paper yet. That easy off will eat your hands up.
Also My uncle has been on vacation the past 10 days I talked to him via e-mail and he is going to look for the antenas when he gets back on monday. He siad he should have something.
Phin are you fingernails as thin as paper yet. That easy off will eat your hands up.
Also My uncle has been on vacation the past 10 days I talked to him via e-mail and he is going to look for the antenas when he gets back on monday. He siad he should have something.
I made friends with some rubber gloves. They take care of me almost as well as my people friends.
Phin, where did you get the plastic frames for the lights? I have been looking for something like this but all the ones I have found, have the rubber grommets around the light. Thanks
I’ve been keeping an eye on a couple boat building sites for some years now. And I agree with PrivateIsland that watching this project of yours is much better than any of the crap they call movies, now-a-days.
Also, I will give you all the credit in the world for putting this project on this site. You have a tough audience. But, your work looks great so far and just work past any mistakes that might occur along the way.
And finally, just prop a couple 4x4 against the hull before you take the next pictures. You can take them away after you take the pictures but, people are going to harp on you till they see some bracing in your pictures. Great job buddy and the best of luck!