Muriatic acid cleans up cement on brick work! Kinda neat watching it eat the cement up!
Muratic acid is not that bad. Mix it 1part acid to 4 parts water to start. I usually use 1part acid to 3 parts water. You can’t let it sit too long but it’s not gonna eat you or the boat up like hydrocloric acid. Just keep the water hose close to rinse with.
All brick masons have snow white hands! I mean all!
HEY WOLFIE…
I got my itch on too. Sanding/fiberglassing boat bottom and transducer holes(3)…
Gots to love the heat in your boat bungalow…Tyvex suit
I like the way that dust settles in the corners of your eyes.
I may have missed it. But, what coring are you planning on using for stringers? It should be something that replaces the strength in the original wood and that will bond well to the glass you’re wrapping over it.
And, did you measure the stringer height before removal? You’ll need the stringer top faces to mate to the under side of the floor within a 1/4" or so. If the gap is any larger, you’ll end up having to use a lot of putty/adhesive to bond the floor to the stringers. Most putties/adhesives won’t work well across large gaps.
And, she’s looking good. She’s gonna be a great hull when she get back in the water. Last long enough to make it into your will.
17’ Henry O Hornet w/ Johnson 88 spl
26’ Palmer Scott project hull
14’ Bentz-Craft w/ Yamaha 25
thanks for all the input, my neighbor has some acid so I may give it a try before I go buy some but sounds promising.
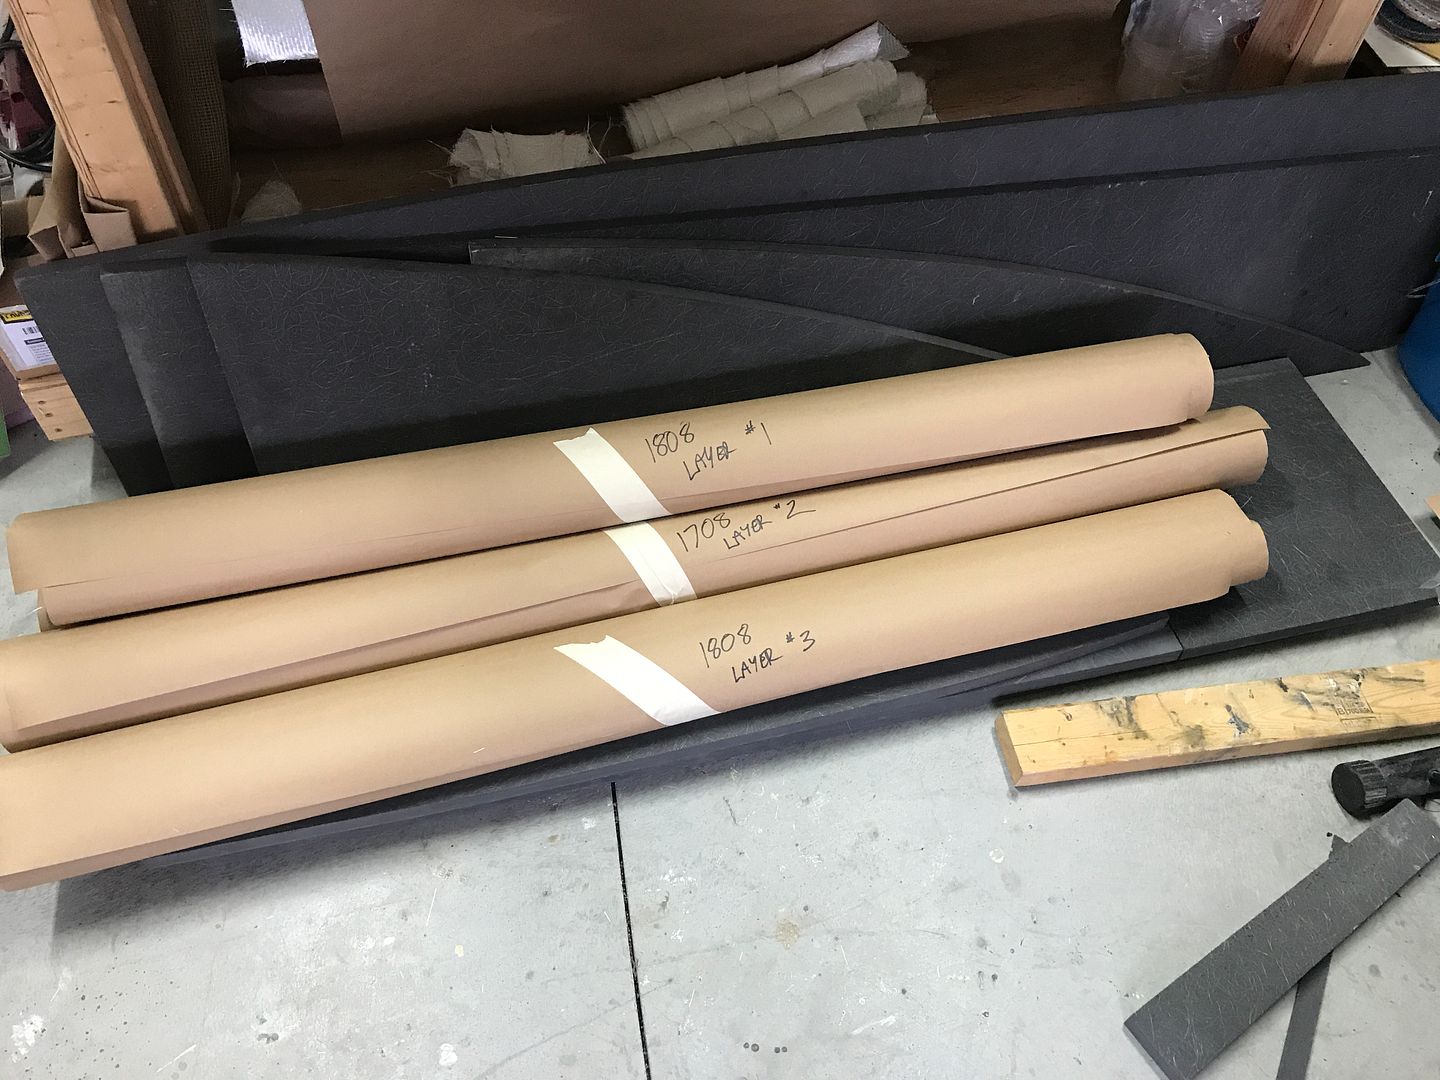
Been traveling so haven’t had much time to work on it, but stringers are still the focus for now. I am not replicating the original design, but what’s going in will have more than enough strength to support the hull. Core is doubled 1" thick 15# coosa, wrapped with two layers of 45/45 1708 and two layers of 0/90 1808. Stringers will be full height with several transverse bulkheads and support the deck directly rather than a foam supported floating deck. there are some potential dangers in changing the original design but I think I’ve done my homework. (and yes, as someone guessed I do have some engineering background ![]() ) Mostly I’ve just created a hell of a lot of work for myself. But that was part of the challenge, if I can pull this off the next one should be easy…
) Mostly I’ve just created a hell of a lot of work for myself. But that was part of the challenge, if I can pull this off the next one should be easy…![]()
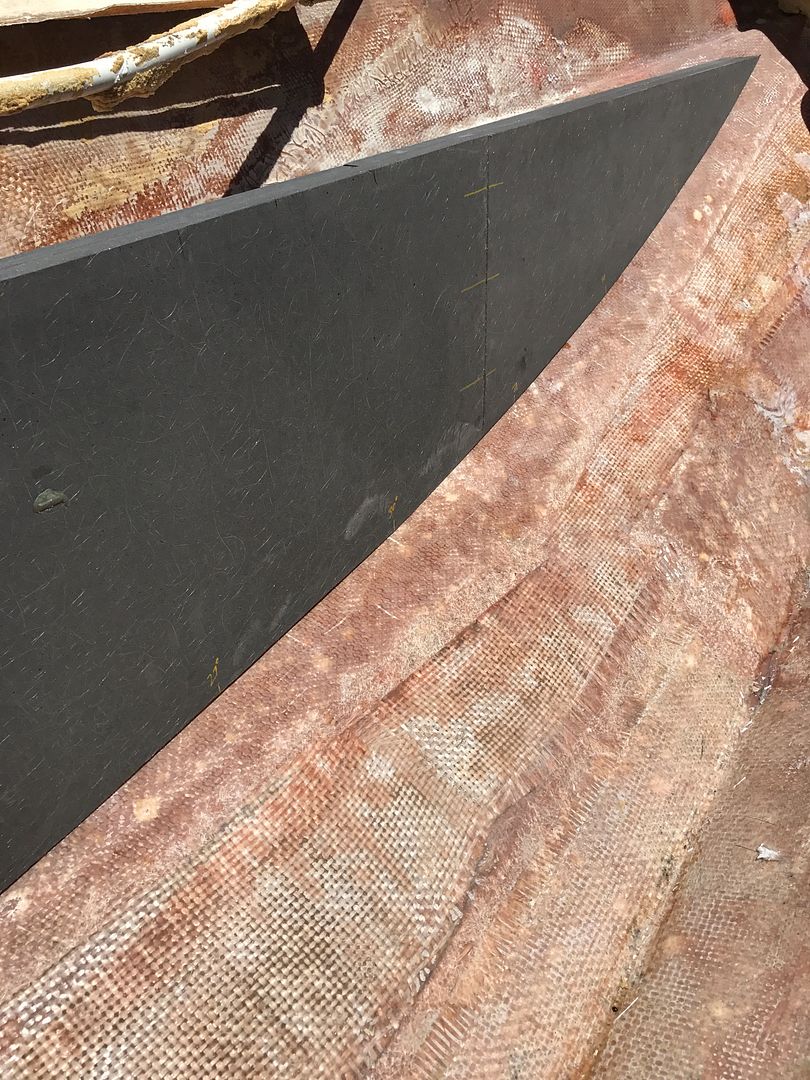
I think I’ve finally got a pretty good template for the stringers, took a lot more work than I expected. Got a stack of coosa ripped to planks of roughly the correct height so going to start cutting the profile and sticking them together this weekend. Then will fine tune and bevel to match the hull, which is going to be a PITA. I think I’ve worked out a method that should get me close and then I’ll adjust as needed with a grinder/sander. Coosa is super easy to work with and shape so hopefully won’t be too bad.
need to do some more grinding on the forward end of the stringer beds but it is HOOOTTT right now, and crawling inside a plastic bubble with a tyvek suit and a 111* heat index does not sound that great right now ![]() . Going to stick to work I can do in the garage where it’s a nice cool 90* for the next few days. Hope to get stringer cores assembled and cut all the glass so when I get a break in the weather I’m ready to glass them in.
. Going to stick to work I can do in the garage where it’s a nice cool 90* for the next few days. Hope to get stringer cores assembled and cut all the glass so when I get a break in the weather I’m ready to glass them in.
Angler 204 FX
Yamaha 150
Coosa cutting dust is nasty. But, great stuff to work with other than that. If you’re shaping coosa, one of those 12" rasps that is actually like a cheese grater works great. Easy to control and moves a lot of material easily. Something like http://www.homedepot.com/p/Stanley-15-3-4-in-x-1-5-8-in-Surform-Flat-Mill-File-21-295/100155566
17’ Henry O Hornet w/ Johnson 88 spl
26’ Palmer Scott project hull
14’ Bentz-Craft w/ Yamaha 25
quote:
Originally posted by PalmerScottCoosa cutting dust is nasty. But, great stuff to work with other than that. If you’re shaping coosa, one of those 12" rasps that is actually like a cheese grater works great. Easy to control and moves a lot of material easily. Something like http://www.homedepot.com/p/Stanley-15-3-4-in-x-1-5-8-in-Surform-Flat-Mill-File-21-295/100155566
</font id=“quote”></blockquote id=“quote”>that’s a great idea. was thinking yesterday that the grinder is too much for detail shaping but hand sanding didn’t sound great either.
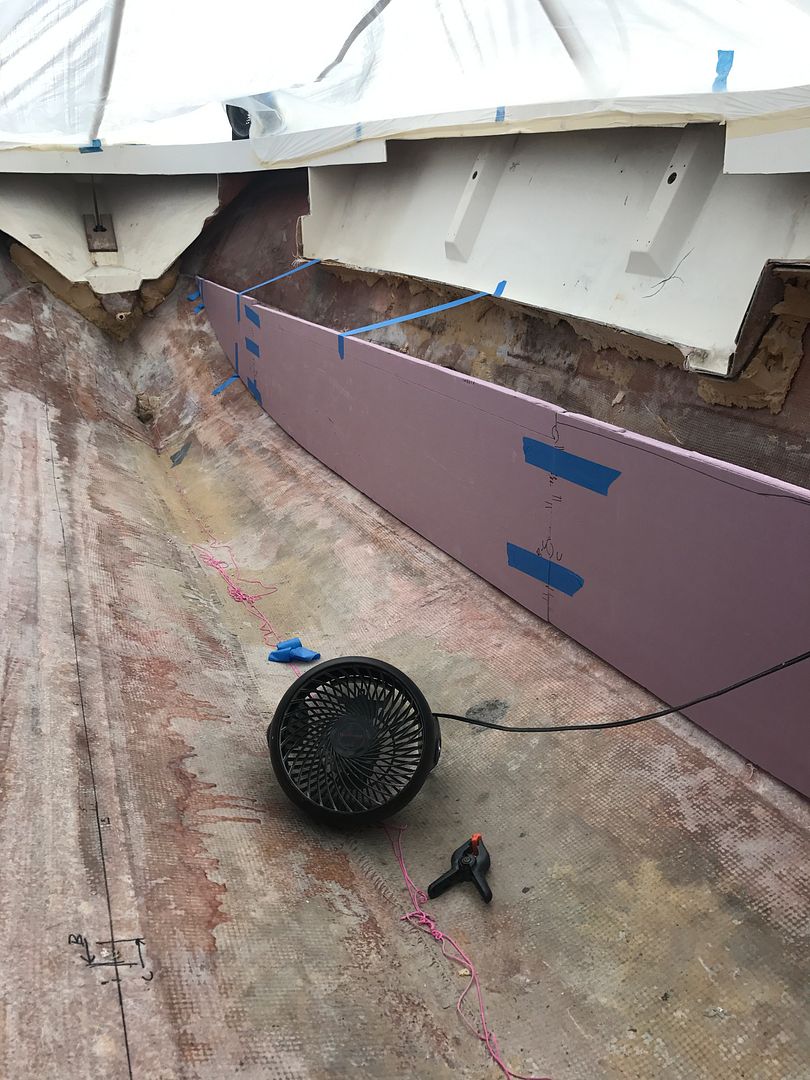
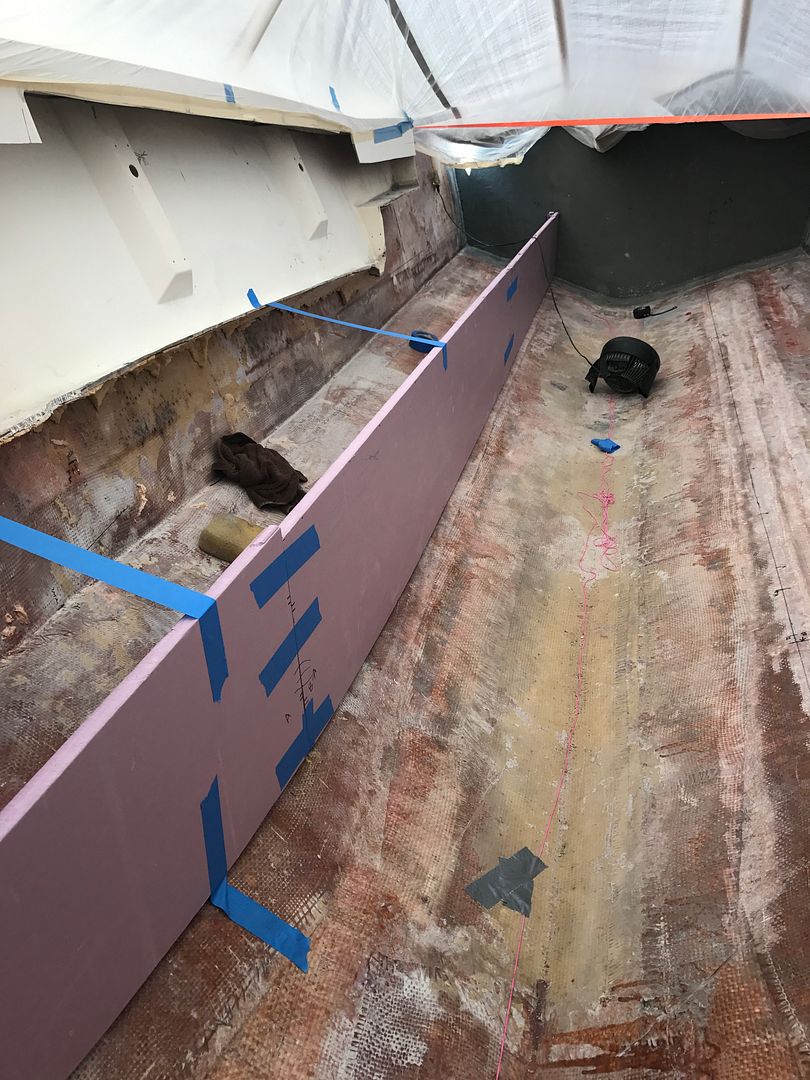
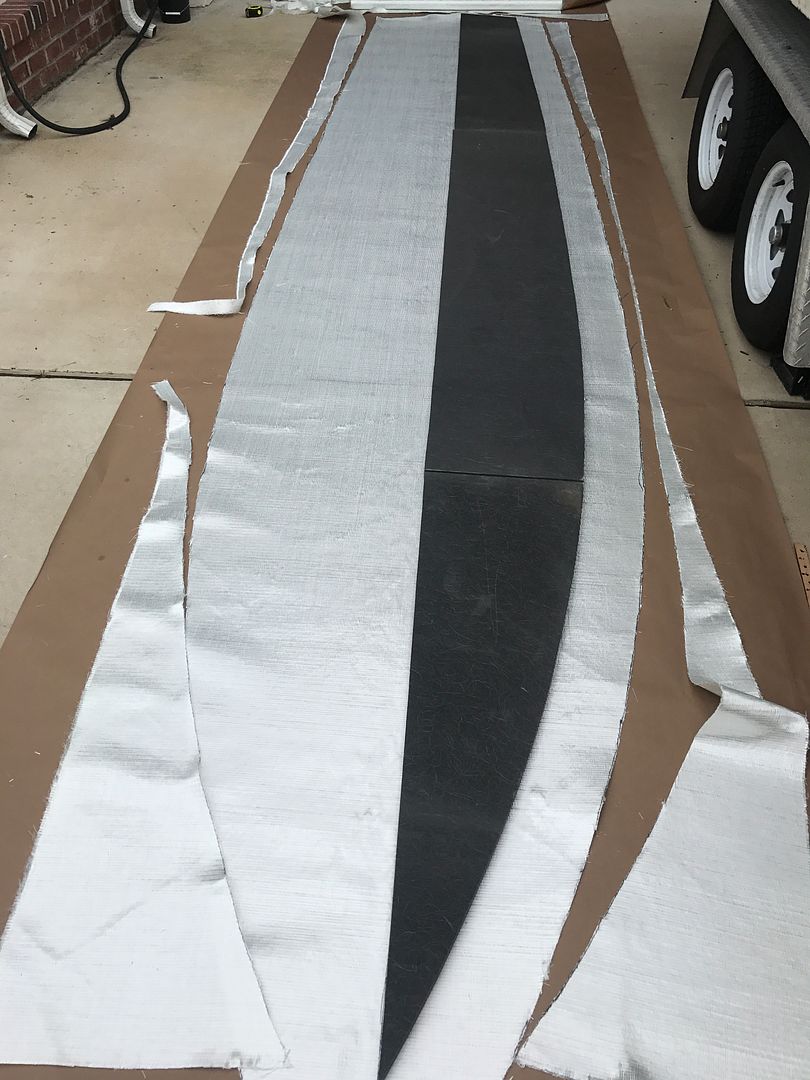
Only managed to get one stringer worth of core and glass cut. Getting the right profile on the stringers was way more difficult than expected, but now that I have one it will be easy to copy for the other side. Made a full size mock up with insulation foam, wow the stringers look big when in the boat! Pictures don’t really capture it well. Also had a “what the hell have I gotten myself into” moment when I started unrolling and cutting the glass - it’s a lot! For now I have each layer as one continuous piece, but if it turns out to be too hard to manage that much glass at once I may have to cut it into sections.
Angler 204 FX
Yamaha 150
If I lived closer i would come help you on those big, long sections! Know what a PIA it is to do it by yourself! Good luck.
Got everything cut, so now I just need to do assemble cores and bevel. Then some final grinding on the beds and hopefully lay down some serious glass this weekend!
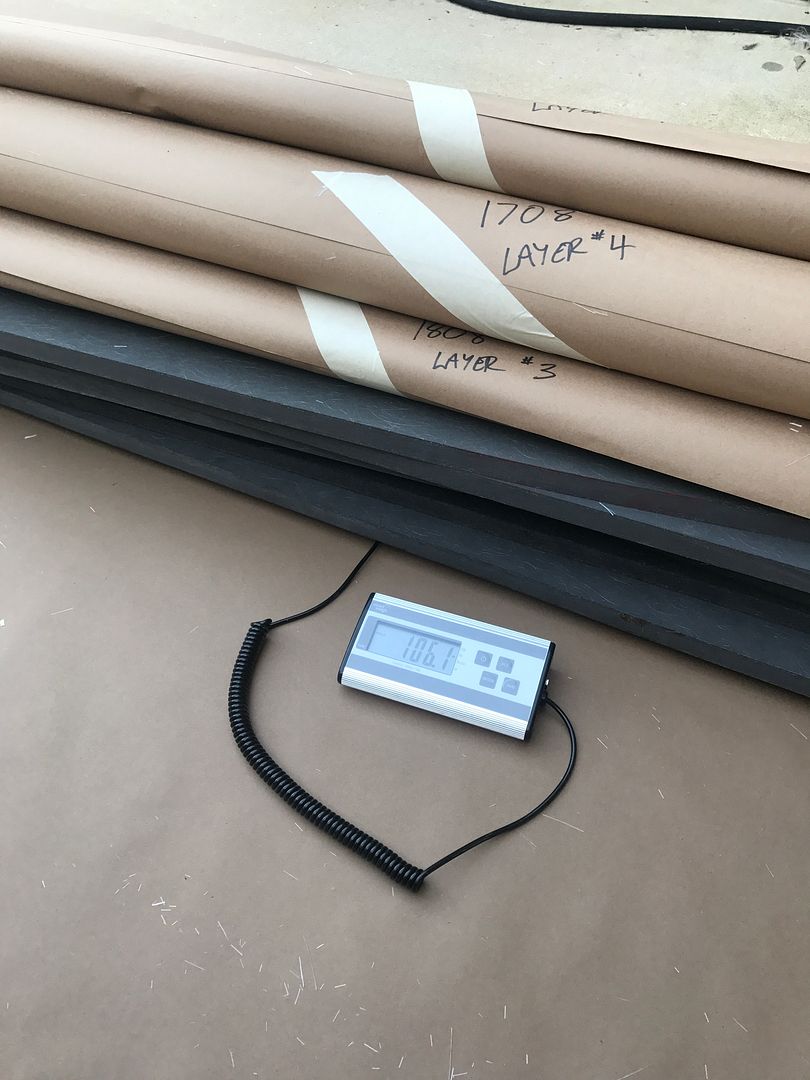
going to be beefy for sure - 106 lbs of material per stringer, plus about another 50 lbs each for resin! [:0] the extra weight actual works for me though, since i’m removing a lot of weight elsewhere.
Angler 204 FX
Yamaha 150
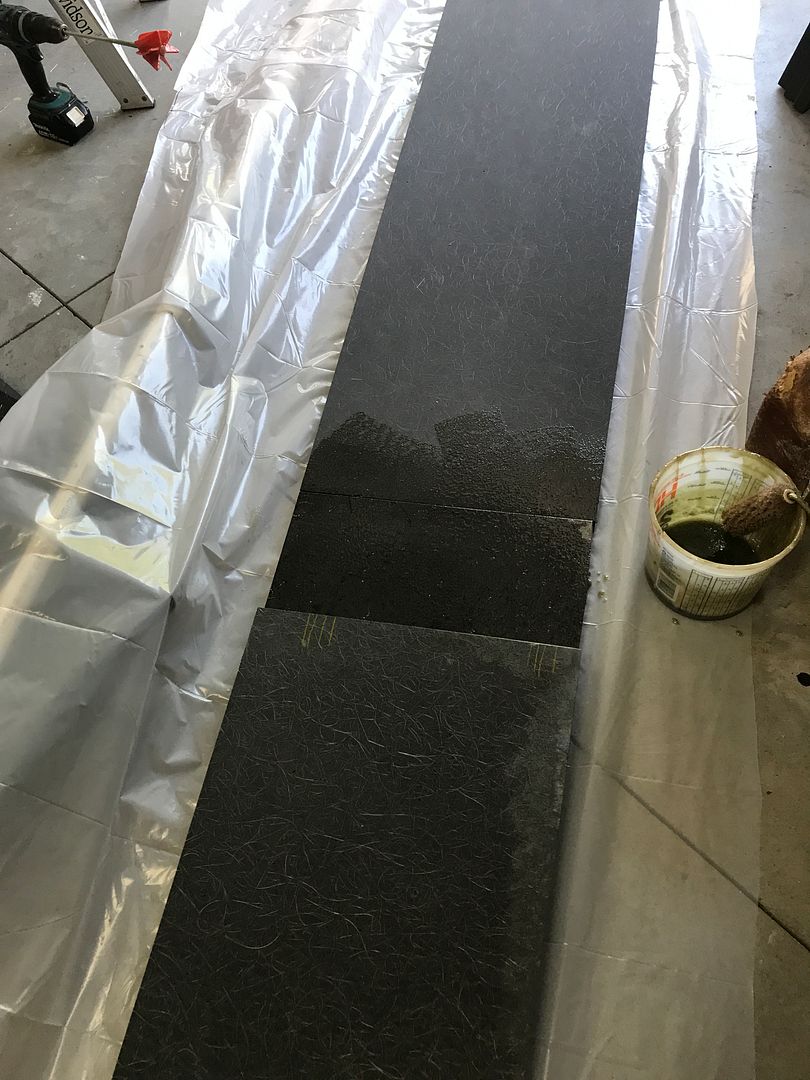
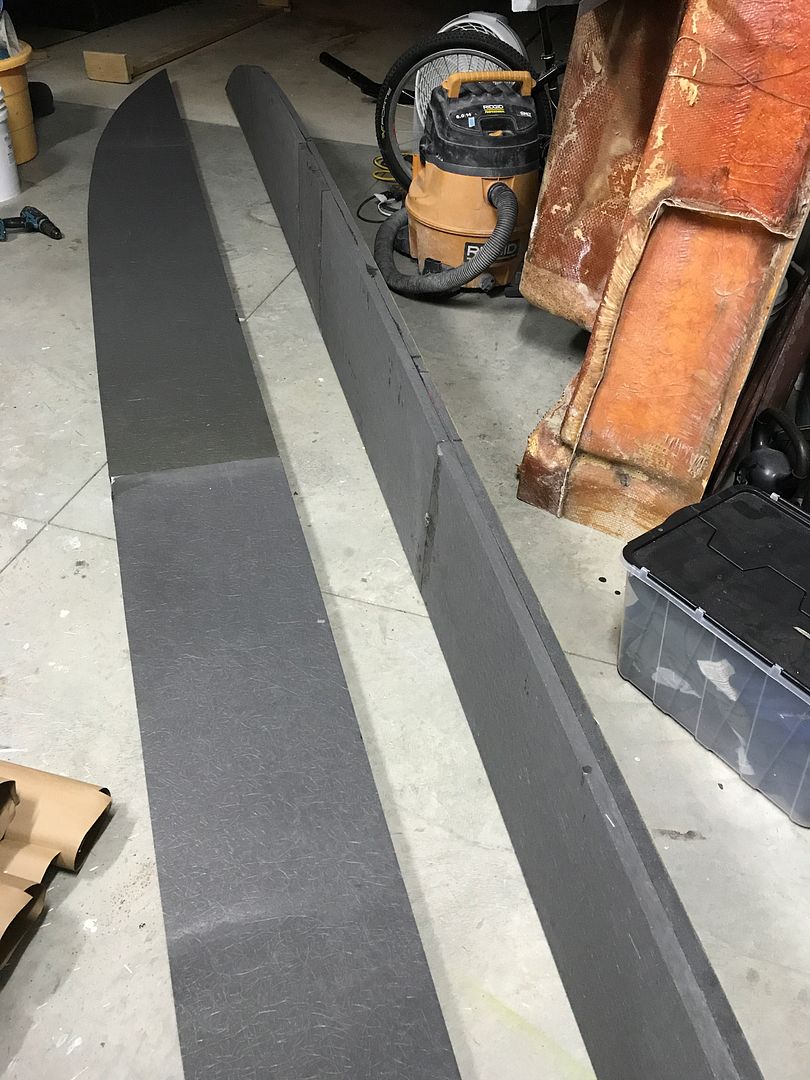
Got the stringer cores assembled today. Plan to bevel tomorrow, finish grinding the hull and fine tune the fit Friday, and glass this weekend if the weather continues to cooperate.
Glued all the pieces together with slightly thickened resin and my favorite clamping method.
Angler 204 FX
Yamaha 150
Keep at it man, good work!
Wadmalaw native
16’ Bentz-Craft Flats Boat
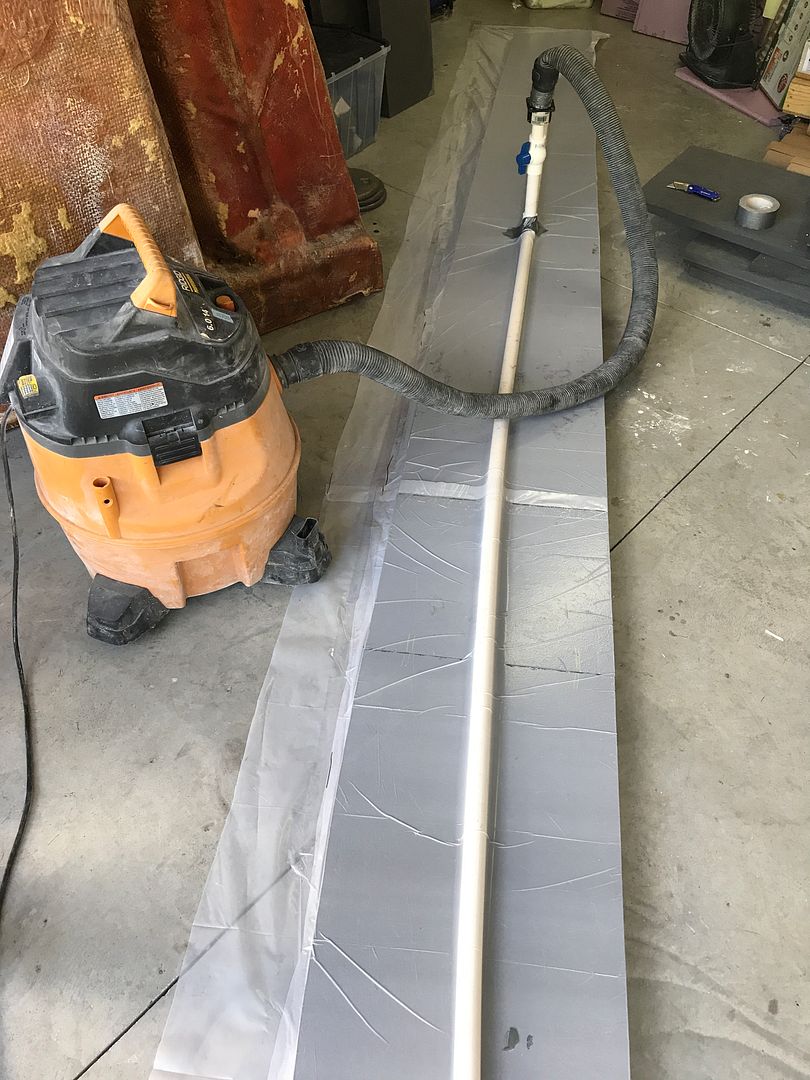
You gots to be related to a beaver as much work as you do. I’m in awe and want to know how you set up the vacuum bagging…please!
My other request is have you ever fiberglassed overhead/vertical like on your back on a boat bottom over a large area???
quote:
Originally posted by mdaddyYou gots to be related to a beaver as much work as you do. I’m in awe and want to know how you set up the vacuum bagging…please!
My other request is have you ever fiberglassed overhead/vertical like on your back on a boat bottom over a large area???
the vacuum bag setup is just as simple as it looks… tape some plastic together and hook it up to a shop vac!
never tried glassing upside down, and hope to avoid it if at all possible ![]()
think I’m a couple updates behind here, will try to get caught up.
Angler 204 FX
Yamaha 150
nothing too exciting yet but moving along. Got the stringers beveled to roughly match hull, will fine tune when I get them in the boat.
Also spend a few hours grinding, I need to learn when to say when with that (() thing LOL… had originally intended to just level off the stringer beds, but ended up grinding most of the bilge also. Of course then, I decided I better just do the whole (() thing. Since it’s basically already prepped I think I am going to put a layer of glass down across the center of the hull for extra security. Will basically just pull about 6-7 yds off my roll of 1708 and lay it straight into the bilge up to the sharp part of the ‘V’. Bottom of the hull just seems a little too flexy, and I ground a good bit off in some places so don’t want to take any chances. Plus will give fresh glass to stick stringers to.
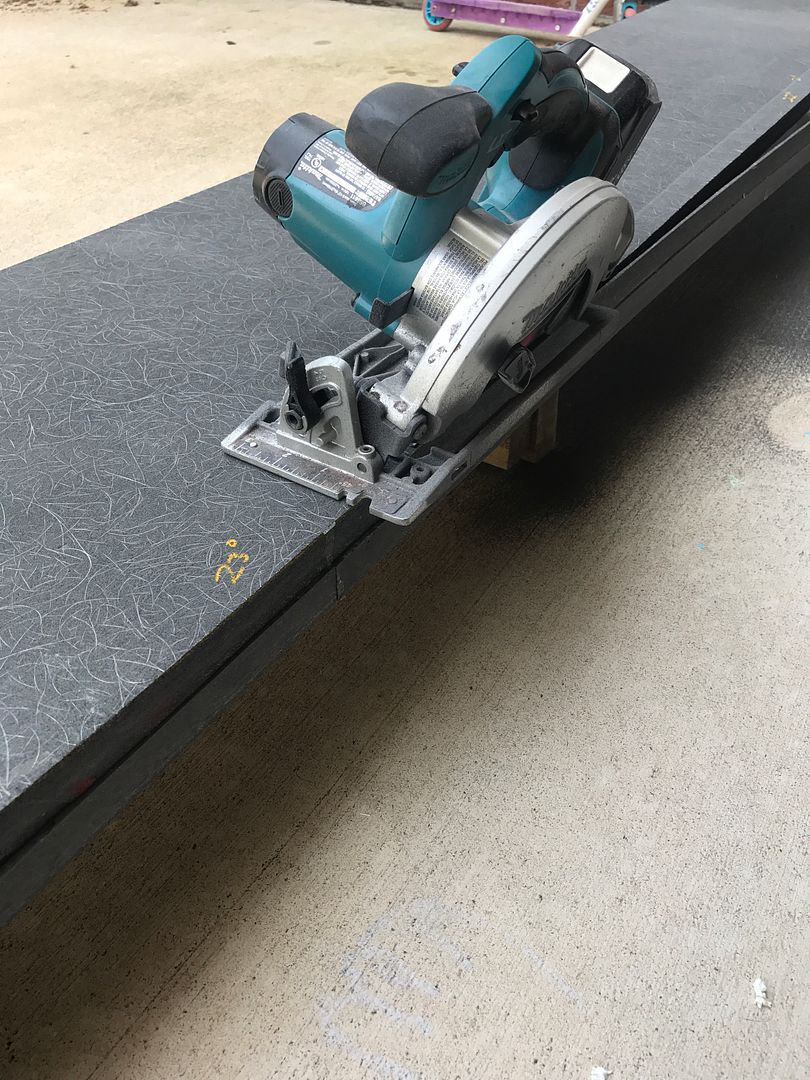
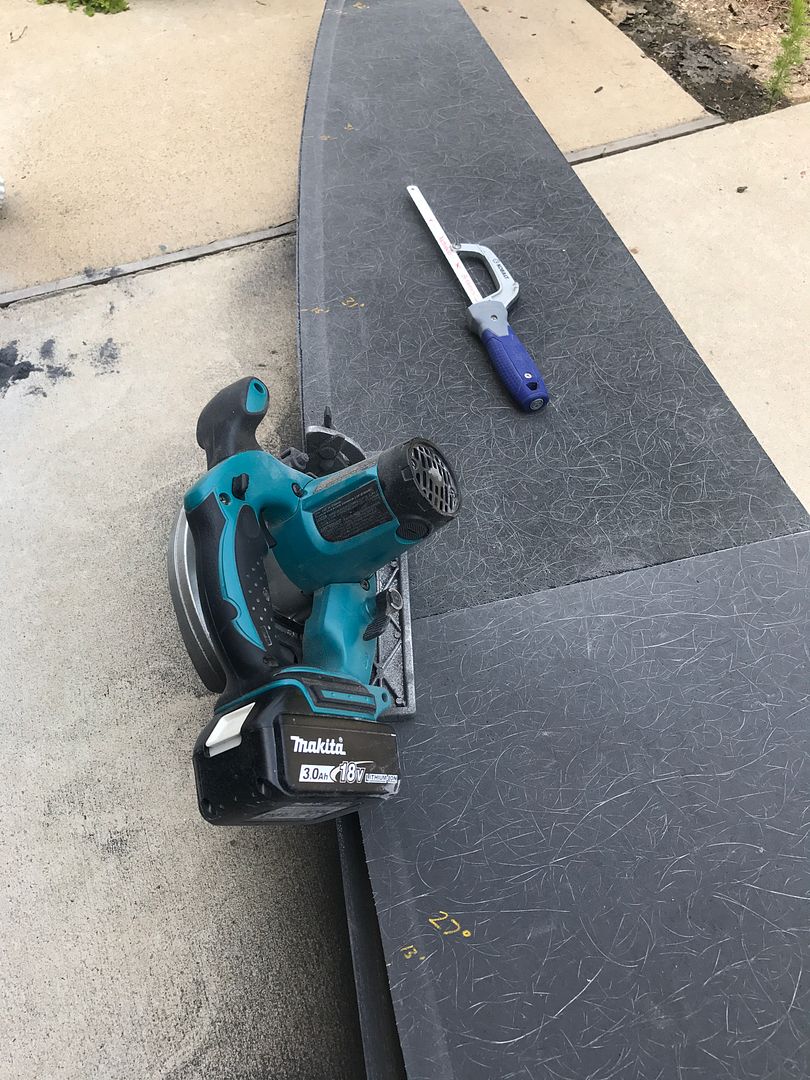
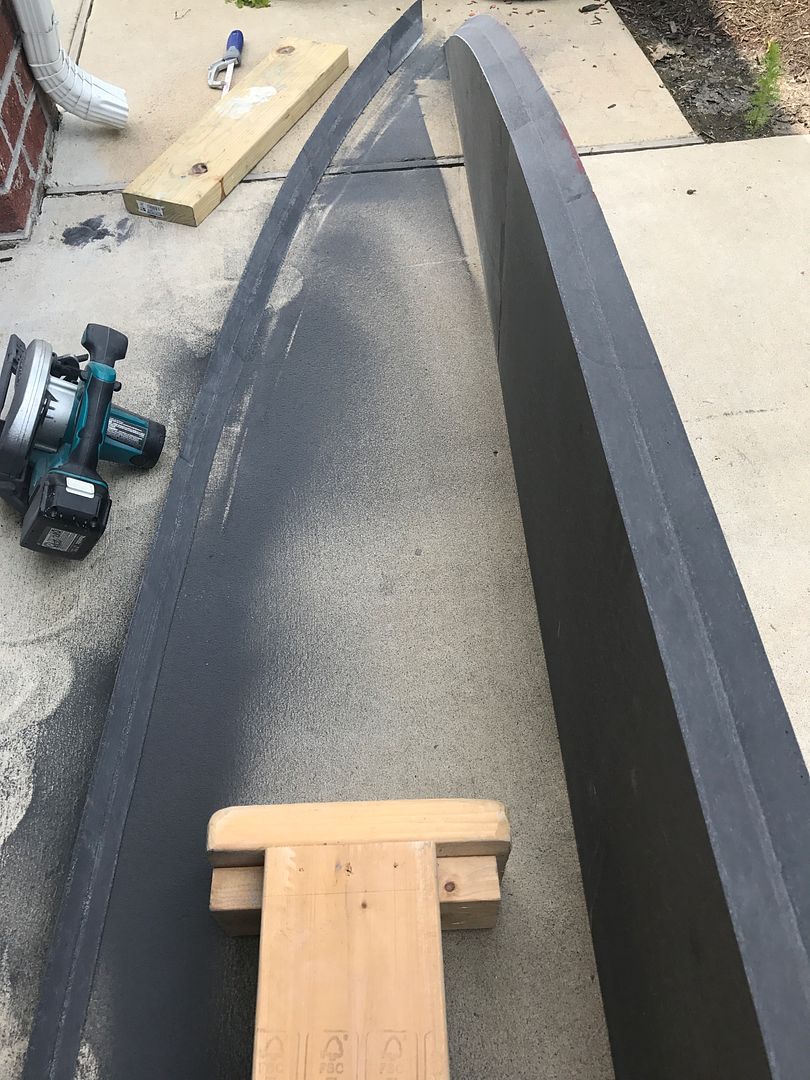
Angler 204 FX
Yamaha 150
well, weather didn’t cooperate until sunday, but managed to get some work done yesterday. Dry fit stringers, almost perfect. Biggest gap was about 1/8" and that was just along one side where the angle didn’t quite match. No real adjustment required, very happy with how they turned out. Going to block both in final position and check tops to be sure deck height/slope/side-to-side level is how I want it, but should be very close if not spot on already.
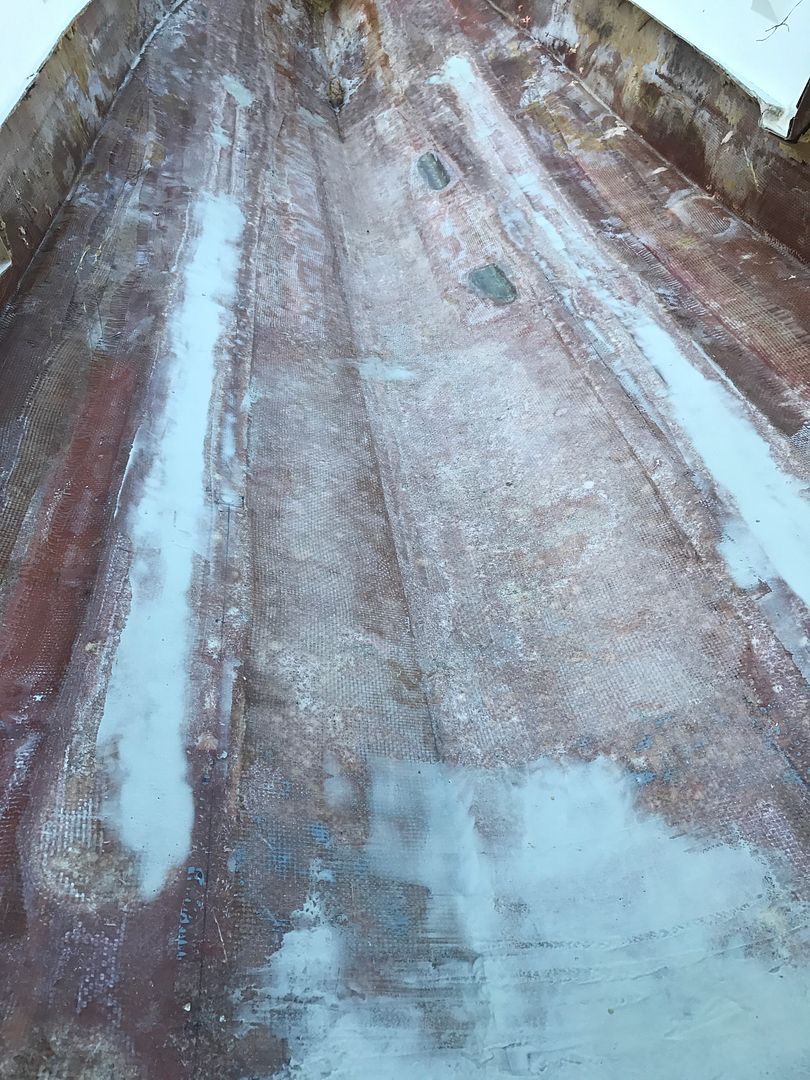
Spent most of the day grinding in the bilge to prep for a reinforcing layer, then washed everything and let it dry. Also patched a few spots of bad glass I ground out over the strakes and filled in the low areas where the old stringers were. Should get some glass down today.
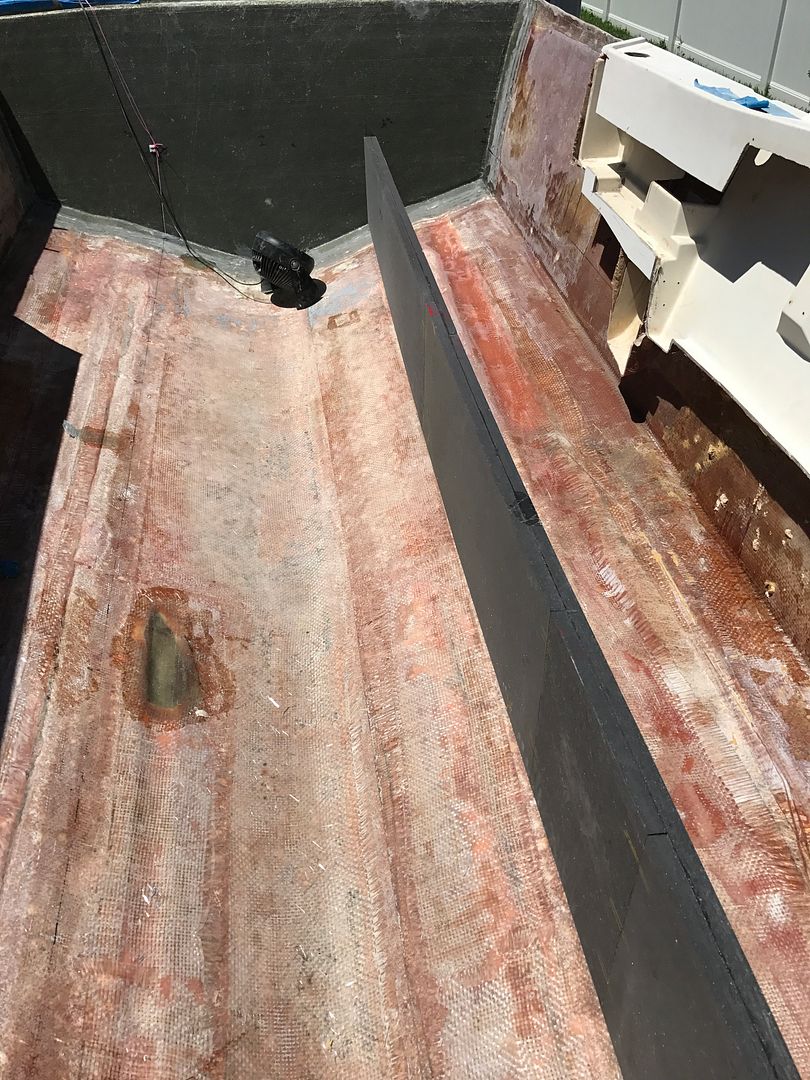
Angler 204 FX
Yamaha 150
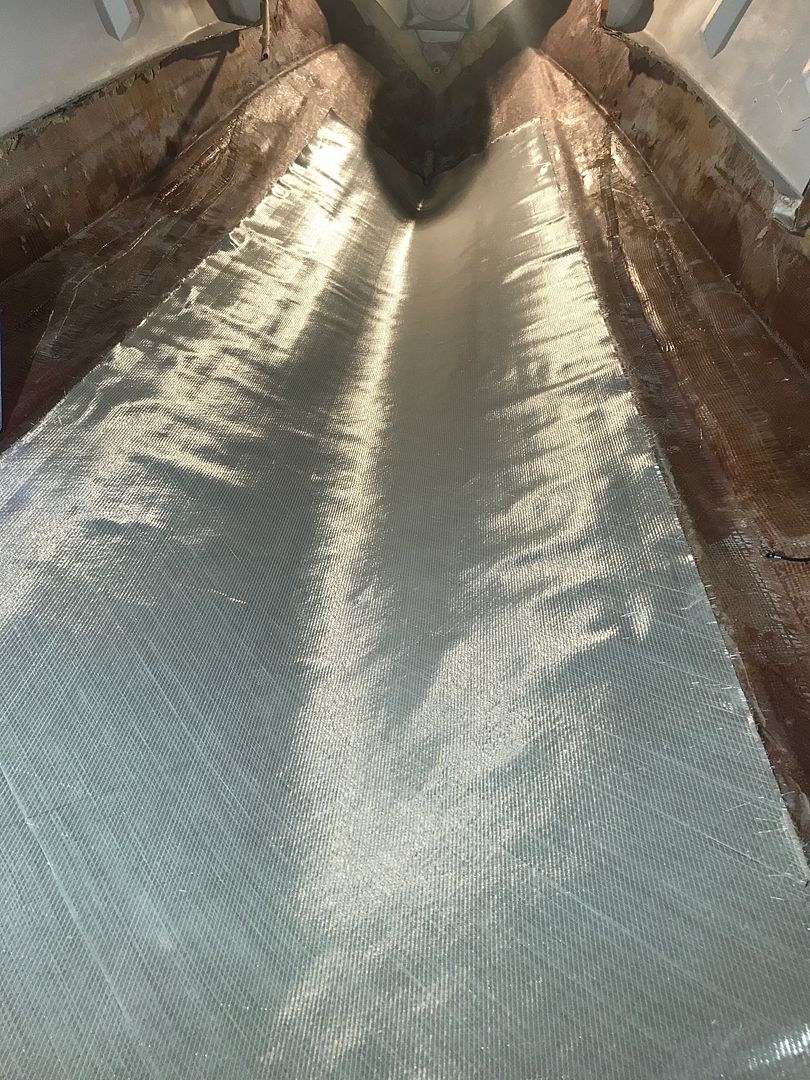
I think I am going to have to cut the stringer cloth into several smaller pieces. I tried to lay down a big piece in the bilge today, and it just about broke me.
Goal was to reinforce the bilge area, about five yards of 1708. Thought since it was pretty flat I could do it all at once and would have enough room on either side to work around it, but it did not go well. Just turned out to be too much to handle and not enough space to work. I think I finally got most of the bubbles and wrinkles out, but I’m pretty sure I’ll have to grind out some voids in quite a few places. Lesson learned, won’t be forking with that much at once again. ![]()
We’ll see what it looks like in the daylight, maybe it won’t be as bad as I think. This is before wetting out, didn’t get any after photos yet.
Angler 204 FX
Yamaha 150
Yeah, that’s a large piece to work with…I’m not small enough or nimble enough to work in/around that without messing it up!
Keep at it man, you’re making great progress. I love your methodical approach to every detail…
Wadmalaw native
16’ Bentz-Craft Flats Boat
quote:
Originally posted by leadenwahboyYeah, that’s a large piece to work with…I’m not small enough or nimble enough to work in/around that without messing it up!
Keep at it man, you’re making great progress. I love your methodical approach to every detail…
Wadmalaw native
16’ Bentz-Craft Flats Boat
thanks! turns out I wasn’t quite nimble enough either, won’t be doing that again if I can help it!
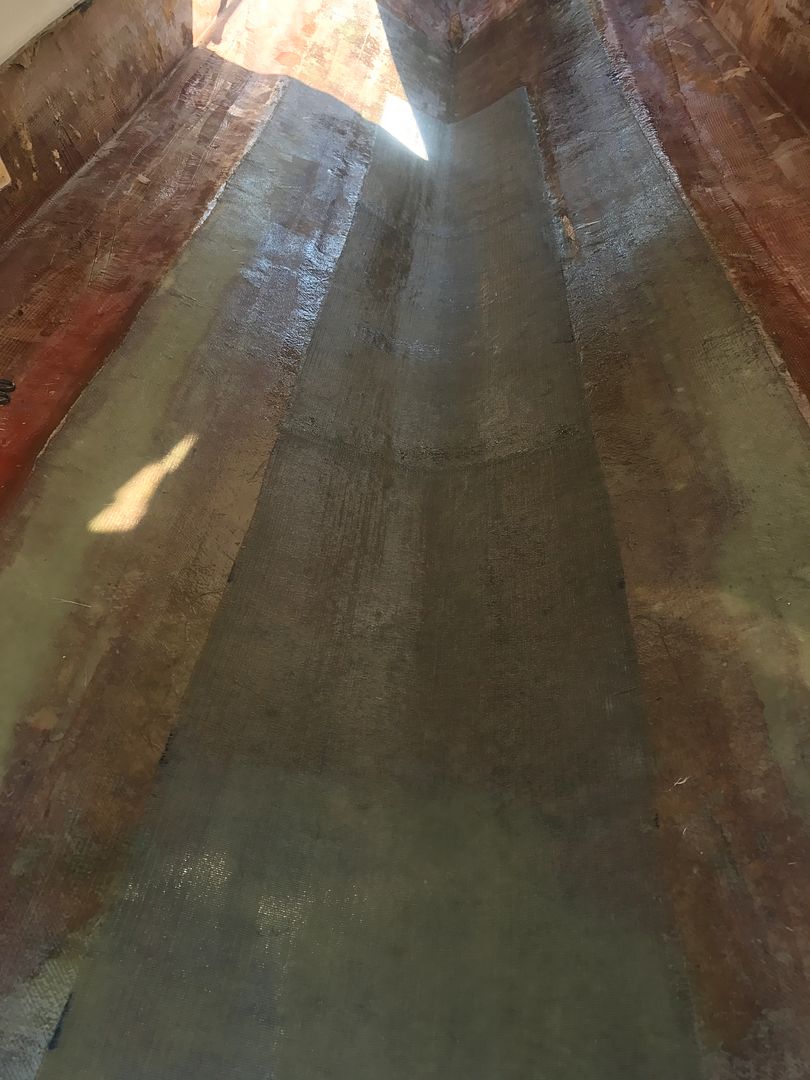
put down a second layer in the bilge today, smaller sections were infinitely easier to deal with. After that cured, I fixed a few bubbles by grinding and reglassing or injecting with thickened resin. Went over the edges and stringer bed with DA sander to knock down the drips and prickles of glass.
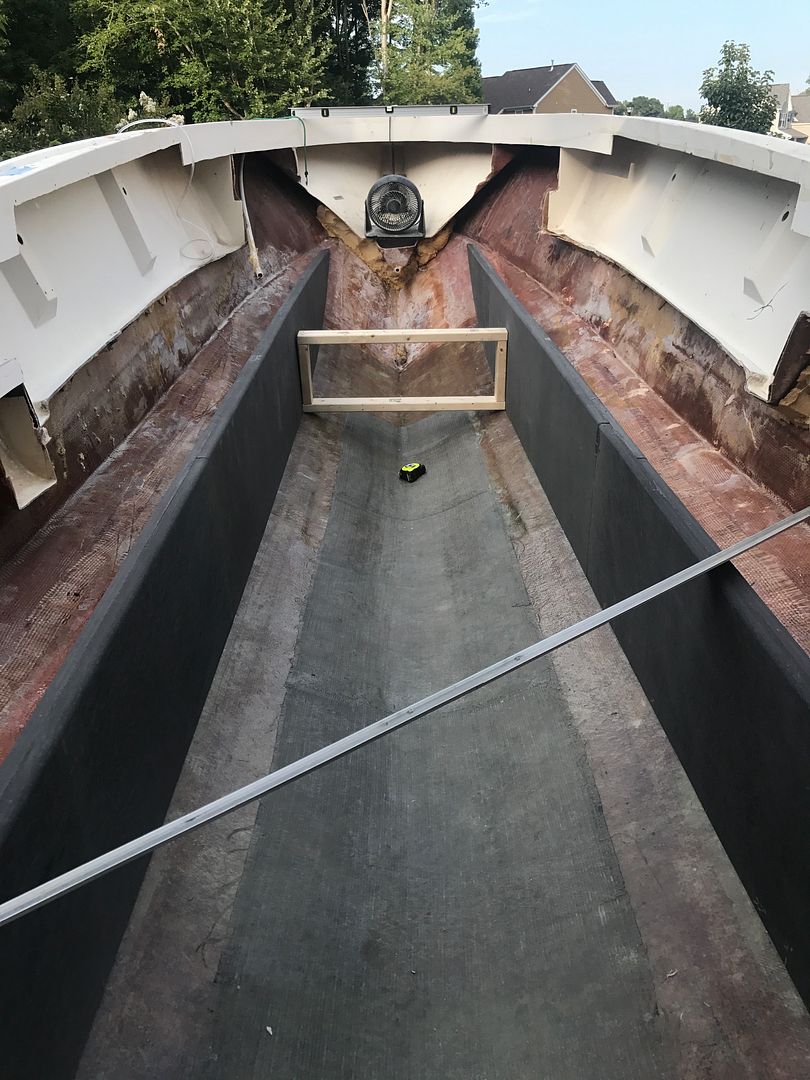
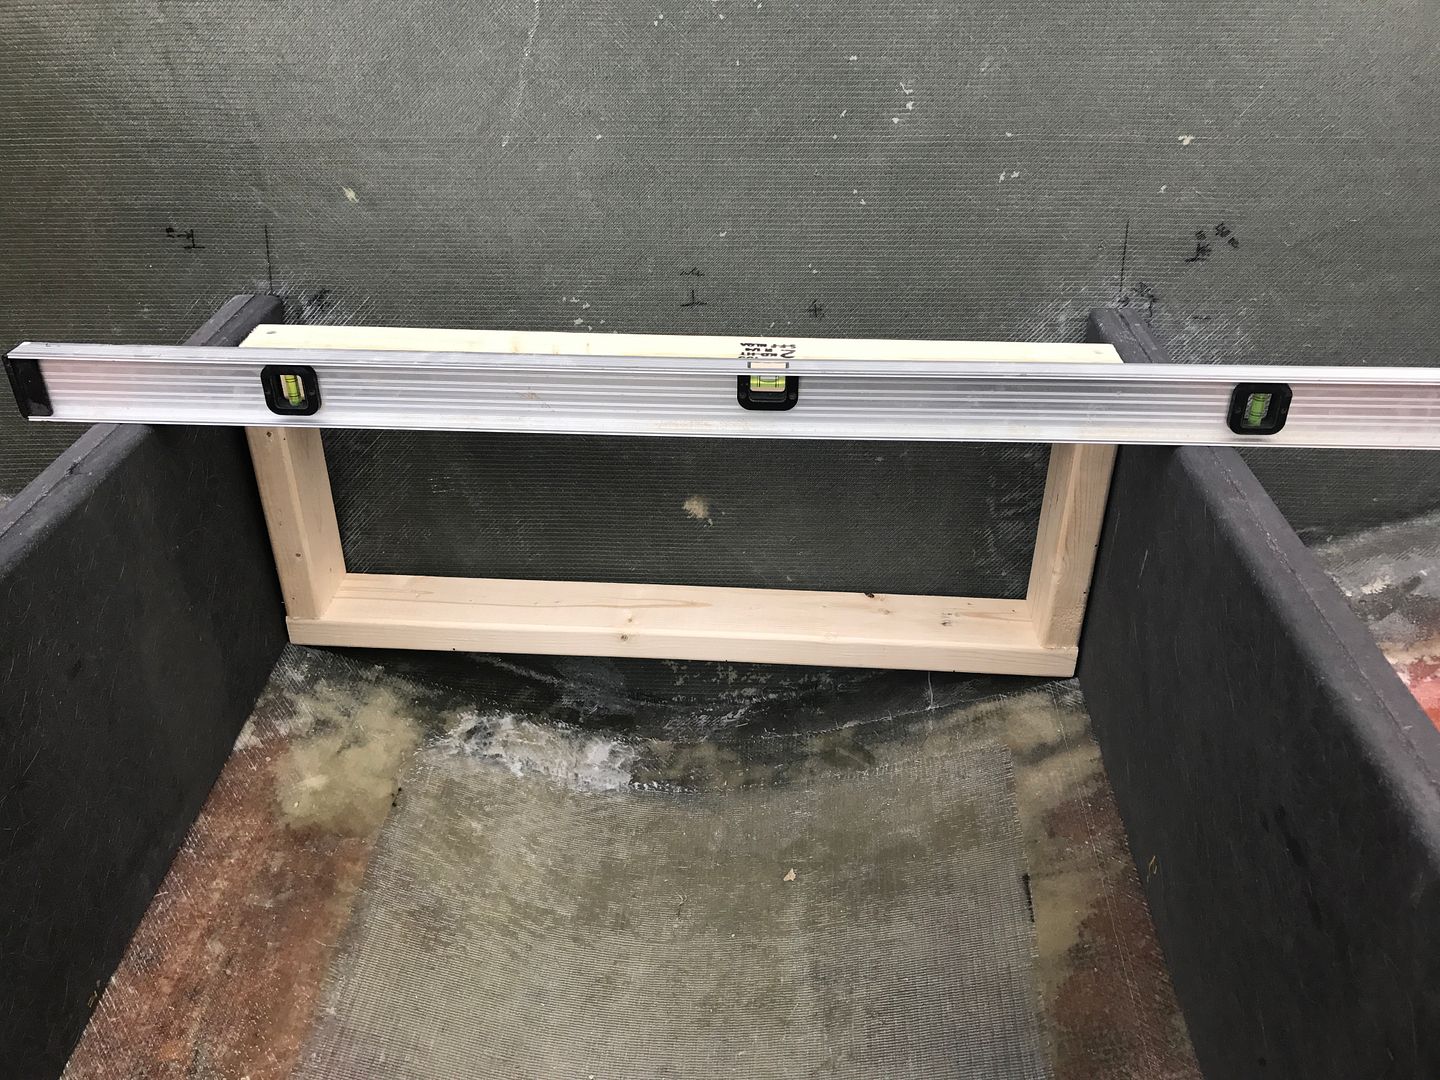
Finally put both stringers in the boat together to check everything. As usual, nothing is as easy as it should be… Could not get the stringers to level out properly, had like a 1" difference in projected deck height from one side to the other. dicked around with them for a while, then went back to leveling and blocking the boat perfectly side to side and forward to aft. After squaring everything up stringers fit much better, and looks like deck height is about right. Also rounded off the tops with a router.
made some braces to hold the stringers square until they’re tabbed in. for now they’re still just set in loose but hope to finally get them stuck down tomorrow.
Angler 204 FX
Yamaha 150
Man, you’re a perfectionist!!!
The level was a nice touch with the transom/stringer shots.
I can dig the grinding the bevel but I just bed them in glob of glass/fiber/balloons. The closer the fit the better. I’m GM and you’re BMW.
I got my itch on too fixing a loose stringer in my bertram. Found it while drinking around tapping on the bottom repair of my transducers.
BOAT…break out another thousand.
